10 More Repair Mistakes Nobody Warns You About
The renovation in this three-room apartment located in the Warm Spring district of Moscow lasted four and a half months. Throughout the entire renovation, designer Lyudmila Danilievich conducted author's oversight of its progress to avoid obvious and not-so-obvious blunders that are often discovered after the renovation is completed. That's why monitoring at every stage of the renovation is vital.
But who will conduct author's oversight if you do the renovation yourself, without a designer? Lyudmila Danilievich explained and demonstrated what important points you need to pay close attention to if you hire contractors for the renovation and do it yourself.
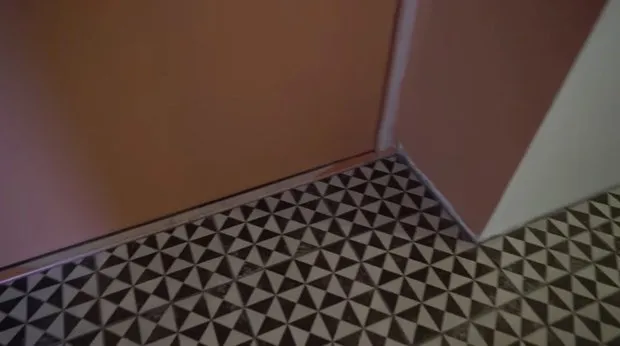
Joint of floor coverings
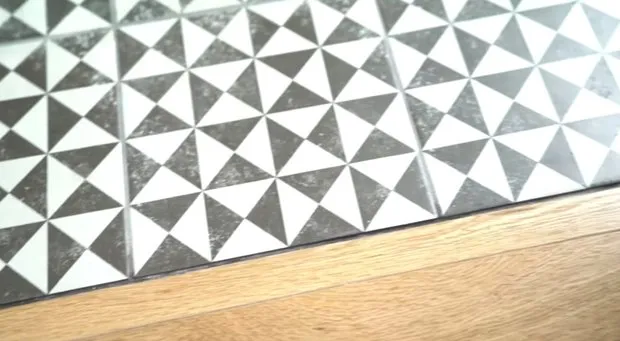
Here a solid oak plank and ceramic granite are laid. It's important to make them at the same level so there is no step where you might trip later. If the plank is laid using adhesive, we can beautifully finish this joint: use a cork compensator or parquet sealer.
If you're using laminate or laying parquet planks floating, you can't do without a threshold at all, because the edge of the parquet plank must be securely fixed to use a cork compensator or parquet sealer. Therefore, in this case the advice is to use as little tile as possible, create a single covering in certain zones, and lay tiles only in 'wet' zones: bathroom, toilet.
Door openings
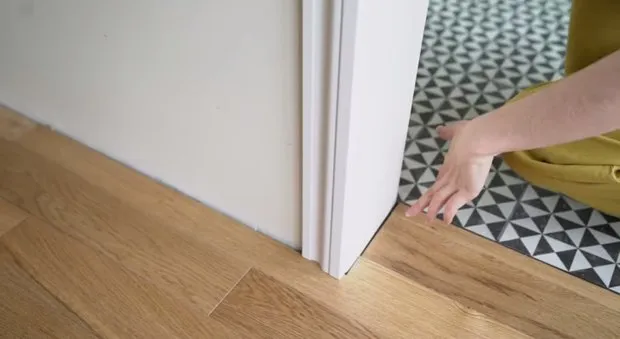
When joining floor covering with a door opening, a gap should remain. However, if you don't use door casings (or use them only on one side, as in this case), it can become a problem and the gap will irritate you for life. Therefore, it's important to make a perfect joint of floor coverings at these places, whether it's tile, parquet or laminate, so there are no gaps or cracks.
Door casing adhesion to tile
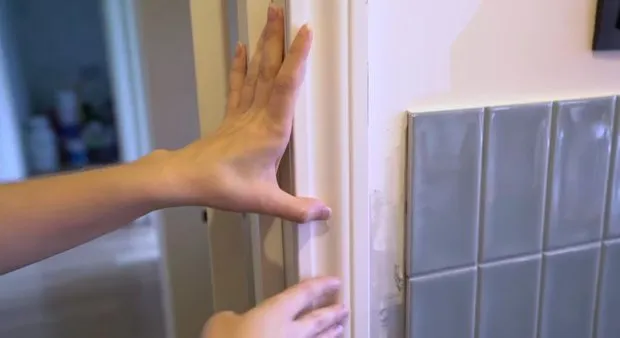
Currently, it's popular to use tiles in combination with painting in bathroom finishes. Often contractors lay the tile up to the door frame edge, and you have no choice but to install the casing on top of the tile. Where there's painting, a gap remains, which you have to stuff something into, then spackle and paint, resulting in a different thickness and looking unattractive. If you have tiles, for example, like a pig’s head, there will be an unattractive adhesion of the tile itself. Therefore, we do it this way: we don't lay tiles on both sides of the door frame opening, then install the casing, and after that lay the tiles in a flush joint.
Water supply connection
If you plan to install a double sink or two sinks, it's important to have a separate water supply line for each mixer from the manifold. Otherwise, when one mixer is turned on, the water pressure in the other will drop, making it impossible to use both sinks simultaneously.
Power outlets in the bedroom
Power outlets and switches near bedside tables should be installed only after you've chosen and ordered these tables. If you don't know which model you'll use, then install the outlets as high as possible, for example, at a height of 90 cm.
Passage switches
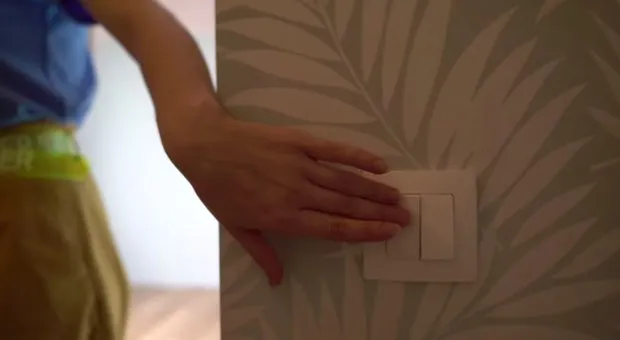
They are needed in long corridors, on staircases, and in passage wardrobes, as in this project. Ceiling lights in the bedroom and lighting in the wardrobe, if you forget about them, can be turned off without getting out of bed. Such solutions make life much easier.
What you should know about wallpapers

Wallpapers from different batches can slightly differ. Therefore, it's important to use wallpaper only from one batch for a single room. For the wardrobe in this project, there wasn't enough wallpaper roll and it had to be bought from another batch. Fortunately, the shade matched, but that's not always the case. Therefore, it's better to be careful or buy a little extra wallpaper.
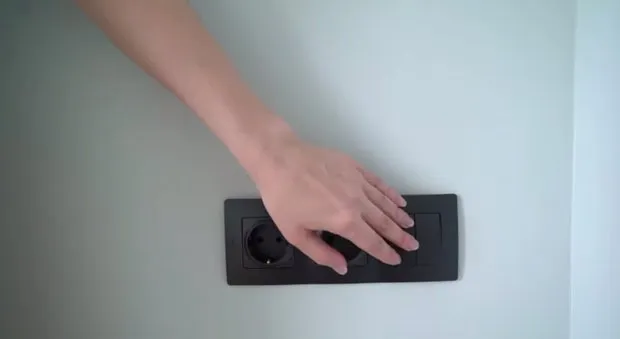
Power outlets on window sills
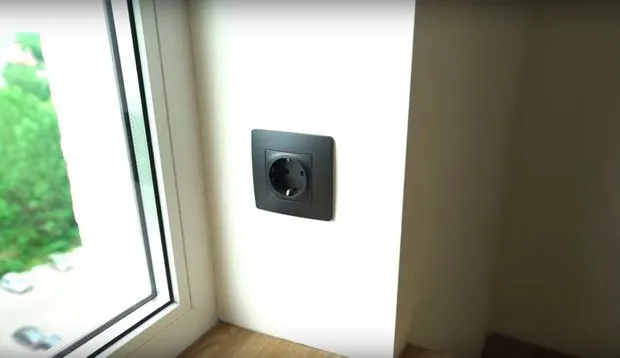
People always forget about them, but Lyudmila Danilievich always includes such outlets in her projects. You'll be glad they're there before New Year: it's convenient to plug in holiday lights into these outlets. As designer's long-term practice shows, every client finds a use for this outlet: plug in speakers, a table lamp, or an electronic candle, or simply charge the phone.
Thoughtful lighting

Often a light switch output is placed on the wall that can't be turned on, or vice versa, a switch that doesn't turn anything on. This is a mistake. It's important to plan the lighting layout and switch connections in advance. If there's an extra wire, a wall sconce with built-in switch can save you.
Entrance door at the same level
Before ordering the entrance door, you must ensure that it will align with your finished floor. For this purpose, at the rough work stage, you should mark the laser level of the screed and add the thickness of the floor covering to it. This will be the reference point for your measurements.
Watch the video of this renovation
Planning a renovation and unsure whether to hire a designer or try doing it yourself? Subscribe to our YouTube channel to get the latest valuable video tips and arguments in favor of both options.
How to build your dream kitchen without going broke?
5 lifehacks and free installment plan
Need a renovation specialist?
Find verified professionals for any repair or construction job. Post your request and get offers from local experts.
You may also like
More articles:
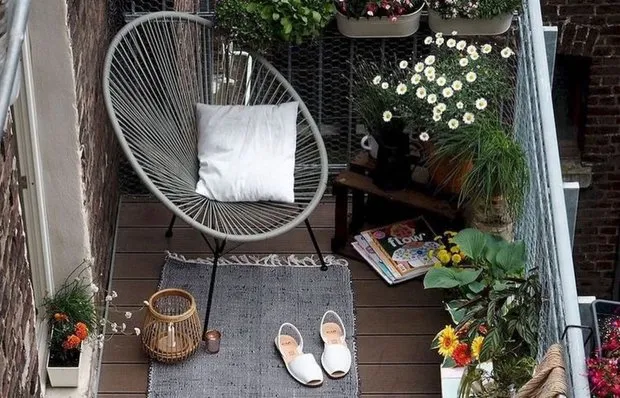 How to Arrange a Balcony in Summer: 7 Ideas
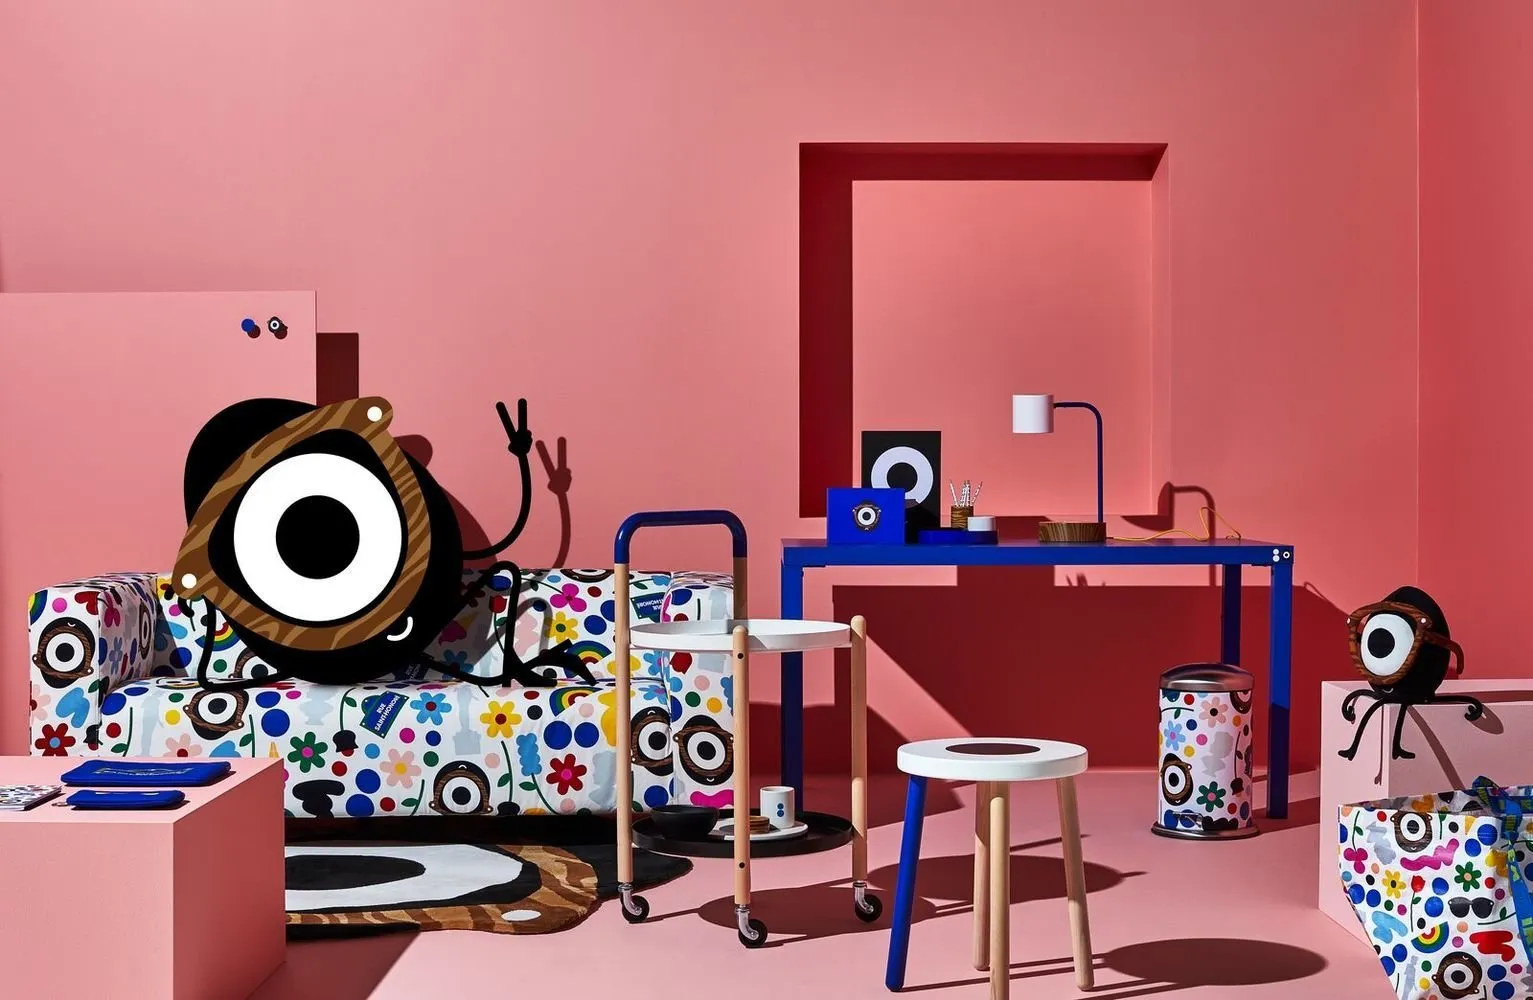 New Limited Edition IKEA Collection: What to Buy?
 It's Still Not Too Late: What to Plant in the Garden in July
 Bungalow on Hawaii: How They Restored an Old Cottage
 Credit for Renovation: How Banks Deceive and How to Fight Back
 Fitostena: What It Is and How to Care for It
 Redesigning old IKEA furniture and 11 more design hacks to make your home better
 Relocation: what did they sacrifice for a bedroom in a studio?