How to Properly Make Paint Samples for Walls: Tips from a Professional
Feeling overwhelmed by the variety of paint shades around you? Don't know how to choose the perfect color for a bedroom or nursery? Tips from Mila Kolpakova will help you make the right decision
Selecting the ideal paint color for walls is an art in itself. Experts recommend not rushing into decisions, but rather seeing how a particular shade looks «in real life» under different lighting conditions. Mila Kolpakova, a designer, shared her advice on how to properly make paint samples for walls.
Mila Kolpakova is an interior designer and decorator. She has been in the profession for 5 years: she graduated from Moscow State University of Culture and Arts with a specialty in «design of the architectural environment», worked in several design studios, and since 2013 has pursued a «solitary career».
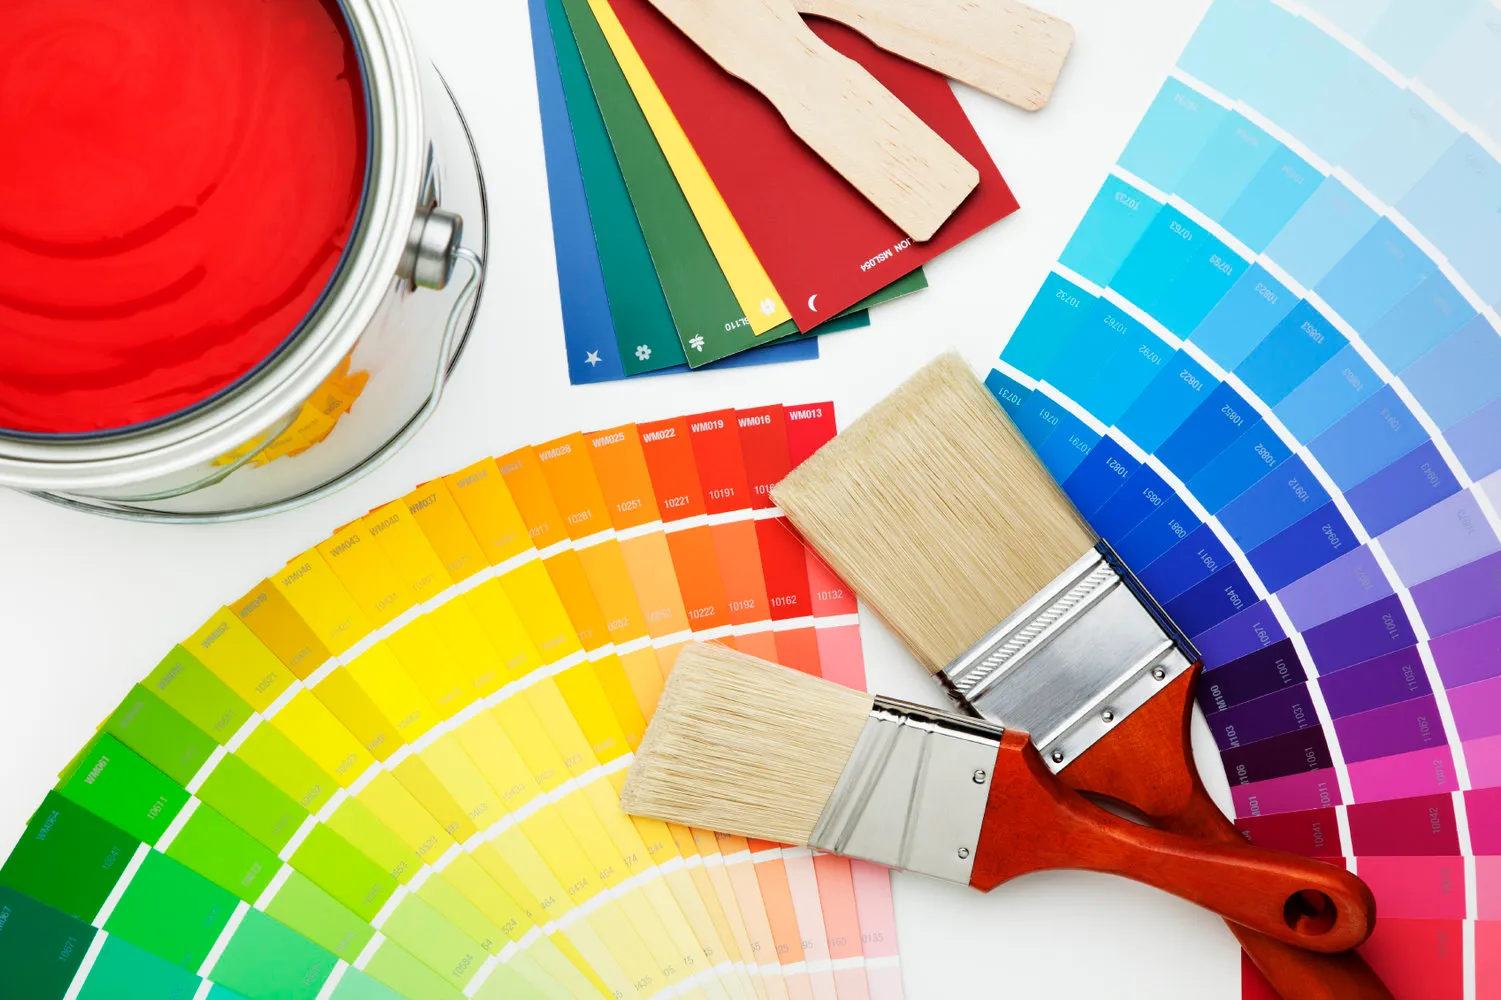
1. Choose 3–4 shades of the same color
For example, if you have gray walls in your office, choose a palette of shades from the brand whose paint you plan to use in your project. Samples can be bought at showrooms where the paint is sold, or you can view them on-site without purchasing. Some brands provide free sample catalogs upon order that you can take with you.
2. Buy small sample jars
Each brand has its own minimum volume. For affordable paint brands (Tikkurila, Dulux), this is 1 liter. For designer paints (Little Greene, Sanderson), there are small jars designed specifically for one sample.

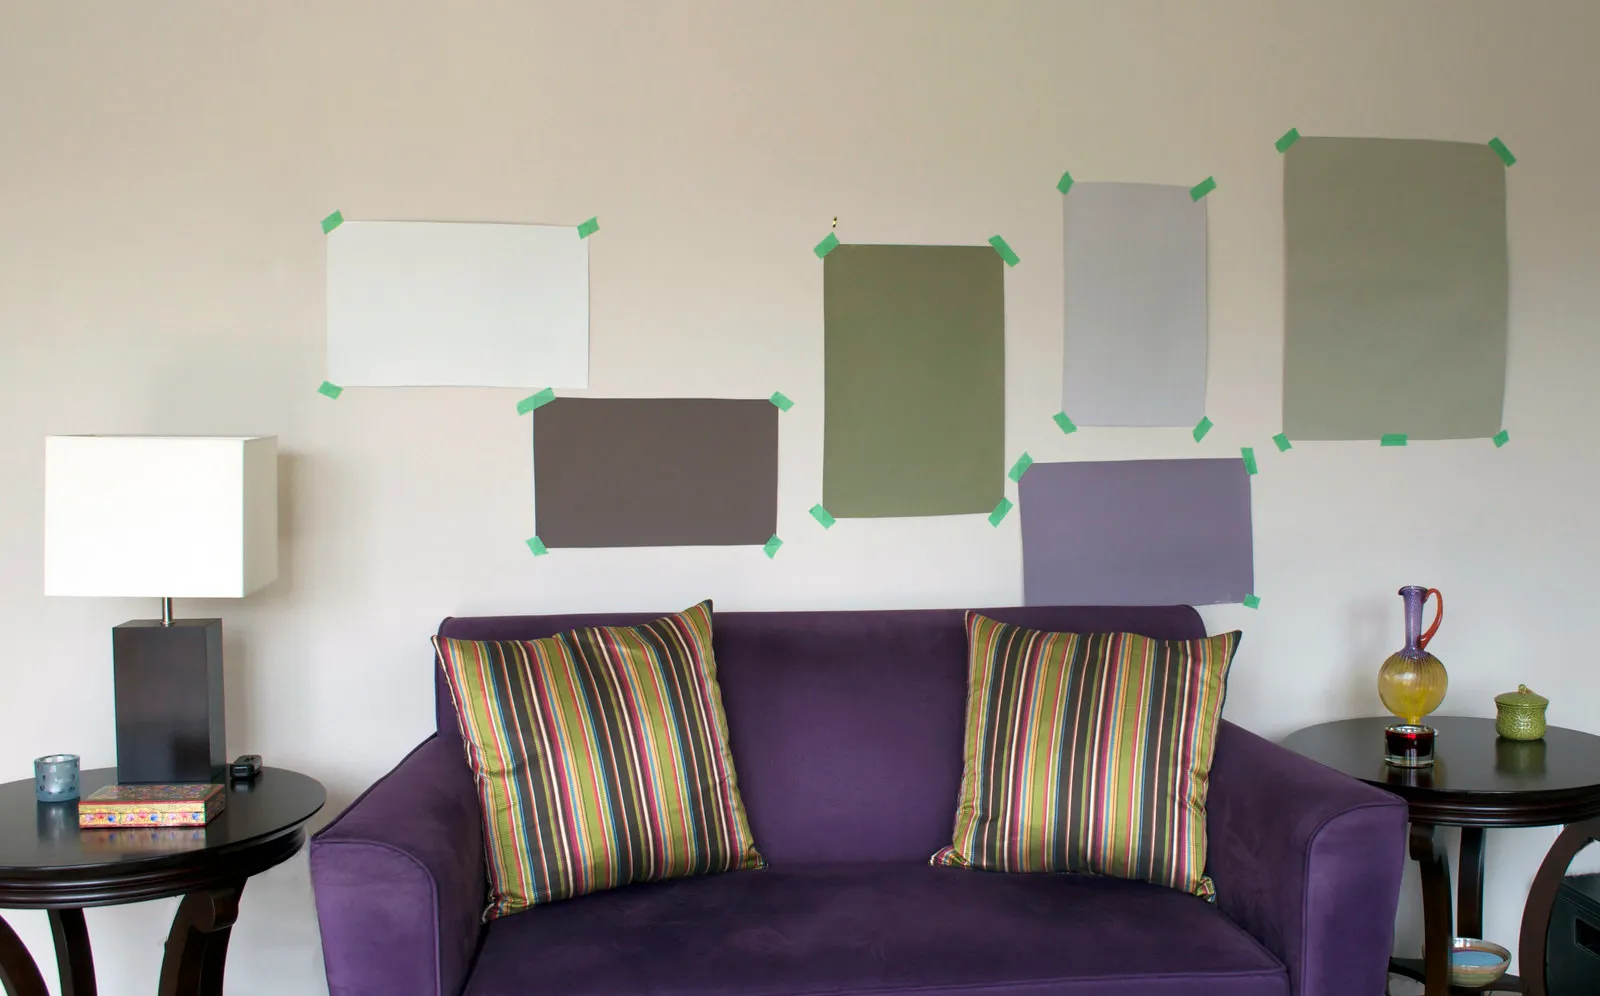
3. Make paint samples
Take a primed GKL board, at least A3 size or a piece of dense and smooth (!) wallpaper suitable for painting (you can take a 1m x 1m square). Paint one sheet with one color in 2–3 layers (depending on how many layers you plan to apply to the wall later).
On the back of the sheet, it is essential to label the number or name of the color. You should end up with as many paint samples as there were variations of each color.
These individual paint samples are convenient because you can place them next to each other, arrange them in different planes, and they are removable – no need to re-plaster the wall afterward.
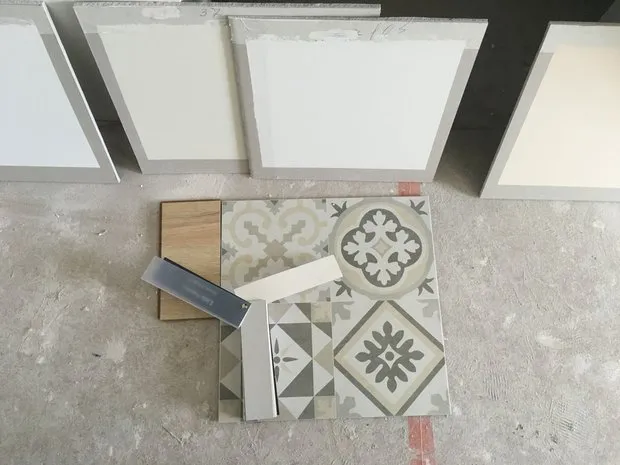
Photo: Mila Kolpakova
4. View the paint samples on site
It is preferable that the other finishing materials that will be located near this paint (tiles, parquet, wallpaper, plaster) are already present on the site along with the paint samples.
View the paint samples in the actual room where the color is intended to be used. Apply them to various parts of the wall. It is best to look at them during daylight hours. Especially useful is when the weather changes from sunny to cloudy. Keep in mind that the color is also influenced by artificial lighting at night (warm, cool, or neutral), the area of painting, and surrounding colors and materials.
Paints from affordable brands often do not meet expectations, despite computer color matching. It is advisable to make paint samples in this case to avoid having to repaint later.
Higher-end paint brands generally match the colors in their catalog. However, I still recommend making larger samples rather than relying only on color swatches.
Currently, some showrooms offer the service of preparing paint samples for a fee, which is also very convenient and saves time.
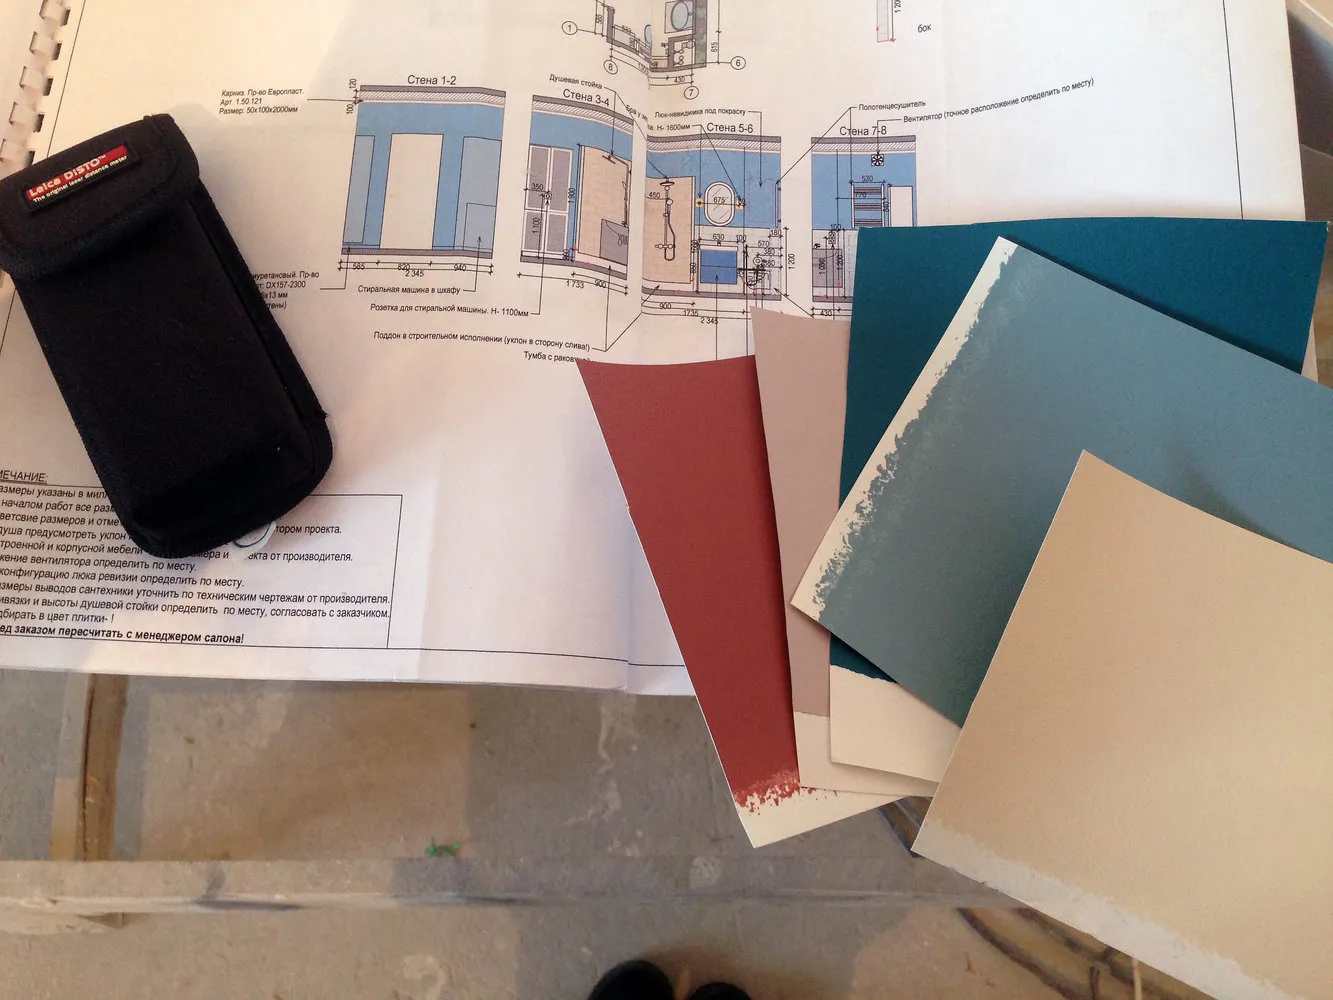
Photo: Mila Kolpakova
Need a renovation specialist?
Find verified professionals for any repair or construction job. Post your request and get offers from local experts.
You may also like
More articles:
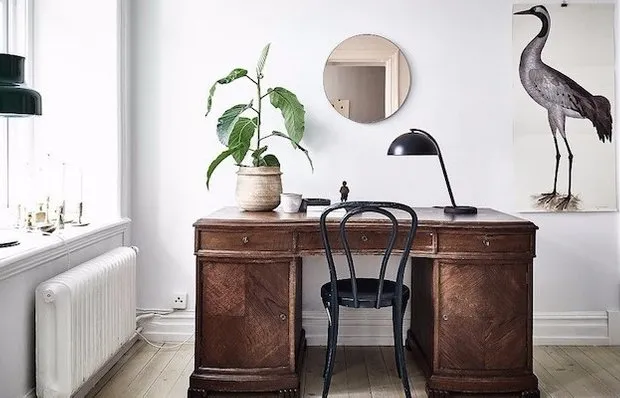 Secrets of Scandinavian Interior Design: Don't Fear Emptiness
 History of High-Rise Construction in Moscow
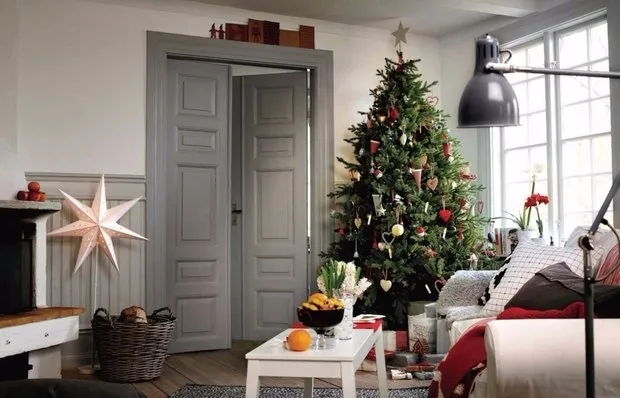 How to Create a Festive Atmosphere: Pro Tips
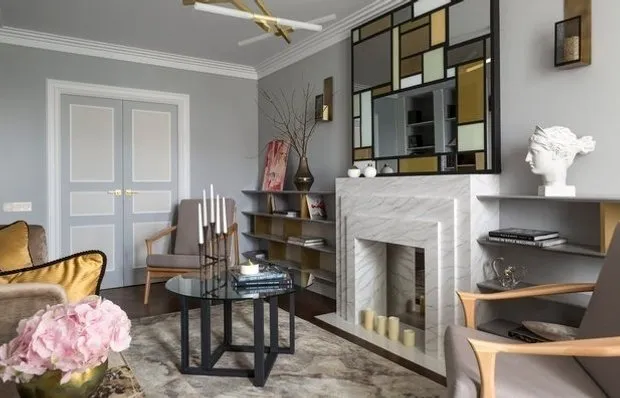 How to Blend Trends and Classic Elements in One Interior?
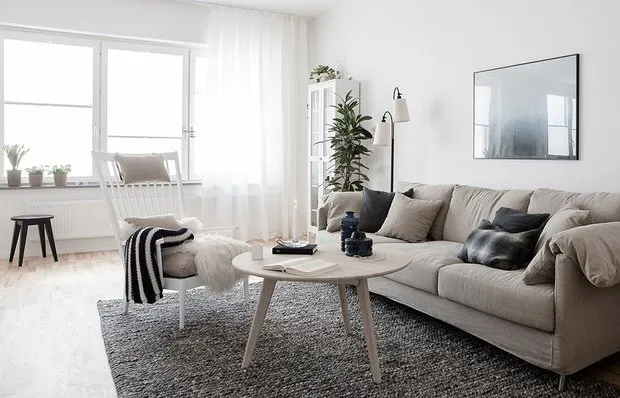 Redesigning a Kitchen: 3 Professional Options
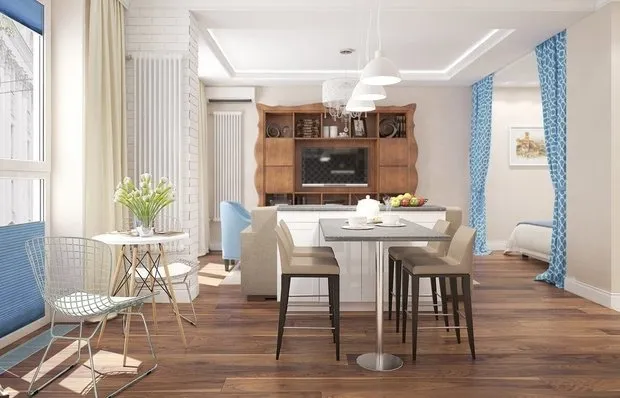 What Is Considered 'Yesterday's Day' in Interior Design?
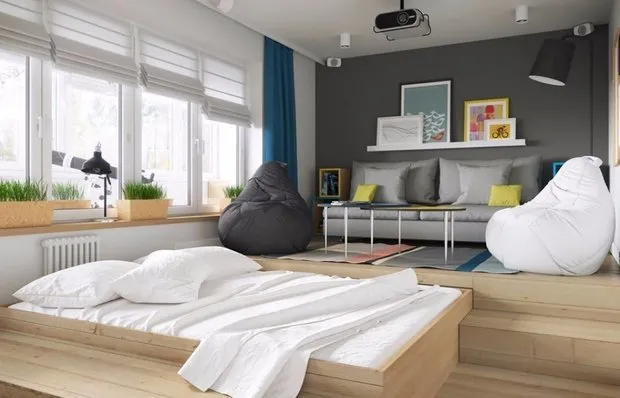 How to Place a Bed in a Studio Apartment: 8 New Solutions from Designers
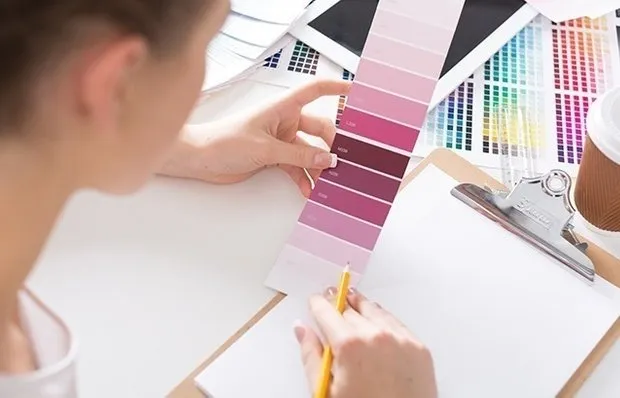 What the Designer Should and Should Not Do for the Client: A Professional's View