Quick Living Room Renovation: Step-by-Step Guide
The living room is the visiting card and focal point of the entire home. Its design should set the mood for other rooms while being multifunctional and comfortable for all residents. The duration of the renovation will depend on the complexity of the project: one thing is to simply refresh the walls and ceiling, and quite another is to change the floor structure, remove walls, or combine the living room with a balcony. We share a step-by-step guide to a quick living room renovation.
Step 1: Planning and Budgeting
The quality of the project design and work plan largely determines the duration of the renovation. It's better to trust professionals in this matter – you can save both time and money. Of course, you'll need to pay extra for urgency.
However, the project can also be handled independently. Involve family members in the process: the new living room should please the whole family. Together, create a plan and think through details – from furniture and appliance placement to color and finish material choices. It's almost impossible to calculate the final budget in advance – leave part of the budget for additional expenses.

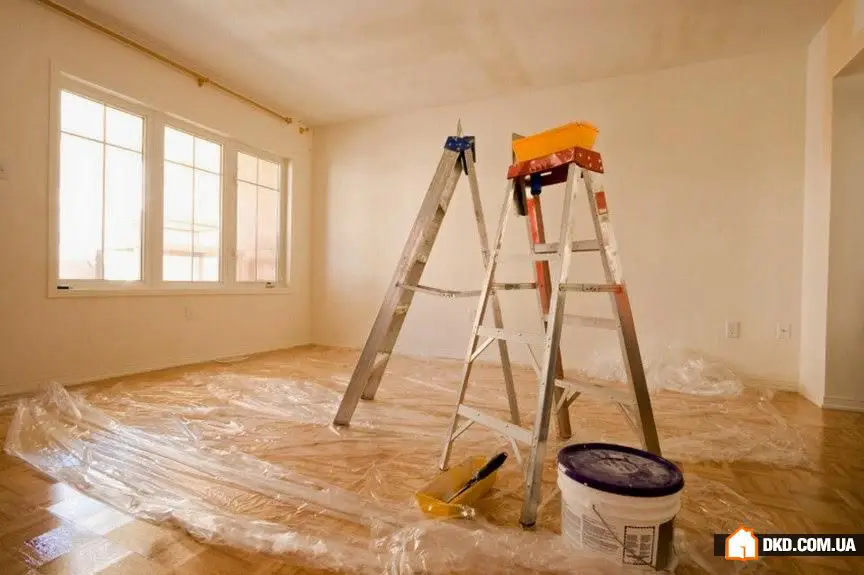
Step 2: Preparation for Renovation
In the case of a simple cosmetic renovation, it's not necessary to remove all furniture and interior items from the living room. It's enough to cover them with protective film. If a major renovation is planned, furniture and belongings can be temporarily moved to other rooms or placed in the hallway.
Don't forget to switch off electricity before starting. It's better to note the required tools in the plan next to each stage of work. Remember that quality tools can significantly speed up the process. Some construction companies offer tool rentals, which can help you save money and time by avoiding trips to stores.
Step 3: Performing Replacements
Start the renovation with planned replacements. The most complex and dirty jobs should come first: replacing windows, doors, radiators, removing walls, or replacing the floor. At this stage, it's advisable to check the reliability of the room's electrical system and replace it if necessary.
Plan in advance where outlets and switches will be located depending on the lighting scenario. Hiding wires in a suspended ceiling is very convenient, but according to specialists, it's safer to do it the traditional way – in the wall.

Step 4: Leveling Surfaces
The secret to easy and fast finishing work is perfectly flat and well-prepared surfaces. The easiest way to level them is by using gypsum board. Installing it is less problematic and more efficient than traditional plastering.
Moreover, gypsum board opens up many possibilities for implementing bold design ideas: it's easy to create convenient niches, shelves, and cabinets, to hide radiators, or make arches. But don't forget: installing gypsum board consumes part of the useful space, which can negatively affect the interior of small rooms.
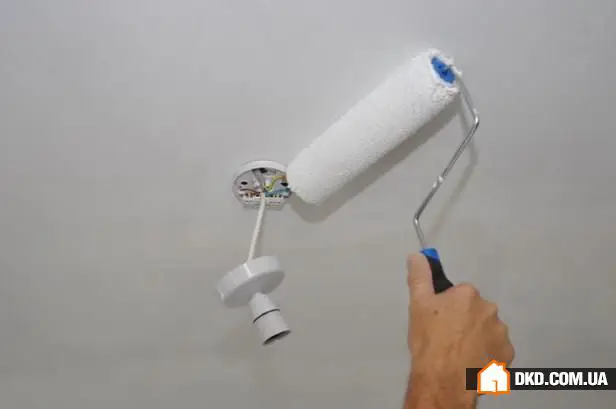
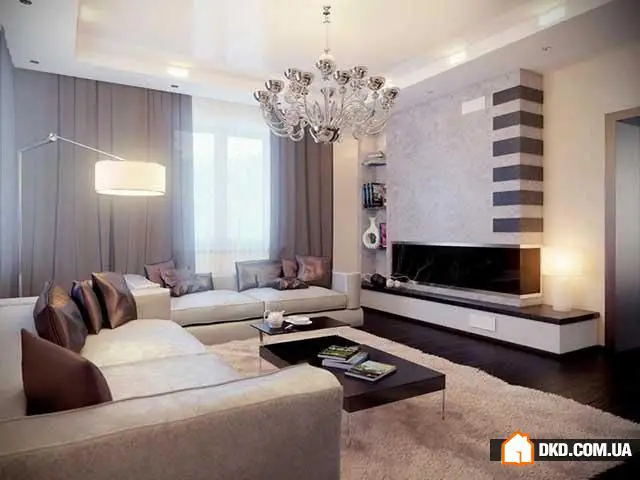
Step 5: Ceiling Repair
The fastest but most expensive way to repair the ceiling is to use stretch ceilings. Master work will take no more than half a day. Then you just need to enhance the smooth surface with ceiling moldings or cornices. By the way, matte ceilings are preferred for rooms on the sunny side, not glossy ones.
The most economical and equally fast option is to finish the ceiling with wallpaper. But they can only be applied to a perfectly flat surface, and their lifespan is relatively short. In new buildings, specialists don't recommend painting or whitewashing the ceiling: the house may settle, which could cause cracks.
Gypsum board structures are heat-resistant, inexpensive, and easy to install, but you'll have to give up a few centimeters of space.
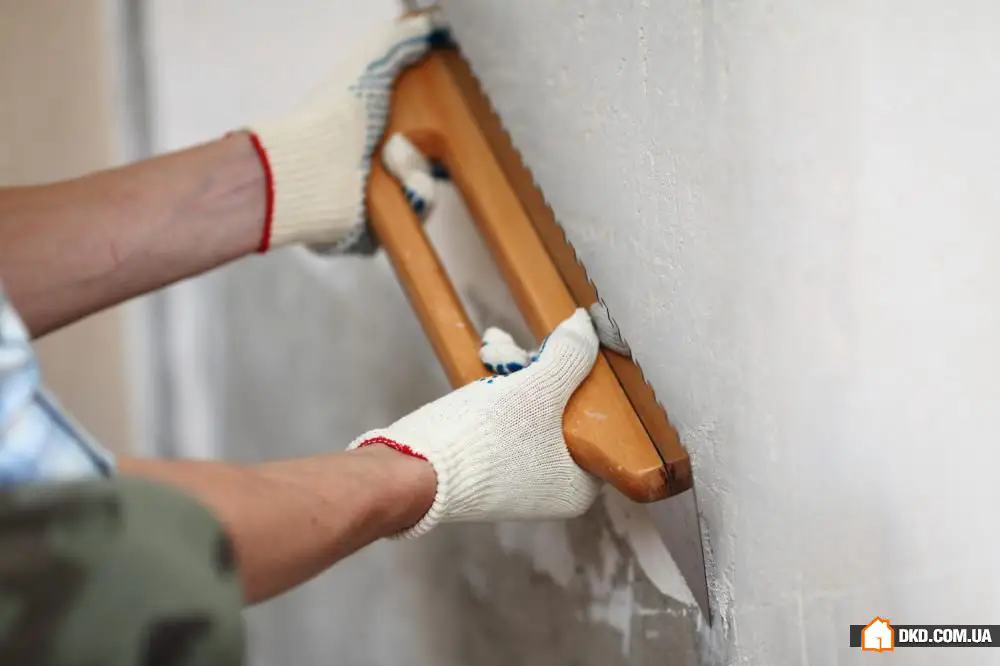
Step 6: Wall Finishing
Among all types of wall finishing in the living room, the simplest and thus fastest ones are wallpapers or paint. Fans of the loft style may save time by leaving one or two walls untreated. If you haven't finalized the interior style yet, choose light, neutral, matte colors for walls at this stage: they harmonize well with any style.
Original wall design can be achieved using popular decorative plastering. Applied easily and quickly by spraying, it still requires necessary skills and practice. Rare finishing options like glass, stone, mirrors, or textiles will take much more time. But they can be used partially to accentuate one of the living room zones.
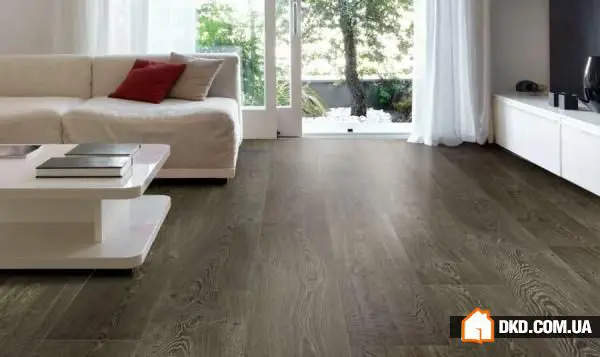
Step 7: Floor Finishing in the Living Room
The floor covering in the living room, as well as the room itself, should make an impression – don't skimp on materials. The most popular option for living room flooring is laminate or parquet. The former is easiest to install and maintain. You can lay it yourself, but don't forget about sound insulation underlay. Parquet requires more effort but looks more elegant.
If you need to save time and money as much as possible, choose quality and practical linoleum or carpet. Both are easy to install and maintain. However, eco-friendly cork flooring, which is becoming more popular, can only be laid quickly by professionals. It's also quite expensive. The same applies to poured and marble floors.
Step 8: Installing Lighting
Lighting plays a special role in the design of the living room. At least two scenarios should be considered – daytime and evening. If you don't want to deal with installing spotlights and hidden lighting, leave one original chandelier with multiple light modes or a dimmer attached to it on the ceiling. A great addition to it would be a wall sconce or an impressive floor lamp.
Step 9: Furniture Placement
Plan the furniture layout in advance, taking into account proper zoning, especially if the living room is the only living room in the house. But much depends on its size.
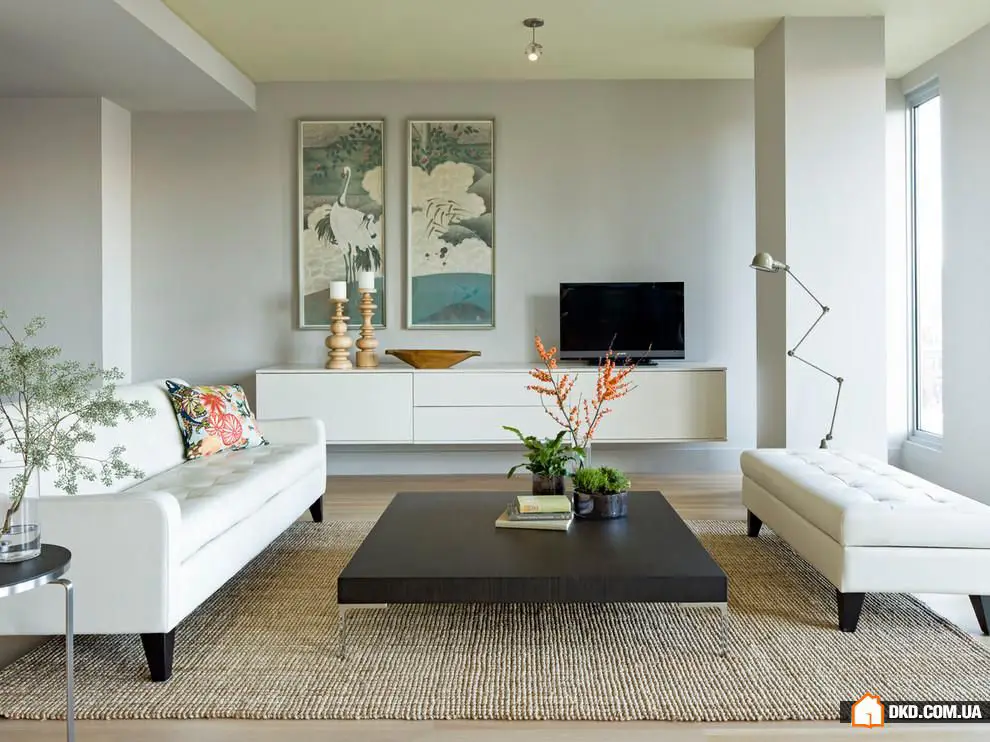
In a small living room, you can forgo some types of furniture to keep the free space and save time on arrangement. For example, you can get by with just two armchairs or a sofa and a small (preferably foldable) table. To avoid spending time assembling a complicated, bulky bookcase, choose a lightweight TV stand and open shelves along the wall instead.
Step 10: Room Decoration
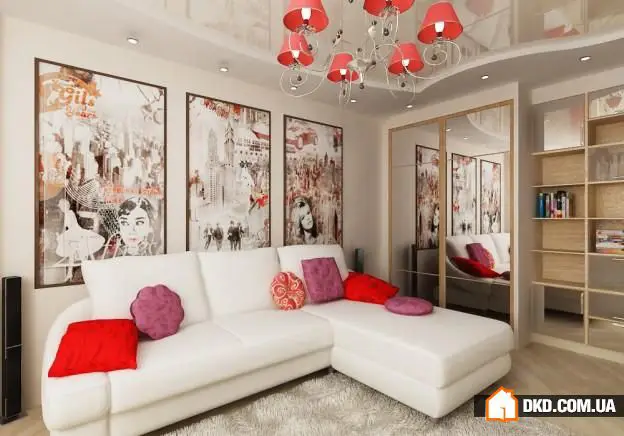
When decorating the living room design, try not to waste space and use every centimeter rationally. Prefer small, numerous details to a few large, accent items: floor lamp, mirror, wall hanging, carpet, throw. This way you'll complete the task much faster and avoid over-decoration. Put your bets on quality, beautiful textiles. Don't forget to refresh the interior with at least one live plant.
Professional Tips: How to Quickly Turn the Living Room into a Social and Entertainment Hub
The living room is where family members and guests meet. Its main function is to create maximum opportunities for communication and entertainment. If you haven't connected high-speed internet, digital TV, and a phone yet, renovation is the perfect time to do so.
1. One for All
If you use GPON technology, digital services can be connected and disconnected at any moment with just a few clicks. For this, you only need to run one powerful fiber optic cable into the apartment. During the project phase, plan where the TV, desktop computer, and phone will be located in the room. From the entrance door, where the optical modem is usually placed – the network access point – run an Ethernet cable to these spots: it carries both electricity and data.
2. Go Live
Most likely, you will want to go online not only from desktop computers but also from mobile phones and tablets. A Wi-Fi module is already built into the optical modem you receive for free upon connection. However, if the living room is far from the hallway or the apartment has a complex layout, it may not function properly. In this case, provide a separate Wi-Fi booster point in the living room. Place it higher so that the signal encounters fewer interferences and is better received throughout the room.
3. Impossible to Pull Away
Place electrical outlets near rest areas – the sofa, armchairs. This way, you can use mobile devices and charge them simultaneously. You won't want to take your hands off them or go offline: fast unlimited internet usually has a strong pull.
Need a renovation specialist?
Find verified professionals for any repair or construction job. Post your request and get offers from local experts.
You may also like
More articles:
 How Daily Life Kills Design: 10 Mistakes You Make at Home
 How to Quickly Tidy Up Your Home: 15 Budget Ideas
 Pros and Cons: Photo Wallpapers in Interior Design
 If You Have a Small Apartment: 9 Practical Tips for Organization
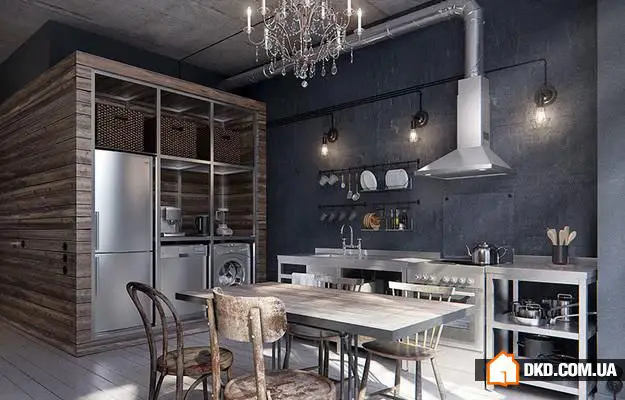 Does Not Rust: How and Why to Use Metal in the Apartment
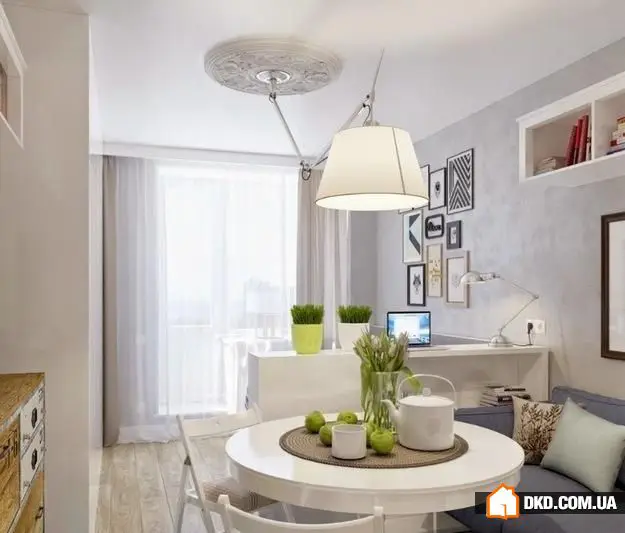 How to Zone a Small Apartment Using Lighting: 8 Ways
 Where Designers and Architects Live: 10 Classy Professional Apartments
 How to Repair the Kitchen Without Going into Debt: 9 Useful Tips