How to Coat a Floor with Varnish
Secondly, a wooden floor fits any interior and creates a cozy atmosphere in your home. An invaluable advantage is its unique ability to absorb excess moisture without changing its structure. Wood also provides excellent sound insulation and is easy to repair and restore.
How to extend the life of your wooden floor? The answer is simple – use varnish. How to apply varnish to a wooden floor? This question is asked not only by those wishing to extend the life of their wooden floor, but also by homeowners building a new house or wishing to refresh worn surfaces on their parquet. Additionally, varnishing increases floor durability.
To correctly apply varnish to parquet or wooden flooring, you will need: varnish; a polishing machine; high-grade abrasive; a spatula, brush, and roller; and a vacuum cleaner.
Start by choosing the right varnish. Select based on the room’s purpose. For high-traffic areas with frequent foot traffic, a two-component varnish based on polyurethane (PUR or DD-varnish) is ideal. This type forms an elastic, moisture- and abrasion-resistant film, and when applied in multiple layers, it enhances surface gloss and contrast, adding visual depth. For residential rooms, oil or wax may be better, despite taking several days to penetrate the wood properly. The result will delight you: pleasant matte tones and the authentic feel of real wood underfoot.
Currently, several application methods exist. The manual method involves using a brush, roller, pads, or spatula. Mechanical application uses a spray gun.
Never apply varnish in excessively cold or hot rooms, high humidity, or drafty areas.
Before varnishing, prepare the floor surface by sanding and planing to remove all roughness, cracks, and irregularities. Fill all gaps before the final sanding. Use a spatula to pack cracks and gaps with filler, avoiding excess. The final sanding removes any excess, ensuring filled areas are level with the floor.
Then, thoroughly vacuum the prepared surface.
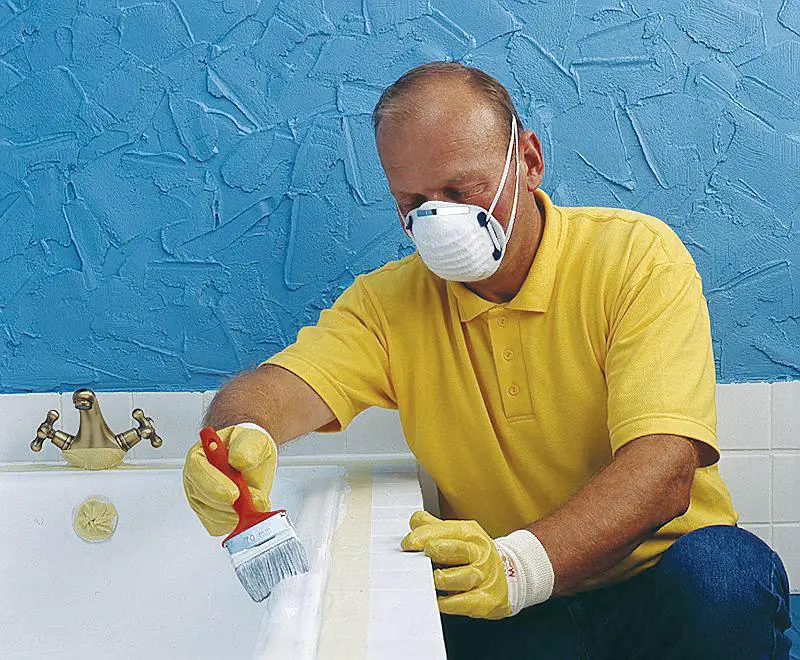
The next step is applying nitrovarnish as a primer. Apply with a 10 cm wide brush, 1–5 cm thick, along the wood grain. Ensure no spots are missed.
After the primer layer dries, apply the main varnish in at least two layers. More layers result in a more beautiful finish. Use a new brush or roller (same size as for priming) to apply the first layer. Apply along the wood fibers, carefully coating each board. When using a brush, apply U-shaped motions so the brush overlaps the fresh edge. When using a roller, use crosshatch movements: side-to-side for application, back-and-forth for leveling. Lift the roller by ¾ of its width and repeat.
Allow the varnish to dry completely for 24 hours. The next day, remove surface fuzz using 180–250 grit sandpaper. Fuzz refers to tiny imperfections on the surface. Sand in circular motions until the floor feels smooth.
Then, vacuum again and clean the floor. Once dry, apply the second layer. If applying 3–4 layers, remove fuzz before the final coat.
Common issues include varnish not drying. Possible causes: incorrect varnish choice (alkyd or urethane-oxidized varnish won’t dry on teak or mahogany) – increase room temperature to 20°C; insufficient hardener in two-component varnish – sand and reapply; poor air circulation – improve ventilation.
White haze may appear, indicating moisture condensation on fresh varnish. Treat with solvent, then re-varnish. The room must be warmed and floor surface temperature raised before reapplication.
For small peeling areas, sand and reapply. If the entire surface blisters, only complete sanding and reapplication will fix it.
Overall, varnishing a wooden floor is complex, with many details. Choose varnish carefully based on wood type. Today, pre-varnished parquet is available, finished via airless spray in specialized facilities. This reduces defect risk, but not all pre-treated parquet can be re-varnished due to potential incompatibility between varnishes.
The choice remains yours!