Express Kitchen Renovation: 8 Steps to Fast Transformation
The most active room in the apartment often requires updates: we have collected information about the best materials, technologies and design tricks that will help make your kitchen beautiful in just a few days
In a small-city apartment, the kitchen is overloaded with many functions: here fire burns, water flows, and people work – so it's common (and pleasant) to rest here too. The modern pace simply won't allow you to go without using the kitchen for a long time – which means the renovation needs to be done quickly. You can gain the necessary speed by starting to prepare in advance.
Step #1: Create a Design Project
Set aside time for thorough preparation well before starting the work. Keep in mind that it's better to spend a month or even two on planning than to get stuck during the renovation process for a long time.
First, you need to determine what you need the kitchen for. Perhaps you don't like cooking but often invite friends for coffee, or vice versa – you're used to having lunch in the dining room or living room, and your kitchen is just a hot kitchen.
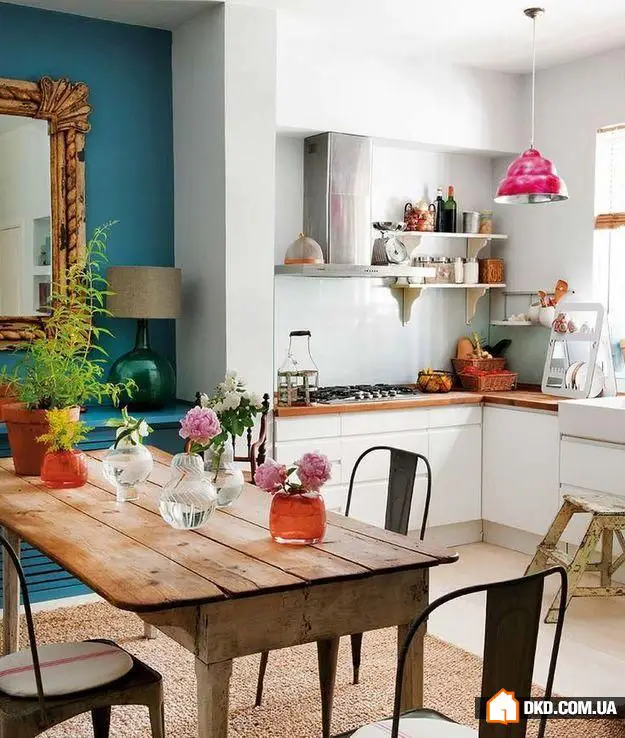
Whatever the case, use general rules for organizing the kitchen space: usually, the working area is planned in a triangle 'stove – sink – refrigerator'. The dining table should be placed away from these busy paths, closer to the window. And most often, the kitchen and dining room are inseparable even in the tightest conditions.
Step #2: Plan the Utilities
At this stage, it's important to understand what kind of appliances and plumbing you will need, as well as how the lighting in your renovated kitchen will be. If you're in a hurry (which is exactly the case according to our scenario), it's better to leave the wiring alone and not change anything. Build into your plan the location of main outlets, calculate what and where to place extension cords, where to hide them, and how to lay the cable channels invisibly.
What's Important:
plan the side backlighting of functional countertops – upper lighting is usually insufficient for most kitchen tasks. For the dining area, provide soft dimmed lighting (strictly above the table or perhaps a low floor lamp). With its help, you can psychologically 'switch off' from cooking and relax over breakfast or dinner.
Step #3: Make Purchases and Prepare the Room for Renovation
One of the most common mistakes in DIY renovation is running out of building materials, which professionals encounter already during the process. Buy about 15–20% more finishing materials than you think you'll need according to initial calculations. It's also important to buy all furniture or its components in advance and try them out on site.
Clear the walls and ceiling of old paint and wallpaper – this is not a creative task and quite dirty, but it must be done so that new coatings won't peel off in a week. Warm water, special tools, and materials for removing old finishes help save time.
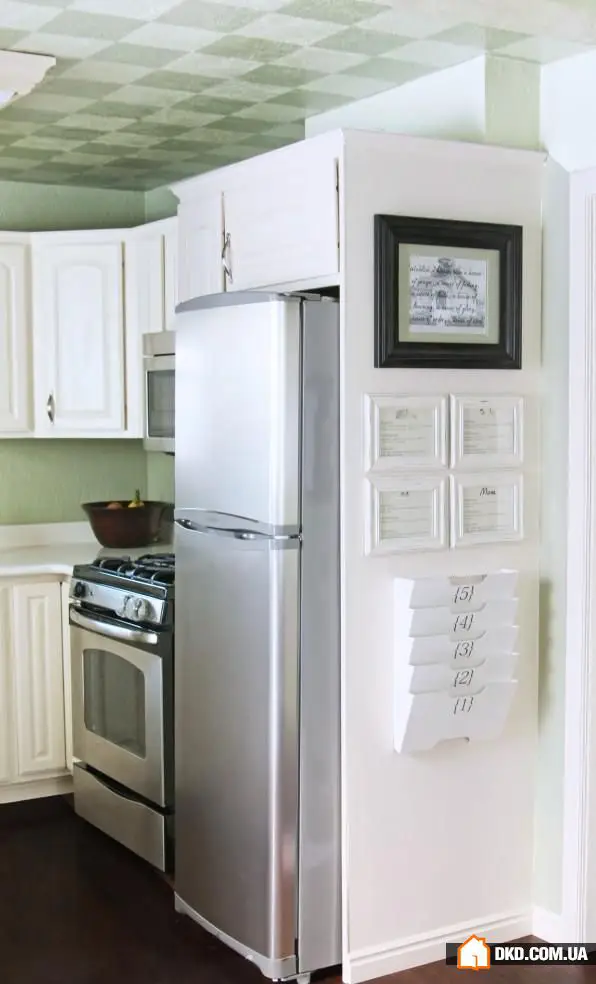
If the radiator grilles have deteriorated and the boxes around the risers are crooked – remove them boldly. You can quickly replace the first and build the second from moisture-resistant gypsum board. However, changing doors, windows, and sills is a long story that you should avoid for the sake of an express timeframe.

Step #4: Begin with Ceiling Finishing
A quick solution is to cover the ceiling with moisture-resistant wallpapers. It's important to choose breathable varieties, such as vinyl wallpapers on a felt base. In general, the main principle in choosing kitchen finishing is breathability. Therefore, suspended ceilings and plastic tiles are not the best choice. They can only be used if the kitchen ventilation is at a high level.
And, of course, you can easily and quickly paint a flat ceiling surface without seams or cracks. There are water-based ceiling paints on the market that are specially designed for kitchens – they allow steam to pass through while forming a washable, water-resistant coating.
Step 5. Tidy Up the Walls
In wall finishing, the principle is the same as for the ceiling – you need a breathable material that can be easily washed. Near the working area and stove, however, breathability is not as important as resistance to high temperatures.
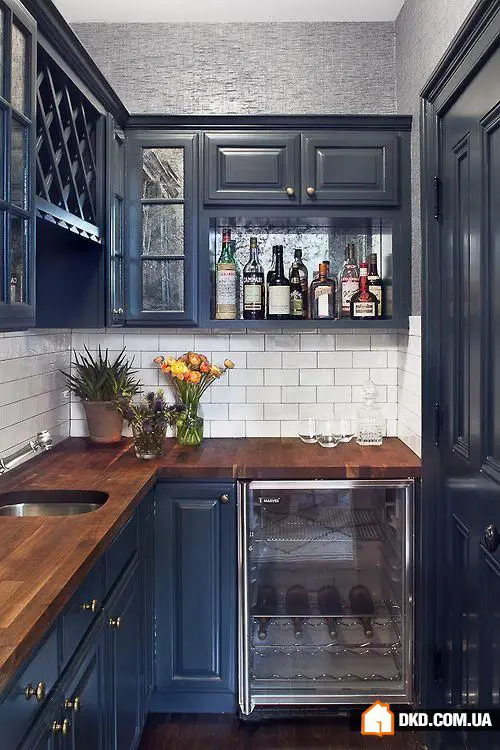
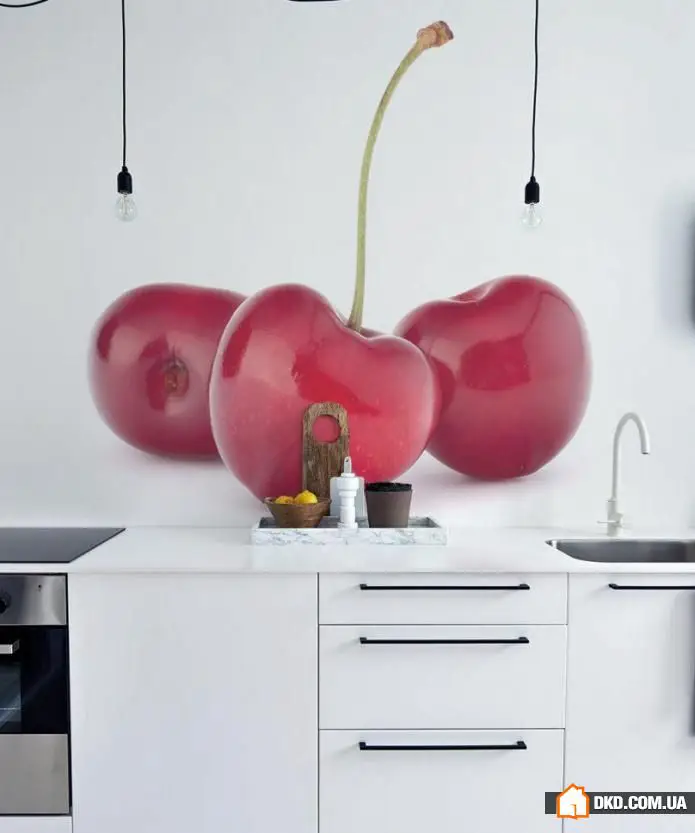
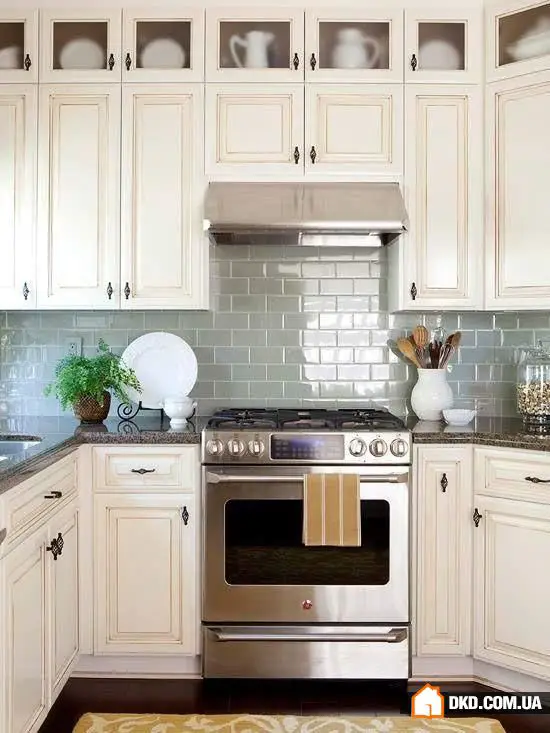
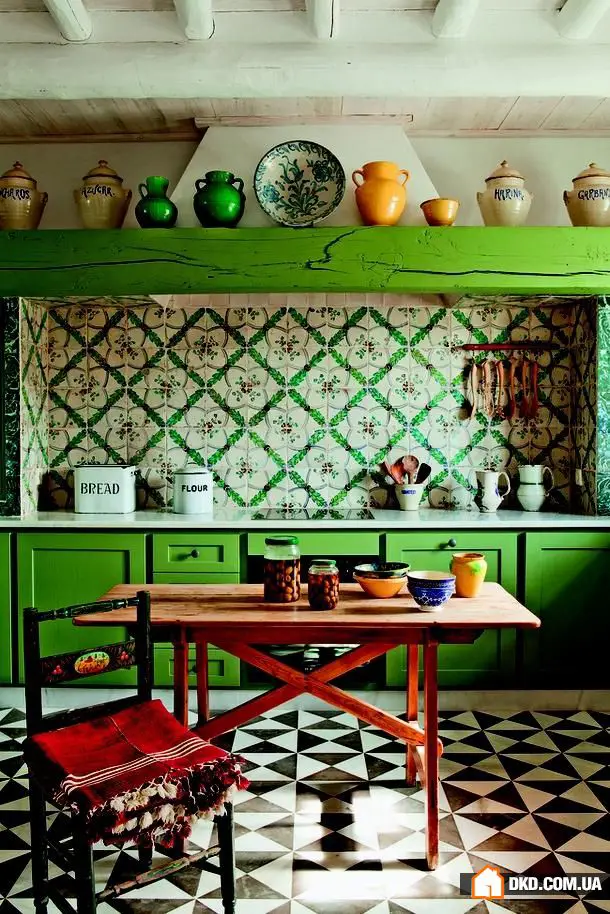
We're talking about what's called the kitchen 'apron' – a protective strip above the stove and sink, traditionally made from ceramic tiles, but lately, tempered glass has become trendy. Its advantages are obvious: fewer seams compared to tiles, meaning faster and easier installation; in addition, you can glue any print on the glass.
Still, the old reliable tiles have not given up their position. For a classic kitchen with a hanging chandelier, brass fixtures, and carved cabinet doors, boldly choose tiles 'like a pig': they resemble brick and look very nostalgic. For the 'fusion' style, colorful tiles with optical patterns or ethnic motifs will work.
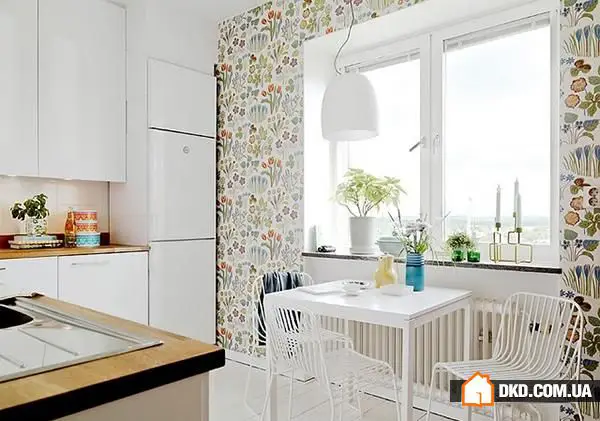
 Areas of the wall away from hot and greasy splashes can be covered with wallpapers on a felt base – it's best to choose ones that can be repainted multiple times. Excellent for the kitchen are also glass wallpapers: contrary to myths, this is absolutely safe finish material, while the coating becomes perfectly flat, doesn't burn, is easy to clean, and repaints well. These wallpapers are applied with lightning speed, possess the necessary breathability for a kitchen microclimate, and at the same time are moisture-resistant.
However, vinyl or MDF wall panels unfortunately cannot boast such properties. Therefore, as with suspended ceilings, install them in the kitchen only with excellent ventilation. And keep away from the stove.
Step #6: Lay the New Floor
The classic choice is a kitchen floor covered with ceramic tiles. However, such a covering is laid slowly, and if you also need a warm floor, this choice automatically turns an express renovation into a prolonged overhaul. Much faster will be laying moisture-resistant laminate on the kitchen floor – it installs easily over any existing surface.
Another fast option is linoleum: it's easy to clean, comfortable to walk on, and the variety of colors and patterns is nearly infinite. However, keep in mind that linoleum fades over time and loses its smoothness.
What's Important:
since the walls are already finished, cover everything that might get dirty during floor installation with plastic sheeting and seal it with painter's tape. This will save time on cleaning – otherwise, prepare to spend a couple of days on it.
Step #7: Install Furniture and Appliances
Naturally, all kitchen furniture should be selected in advance, even during the preparation stage. If you've planned everything in advance, there should be no unpleasant surprises. But some things can still be improved after placement.
The principles for placing kitchen furniture in a small apartment are very simple: there should be several countertops between the refrigerator, sink, and stove, one of them a working surface with reliable coating and lighting.
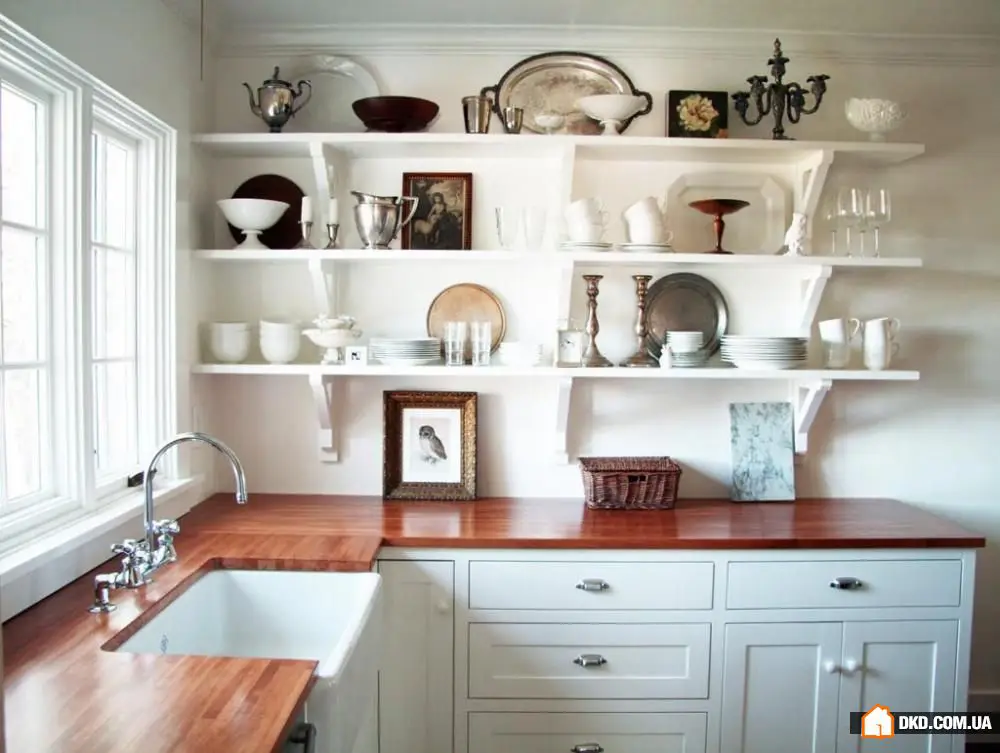
Sometimes it's not possible to install a kitchen cabinet – for example, if the wall is too thin and you can't hang shelves on it. Or there just isn't enough space for a cabinet. In this case, use wall-to-ceiling shelves – and also instead of floor modules.
What's Important:
Open shelves are less convenient than drawers. Plan for dividers, containers, baskets, and find a place for each item.
What's Important:
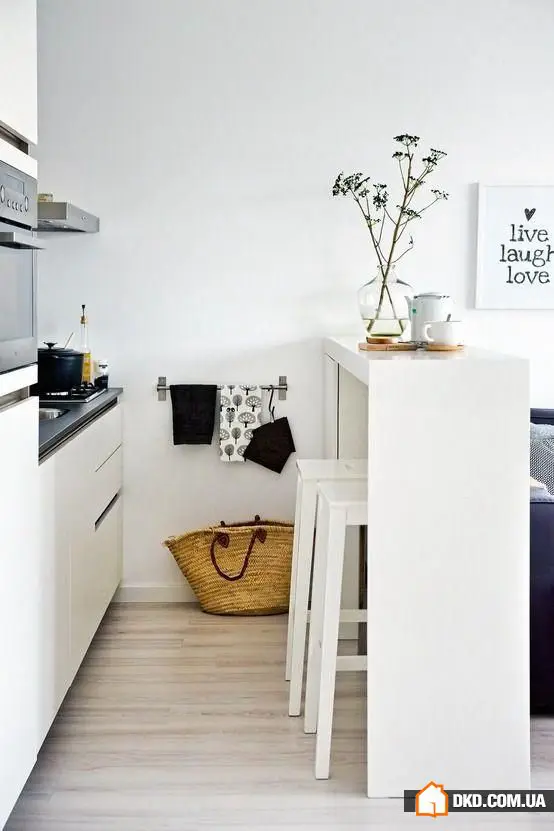
If the space is very small, don't use standard tables. Choose compact models or make them yourself. For example, a table resembling a bar counter is much smaller than a regular one. With it, you can separate the relaxation corner from the working zone, arrange several stools around it, and use it as an additional work surface. The main thing is that this approach frees up space for a cozy seating area.
You can organize a 'dining area' on the kitchen not around a table but around... a sideboard. If it turns out to be mobile, there will always be a place for it in a small kitchen. Including for experiments.

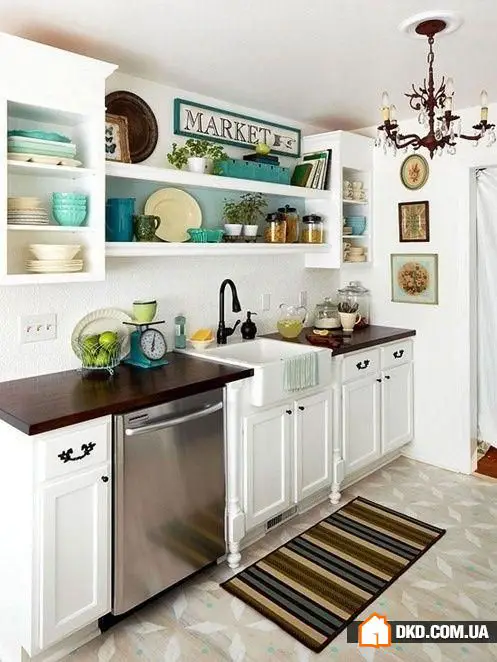
Step #8: Add Beauty and Convenience
Leave all the most beautiful items visible, hide what is not needed on a daily basis. Curtains, cushions, vases, and lamps, beautiful dishes, and framed photos instantly fill the kitchen with comfort. Rails with hooks, hanging shelves, chalkboards and magnetic boards, and miniature scales will help maintain order in a busy household – and make your kitchen chores truly pleasant.
Need a renovation specialist?
Find verified professionals for any repair or construction job. Post your request and get offers from local experts.
You may also like
More articles:
 How to Decorate the Foyer: 9 Universal Feng Shui Rules
 How to Decorate Interior: 15 Trends of 2015
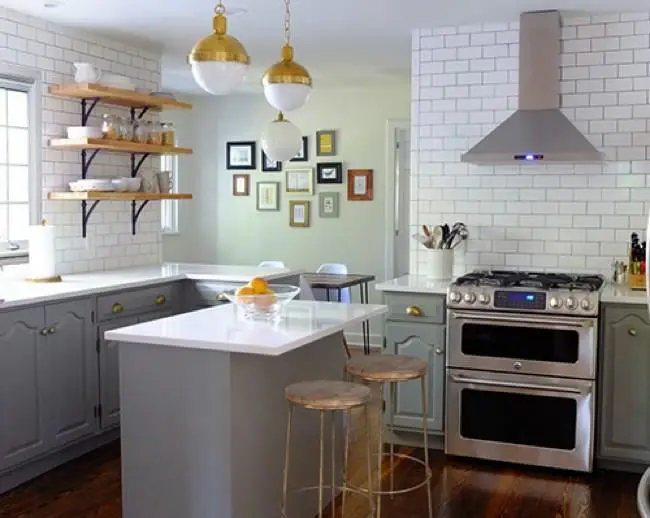 Before and After: Cosmetic Kitchen-Dining Room Renovation
 How to Create a Beautiful Interior and Save Money: 10 Tips You Didn't Know About
 Tile in Interior Design: 30 Best Examples of Decoration
 25 Excellent Ways to Divide Space in a Room
 Concrete Wall in Interior: 4 Ideas, 20 Best Examples
 How to Do Cosmetic Bathroom Renovation: 7 Essential Tips