How to Quickly Insulate a Balcony: Step-by-Step Guide
With the arrival of cold November weather and the inevitable approach of winter, it's time to think about how to retain and preserve precious heat in your apartment. To avoid spending money on inefficient room heaters, we recommend solving this problem once and for all by properly glazing and insulating your balcony. Even the coldest and unattractive loggia can become a full-fledged part of your home — just as cozy and indispensable.
Step #1. Windows First: Choosing and Installing Windows
Installing windows is the first step in balcony glazing. Choose strong and airtight window units. Pay attention to plastic windows with double-glazed units (at least 32 mm) and opening sashes: these windows will prevent cold air from entering the room. For better heat retention, choose energy-efficient glazing units.
The window frame must also be sturdy. Balconies are often glazed with frames made of wood, aluminum, or PVC. Wooden frames are generally cheaper but may have issues with airtightness and thermal insulation. If it's really very cold in your home during winter, wooden frames won't be suitable for balcony glazing. Aluminum, like wood, has high thermal conductivity. To retain heat, you can buy an aluminum frame with thermal break between internal and external layers and a non-metallic interior lining, but these frames are more expensive.
The most economical option for balcony glazing is PVC frames. This material is not the strongest, but it is resistant to moisture and sudden temperature changes. The main advantage of PVC frames is low thermal conductivity, which ensures real warmth and comfort on the balcony even in the coldest winter.
Step #2. No Cracks: Eliminating Gaps
After glazing the balcony, thoroughly seal all possible gaps and cracks in the windows with putty or sealant. Even the smallest gap can cause drafts and temperature drops on your balcony.
Step #3. The Main Heat Source: Choosing and Installing Insulation
When selecting material for insulation, remember that it must have low thermal conductivity to better retain heat in the room. Polystyrene foam is often used for balcony insulation because it is lightweight, durable, and easy to cut with a knife. In a pinch, you can also buy cheaper polystyrene sheets that will work just as well for effective balcony insulation.
After purchasing thermal insulation material, proceed to its installation. Insulation can be attached using plugs or adhesive — in both cases, joints should be filled with construction foam. Note that the adhesive and foam must not contain harmful to health toluene.
Step #4. To Be Even Warmer: Insulating the Floor
Don't forget to buy additional heat sources on the balcony, such as a heated floor, convector, or electric fireplace. Then your balcony will be truly warm every day of the year.

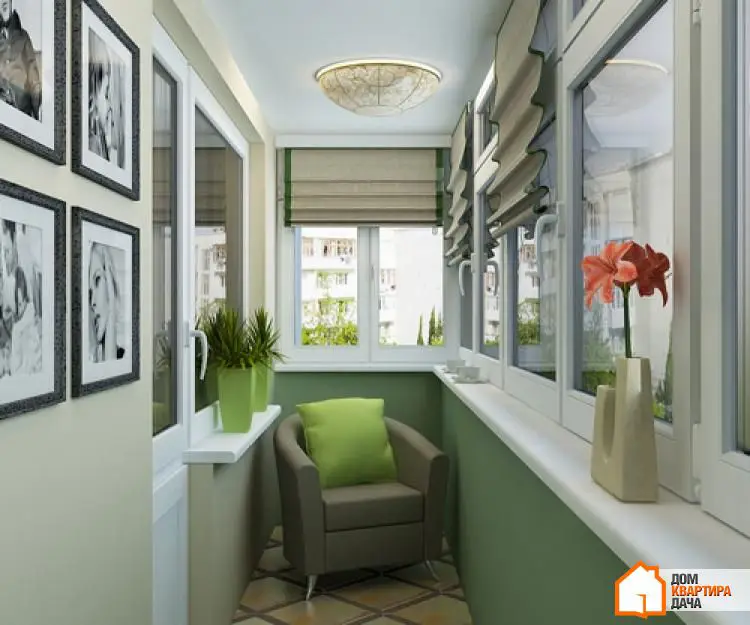
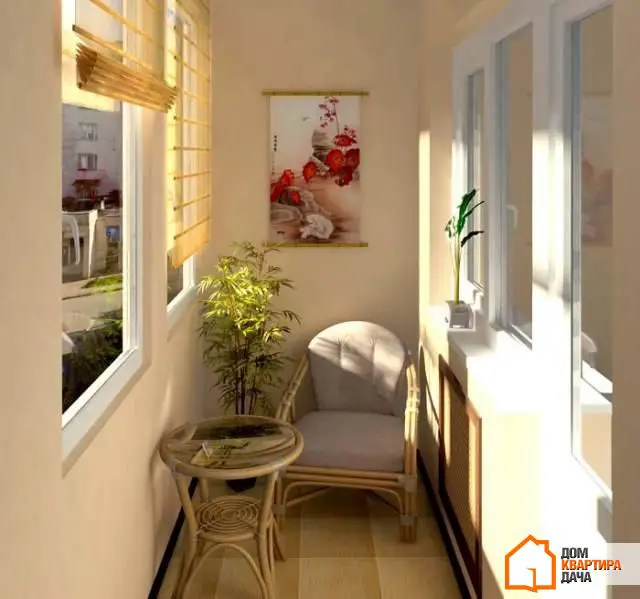
Step #5. Final Touches: Decorating the Insulated Balcony
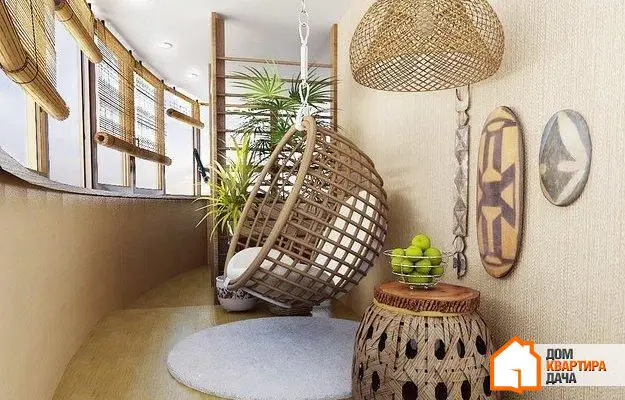
On the final stage of balcony insulation, unleash your creativity and experiment a bit. Balcony walls can be finished with gypsum board (which you can paint in any color of your choice) or, for example, wooden panels. Remember that texture is one of the key elements in design, as it adds interesting features and variety to the interior, defining its style and creating a particular mood. Decorate the balcony using natural materials like brick, stone, clay, or even fabrics.
You can visually expand the space of your balcony using metal, glass, and polished wood, which create smooth and glossy surfaces.
Need a renovation specialist?
Find verified professionals for any repair or construction job. Post your request and get offers from local experts.
You may also like
More articles:
 21 Examples of Quality Bathroom Design
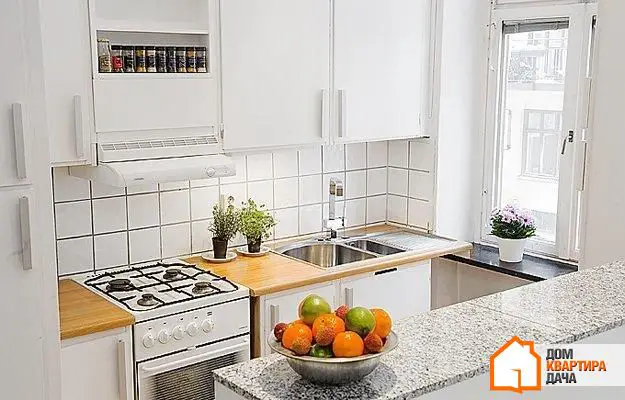 How to Refresh Your Kitchen Interior in 48 Hours: 10 Effective Ideas
 Bedroom and Storage Systems: 6 Ideas, 40 Examples
 Guide to Small Bathrooms: 10 Useful Ideas
 How to Save on Electricity: 12 Effective Tips
 How to Organize a Dining Area in Limited Space: 10 Ideas and Solutions
 How to Organize Kitchen Storage: 11 Tips and Ideas
 Bedroom Ideas: 6 Trendy Color Combinations