There can be your advertisement
300x150
Common Mistakes to Avoid When Installing Glass Blocks in Your Next Project
Glass blocks are an excellent way to enhance your home's design, offering a unique blend of aesthetics and functionality. They allow natural light to enter while maintaining privacy, making them a popular choice for various rooms. However, installing glass blocks can be challenging, and even small mistakes can lead to unsatisfactory results. Here are some common pitfalls to avoid so that your next glass block project is successful.
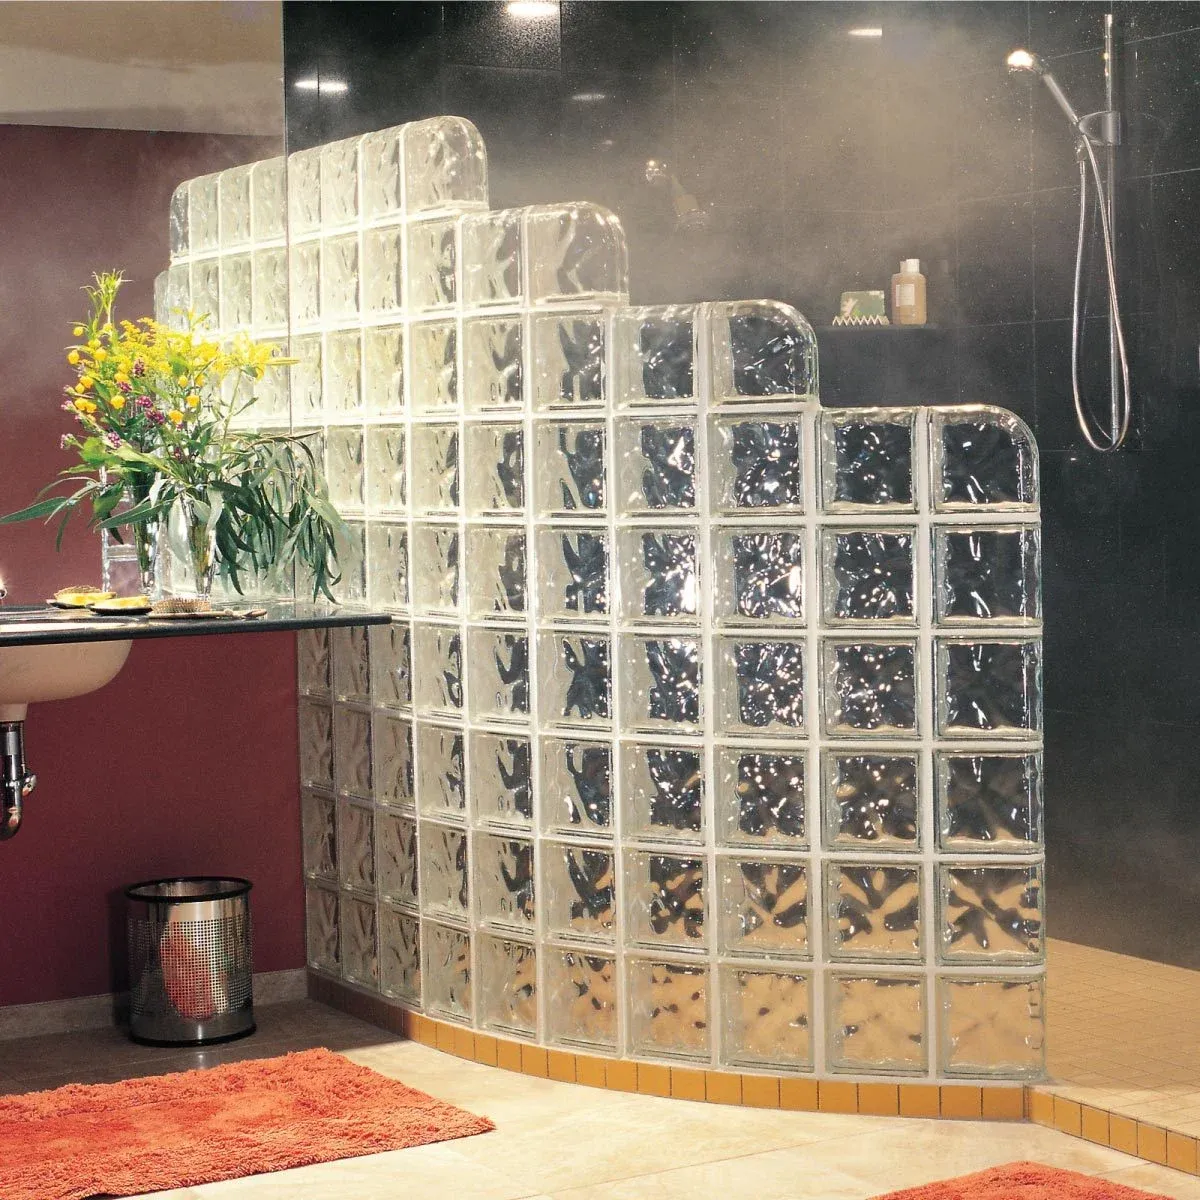
1. Inadequate Planning
One of the most serious mistakes is starting a project without a clear plan. Successful installation begins with thorough preparation.
- Design Concept: Before beginning, spend time sketching your project. Consider the size, color, and texture of the glass blocks you will use. Placing the blocks on the floor before installation helps visualize the final result.
- Accurate Measurement: Precise dimensions are key. Measure the installation area multiple times to ensure correct quantity and size of blocks.
2. Incorrect Material Selection
Not all glass blocks are the same, and using inappropriate materials can cause problems during installation and over time.
- Quality of Glass Blocks: Choose high-quality glass blocks designed for construction. Cheaper options may lack the same strength or aesthetic appeal, leading to future issues.
- Choosing Adhesive: Use adhesive specifically designed for glass blocks. Regular tile adhesive may not provide the necessary bond or flexibility, especially in high-moisture environments.
3. Neglecting Surface Preparation
The surface on which glass blocks are installed must be properly prepared to ensure a strong installation.
- Cleanliness and Level: Ensure the surface is clean and free from contaminants. Dust or dirt can interfere with adhesion. Also check that the surface is level; an uneven base may cause blocks to shift.
- Using Support Structures: If working with large blocks or tall structures, consider using support frames or scaffolding. This helps keep the blocks in place while the adhesive cures.
4. Skipping Test Assembly
One of the most common mistakes is skipping a pre-adhesive test fit.
- Installing Without Adhesive: Before applying adhesive, lay out the blocks in your desired pattern without glue. This stage allows adjustments and ensures all elements align properly.
- Identifying Issues: A test assembly can reveal potential problems such as incorrect sizing or poorly matching design elements. Solving these issues before installation saves time and frustration.
5. Uneven Adhesive Application
Inconsistent adhesive application can cause gaps and misalignment, undermining the entire installation.
- Even Application: Use a trowel to apply an even layer of adhesive on the surface and sides of glass blocks. Uneven application can cause shifting or poor fit.
- Using Spacers: Use spacers between blocks to maintain consistent gaps. This creates a uniform appearance and helps achieve proper adhesion.
6. Rushing the Curing Process
Patience is crucial for proper adhesive curing.
- Following Manufacturer Instructions: Adhesive typically requires a specific curing time before it can be disturbed. Accelerating the process may cause shifting or even damage to blocks.
- Avoid Applying Pressure: Avoid pressing or applying pressure to blocks until the adhesive has fully cured. This is especially important for tall installations.
7. Insufficient Joint Sealing
After installing glass blocks, attention must be paid to the joints between them.
- Using Sealant: After the adhesive has cured, apply a quality sealant to the joints. This protects against moisture and prevents mold or mildew growth, especially in bathrooms or kitchens.
- Regular Maintenance: Over time, inspect the joints and reapply sealant as needed to maintain installation integrity.
Conclusion
Installing glass blocks can elevate your home's design while providing practical benefits. By avoiding these common mistakes, you can ensure a successful installation that enhances both the beauty and functionality of your space. Proper planning, correct material selection, surface preparation, and attention to detail play a vital role in achieving desired results. With careful execution, your glass block project can become a stunning focal point in your home for years to come.
More articles:
 Materials, Colors, Fabrics That Will Be Trendy in Beds and Bedrooms in 2022
 Maulin Hotel by AVON Arquitectos in Chile
 Maximalism, step by step: 4 stages of designing a maximalist interior
 Maximalism and Minimalism — Finding the Perfect Balance in Home Decor
 Maximizing Visual Impact: How Large-Format Ceramic Tile Enhances Spatial Perception
 Maximize Your Garage Space with These 10 DIY Height Storage Solutions
 Maximize Your Garage Space with Eight Simple Solutions
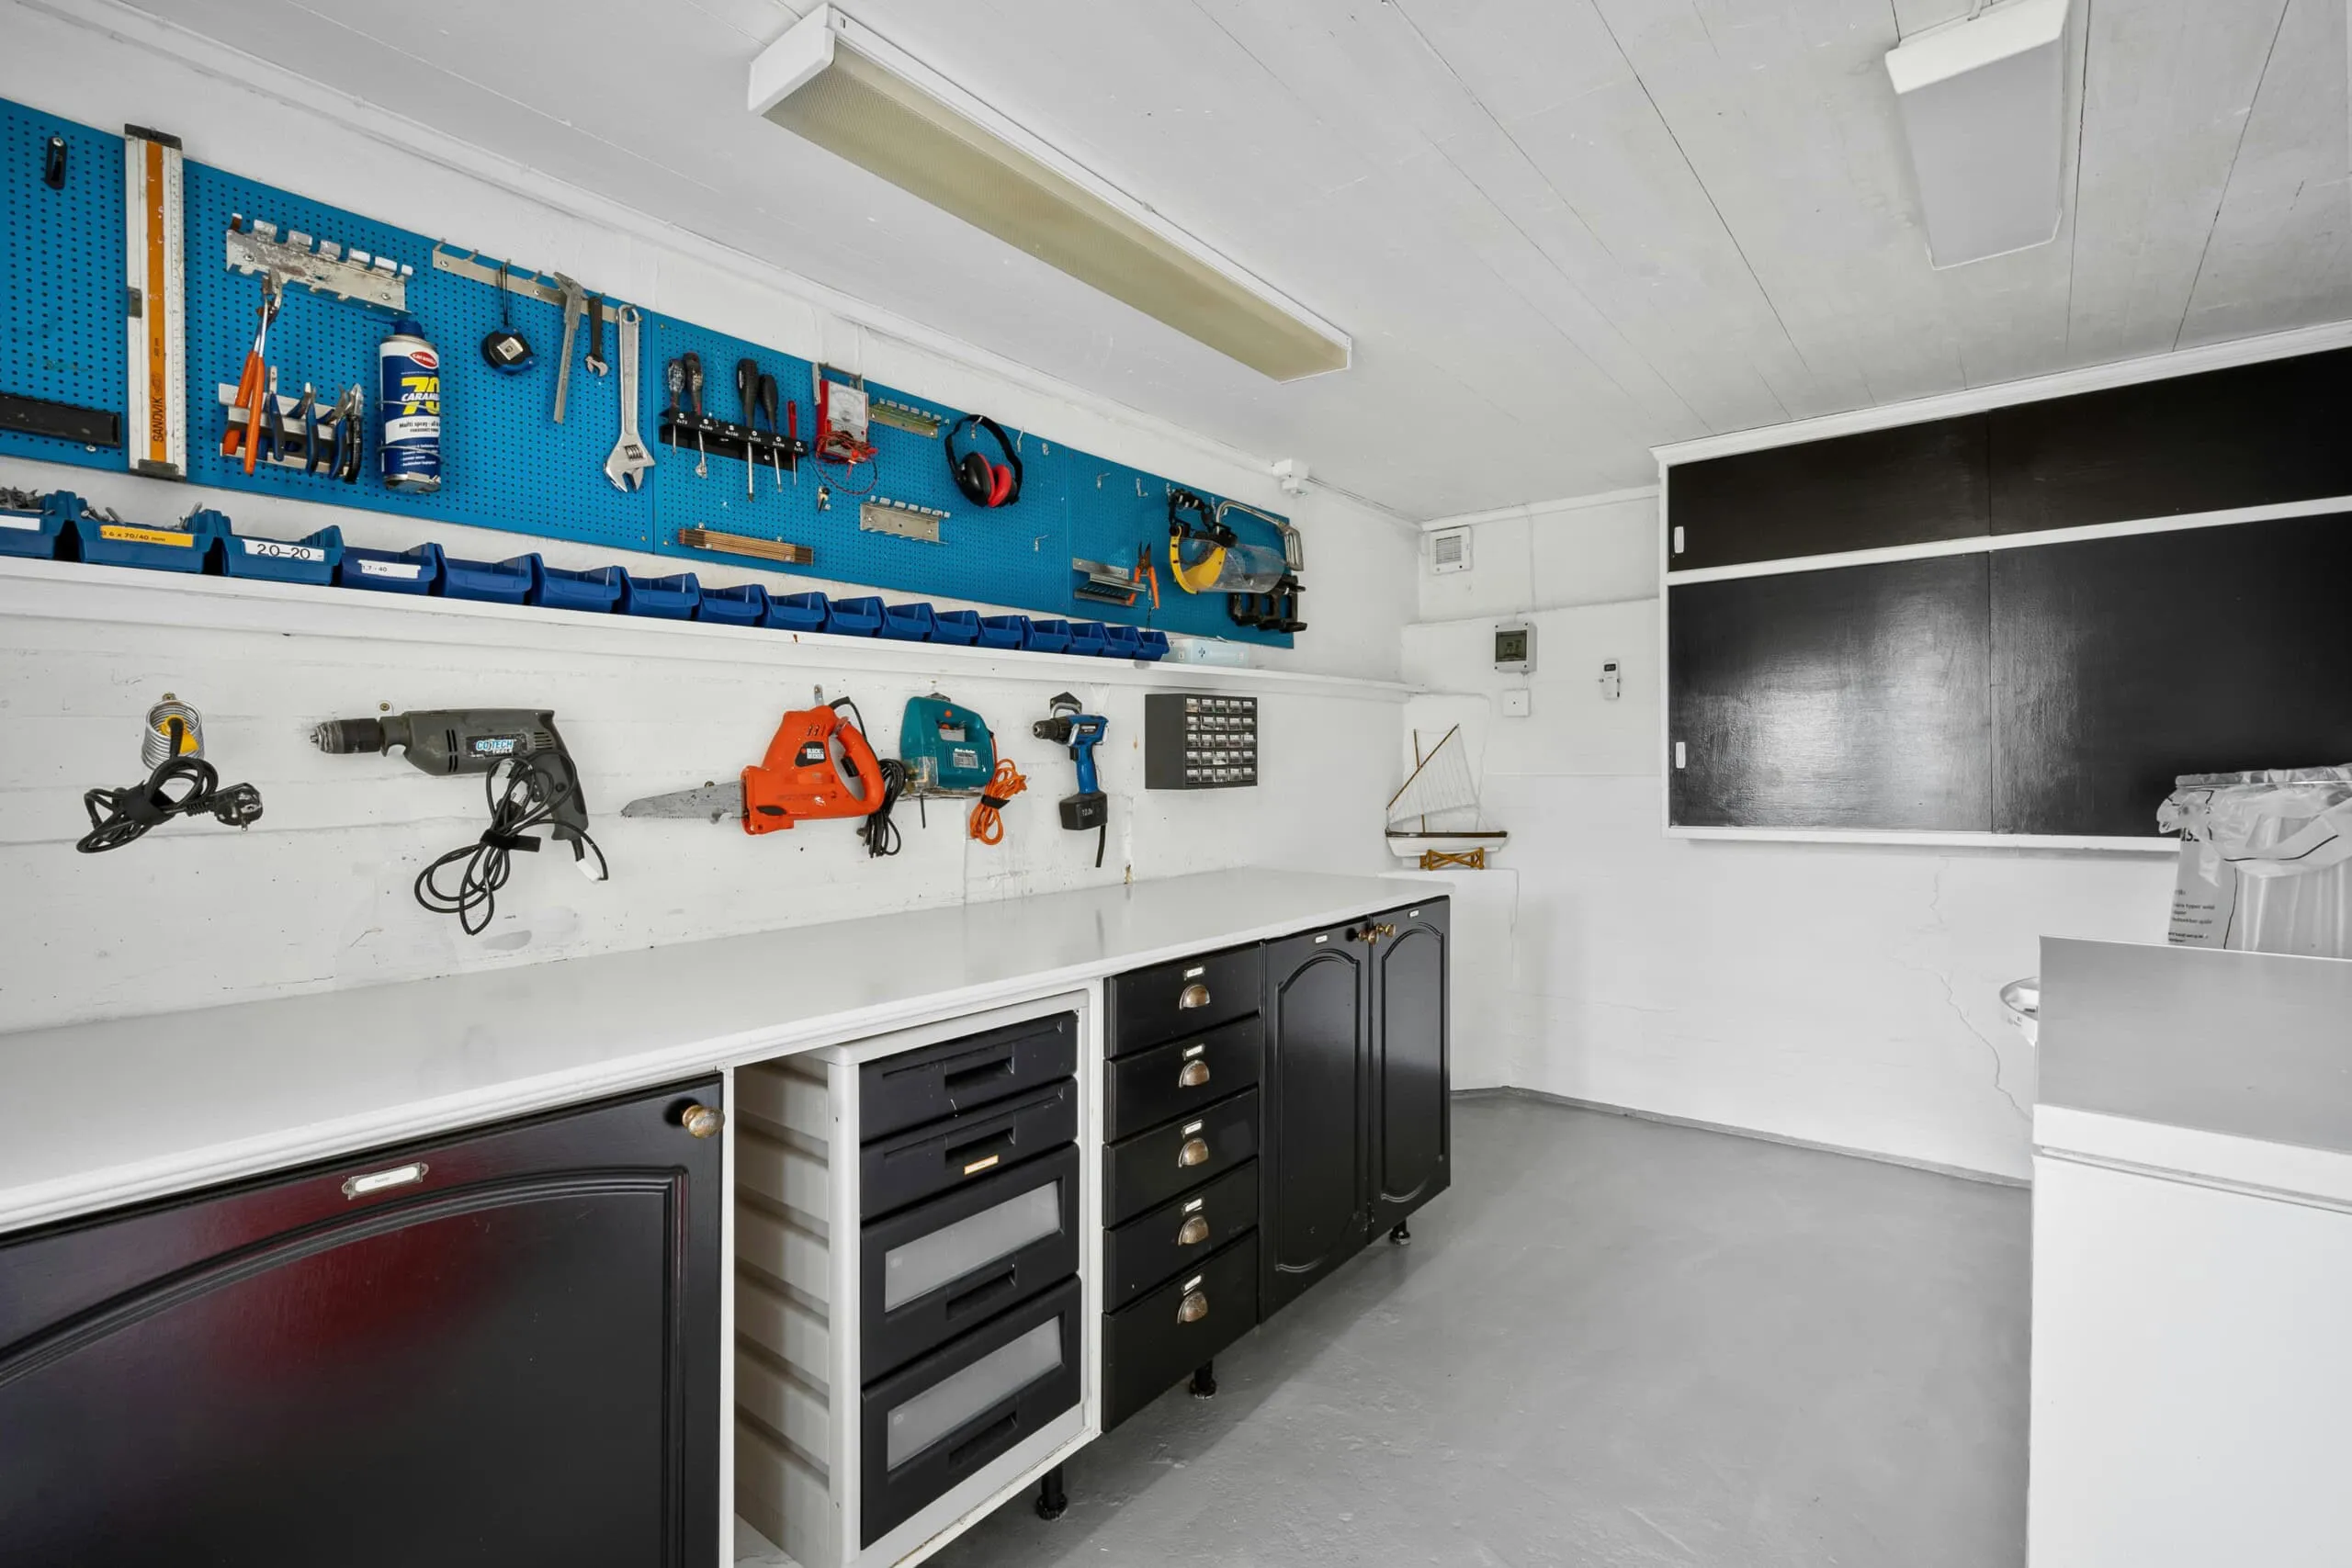 Maximize Space: Convert Your Garage into a Workspace and Storage Area