General Installation Instructions for Mixing Valves of Various Types
Photo 1 — Mixer on the Kitchen
Life in the kitchen without a mixer becomes not only uncomfortable but terrible in many ways; therefore, installing a new or replacing an old mixer on the kitchen is, essentially, a life-and-death necessity. Indeed, among all kitchen equipment, the mixer holds a special place.
Installing a mixer on the kitchen
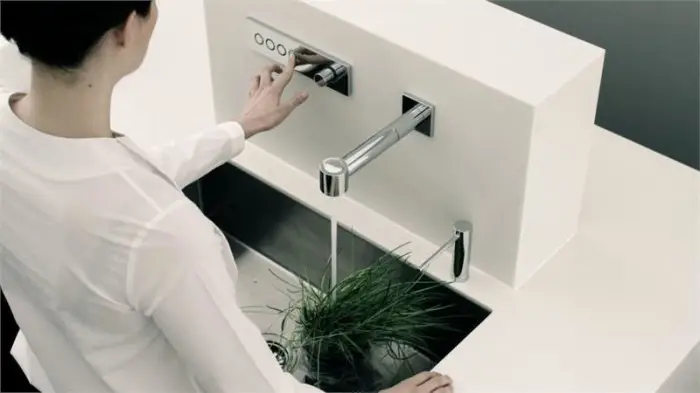
Photo 1 — Mixer on the Kitchen
Life in the kitchen without a mixer becomes not only uncomfortable but terrible in many ways; therefore, installing a new or replacing an old mixer on the kitchen is, essentially, a life-and-death necessity. Indeed, among all kitchen equipment, the mixer holds a special place.
The choice of a mixer for the kitchen begins long before visiting a store; this is not only because the design of a convenient kitchen mixer differs from that of a shower mixer, but also because mixers, like everything around us, constantly change and improve, just as kitchen furniture does. The presence of furniture near the mixer determines its design — purchasing a wall-mounted, built-in, or concealed mixer depends on how much space is allocated for it on the kitchen.
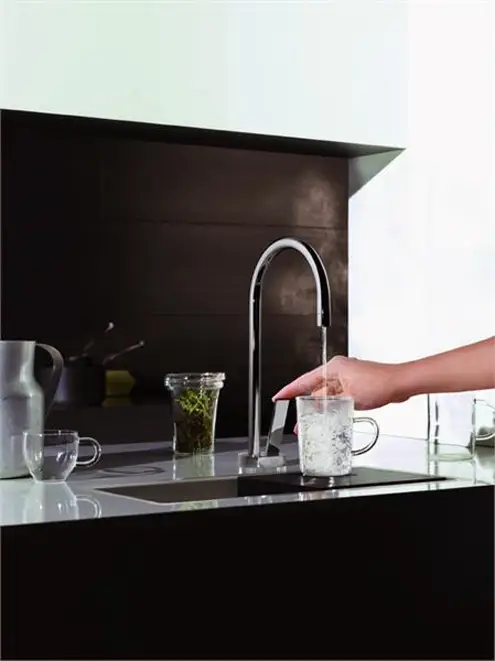
Photo 2 — Joystick Kitchen Mixer
Structurally, the mixer is connected to the sink, so it's not surprising that the designs of mixers installed on sinks have the most widespread use: they have standard mounting and dimensions, which makes installation the simplest. Usually, mixers for both kitchen and bathroom installations come with an installation manual (the manufacturers of counterfeits do not burden themselves with such details) to mount in the wall, in gypsum board, on a table (into the countertop), or on the sink and so forth.
In each specific case, installation specifics vary, but quality requirements remain the same; thus, the installation of a specific mixer model (video from manufacturers in general varies in quality) can be prepared by watching the video 'Installation of Mixer by Manufacturer'.
Installing a Mixer: VIDEO
General Installation Instructions for a Mixer
Ways to Mount Mixers
There are many options for installing mixers on the kitchen sink, but differences for the most common one — the sink — lie only in the mounting method. In this case, mounting can be done either with a nut or with 'needles'.
IMPORTANT! First, you must ensure that it is possible to shut off the water supply in this location and that there will be no inconvenience to others.
The presence of a shut-off valve on the kitchen is, in general, a rare thing in standard apartments, so you will probably have to shut off the water supply entirely. Since having shut-off valves provides several advantages, it is recommended to purchase and install them — in the future, they can reduce the negative impact of supply interruptions.
Replacing the Supply Pipe with a Better One
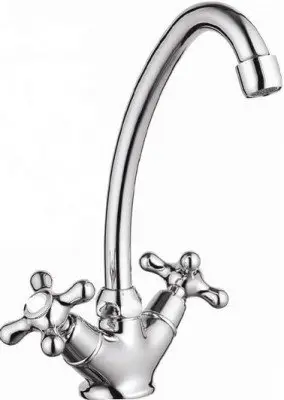
Photo 3 — Valve Kitchen Mixer
The newly purchased mixer for the shower or kitchen is usually supplied with low-quality supply pipes — flexible connectors, so it's worth worrying and buying more reliable ones. Note that the left hose connects to hot water, and the right one to cold water.
IMPORTANT! Avoid over-twisting these hoses — a 'turn' or bend in the hose should take up at least half a meter, which practically does not affect the flow rate and creates no additional stress inside.
The rules for installation do not regulate what tools can be used when installing a mixer, but to preserve the elements of the unit, it is possible to cover the key pads with tape to avoid scratching the surface of the nuts. Moreover, conditions in the bathroom and kitchen are quite aggressive, so it's important to remember that the better and longer the metal of the mixer is protected, the longer it will last.
Connecting the Supply Pipe to the Mixer
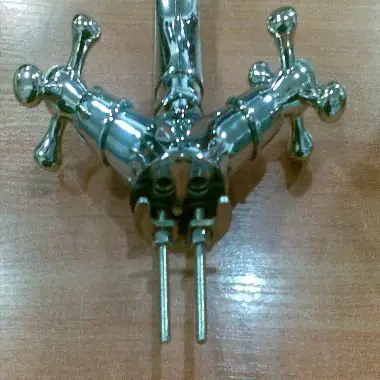
Photo 4 — Mounting a Kitchen Mixer
After mounting the mixer itself, connect the supply pipe. There are two opinions regarding which material and version of the supply pipe is better (including price-quality ratio) — bellows with corrugated surfaces or rubber pipes with metal meshing. To avoid appearing biased, arguments in favor of one of the mentioned variants are not provided here. It's more important to remember that the hoses should be as straight as possible.
IMPORTANT! The fittings should not be tightened 'to the end', i.e., fully and tightly — this can cause damage to gaskets or threads.
It is wiser to first tighten by hand, and then, approximately an hour later, check the connection and, if drops appear, tighten it further. After that, approximately an hour later, check again and, if everything is fine, don't tighten further.
IMPORTANT! The area for external inspection of the supply pipe must remain free, as it periodically needs replacement.
Flushing the Mixer
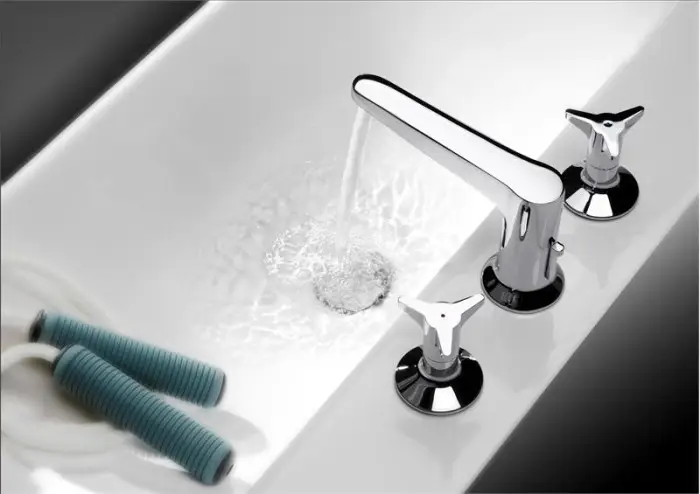
Photo 5 — Flushing an Embedded Kitchen Mixer
After full installation of the mixer, it must be flushed: to do this, remove the aerator if present and, alternately turning on hot and cold water 'fully', flush the mixer. The attitude towards grounding mixers is ambiguous. It is better to ground mixers where there is a common grounding busbar, even if the installation and operation manual for a specific mixer does not contain such instructions or recommendations.
IMPORTANT! For self-check: the cross-sectional area of the grounding wire should be no less than 6 sq. mm.
Installing a Mixer in the Bathroom
Design Features
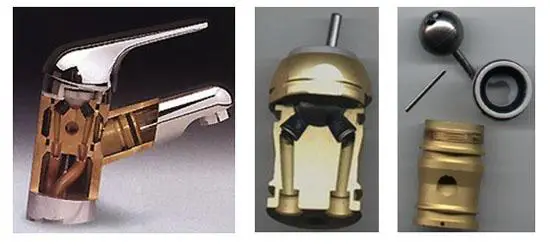
Photo 6 — Design Features of a Kitchen Mixer
Installing a mixer in the bathroom has several differences despite the general rules for installing a mixer over a bathtub or in a shower cabin being similar to those for the kitchen. Primarily, the height of installing a mixer in the bathroom may depend on the height of the bathtub itself (often related to each other) and the presence of a sink (sometimes it is simply missing). If the shower set, which includes the mixer itself, comes with some hoses, then, just as with a kitchen mixer, it's worth paying attention to their quality and replacing them if necessary with better ones.
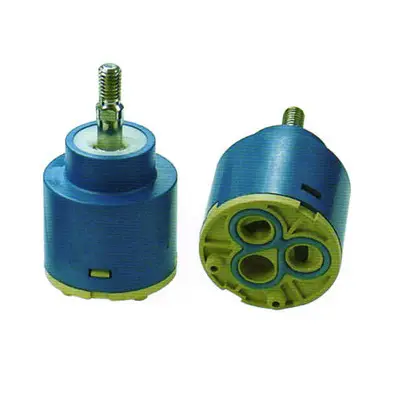
Photo 7 — Cartridge of a Kitchen Mixer
For bathroom plumbing, as with all other cases, it's important to have protection from mechanical damage to the internals of mixers.
IMPORTANT! Mechanical filters should be installed at the inlet to prevent small particles from entering and gradually wearing down the 'mirror' surfaces inside mixers.
This is especially relevant when one of two types of cartridges is used in the mixer — disc or ball. The latter is considered more reliable precisely because its wear from small particles in the water passing through is longer than that of disc mechanisms.
Choosing a Single-Handle or Two-Valve Mixer
The next point that deserves careful attention is choosing a single-handle or two-valve mixer.
IMPORTANT! The design of a two-valve mixer is more complex by default, which means it may potentially fail more often.
In addition, adjusting the flow of hot and cold water is done by regulating two handles instead of one, as in the case of a single-handle device. For example, in a disc-type single-handle mixer, regulating the flow and temperature of both hot and cold water is done with one lever by shifting the upper disc relative to the lower one — when the upper disc sits tightly against the lower one, water flow is completely shut off. As an alternative to the lever, modern mixers can have a joystick — it can be distinguished by vertical orientation; while the lever has a curved shape.
Valve taps and mixers are, essentially, 'yesterday's day', and this is evident even when using them. Lever or joystick mixers can be regulated literally with one finger, whereas two-valve mixers require at least one hand. Today, all leading manufacturers of mixer equipment (FERRO, ORAS, HANSA, ARMATURA, BLANCO, JACUZZI) continue to offer both single and double-valve mixers, as for most people, visually seeing two handles for hot and cold water is still a kind of necessity. In terms of design differences (regarding the specific uses of mixers in the kitchen and bathroom), diversity appears much more limited.
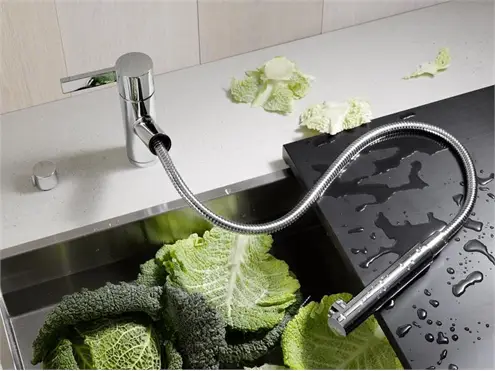
Photo 8 — Kitchen Mixer with Extendable Hose
Functionally, kitchen mixers are more mobile, and their mobility can be realized through degrees of freedom in the spout or by changing its length. The minimum in this regard is rotation, and the maximum is a flexible hose like a shower hose or various types of bayonet connections.
IMPORTANT! Vertical adjustment of the spout is much less common than horizontal adjustment — this fact should be taken into account when purchasing a sink or manufacturing custom-built cabinetry.
Another task that manufacturers try to assign to mixers is mechanical water purification.
IMPORTANT! The ideal solution in this regard is a system with replaceable filters that provides clean water on demand.
For this purpose, mixers are equipped with additional handles, sometimes even multiple ones — the water can even be enriched with beneficial substances, meaning that the list of functional capabilities of mixers is constantly expanding.
$ Cost of Mixer Installation
The cost of installing a mixer (generally, this refers to installing a mixer on a kitchen sink) in Moscow and Kiev looks approximately like this:
- Moscow — from 800 rubles
- Kiev — from 160 hryvnia
However, life never gives you the opportunity to get something for the nominal price — always something else is required and, generally, at market rates. In other words, replacing or installing a mixer will consist of several items for which you will have to pay.
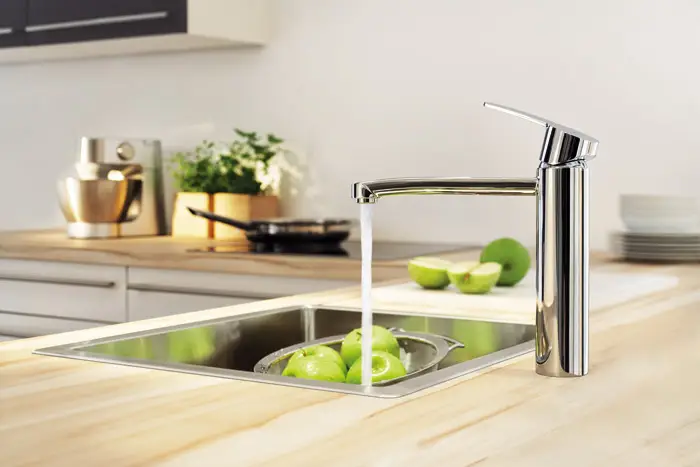
Photo 9 — Joystick Embedded Kitchen Mixer