How to Make a Gypsum Board Arch: Installation Technology
How to Make a Gypsum Board Arch Yourself: Step-by-Step Instruction
We start making the arch from gypsum board with measurements.
Object dimensions. For example, we have a door opening in a brick wall with a height of 2,100 mm and width of 800 mm. The top point of the arch will be located at a height of 2,000 mm and, since the opening width is 800 mm, the arch radius will leave half the width - 400 mm. Thus, the bottom point of the arch will be at 2,000 - 400 = 1,600 mm.
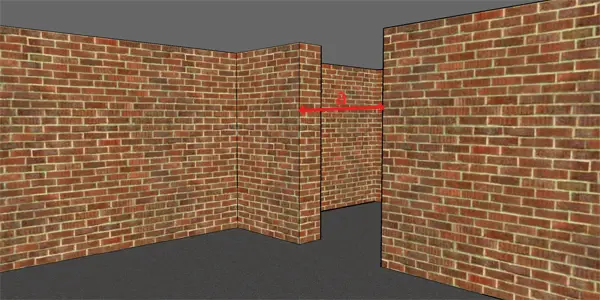
Photo 1 — Work Area
Along the perimeter of the opening (on both sides), we mount the UD-27 profile. The required length of the profile is calculated as follows:
(800 + 400 + 400)*2=3,200 (mm), i.e., 3.2 meters linear.
To fix the UD-27 profile to the wall, we need a drill and expansion anchors 6x40 mm (6x60 mm). Holes for mounting are made in the profile before installation (the fastening step will be 300 mm).
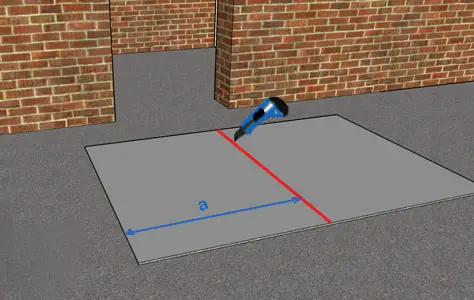
Photo 2 — Taking Measurements
Marking work. To cut a piece of gypsum board with the required radius of curvature, we need a gypsum board panel no less than 800x400 mm.
Place the gypsum board panel horizontally. Work should be done on a flat surface - a wide countertop or floor.
On the longer side of the gypsum board panel, make two holes with a diameter not more than 4 mm at a distance of 400 mm from each other.
Using a wooden ruler that is 410 mm or longer, mark point "1" at a distance of 400 mm from the edge.
IMPORTANT! As an alternative to the ruler, you can use segments of the UD-27 or CD-60 profile. The extra length of the ruler is needed to secure a screw in the center of the panel and a pencil for marking the arch's curve.
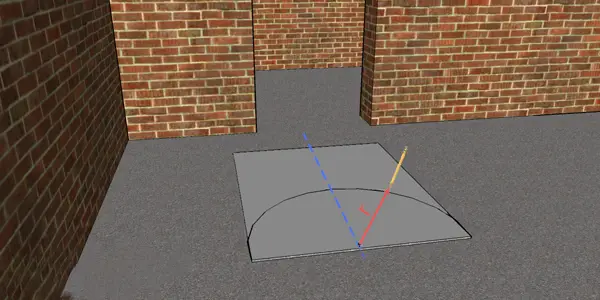
Photo 3 — Tracing the Arch's Outline
At point "1" on the screw, secure the end of the ruler or metal profile.
At the first point from the edge of the gypsum board panel, place a pencil, securing the lead at the end of the ruler and, rotating the ruler over the gypsum board panel, draw a circle of the desired diameter.
Cutting the Profile
Using a manual saw, cut the piece of gypsum board according to the markings. Following this scheme, we need to cut two identical pieces from gypsum board.
Align one of the arch pieces with the mounted profiles on the wall according to the marks. It's better to do these works with a partner who can hold the gypsum board. If working alone, you can attach the gypsum board piece with one or two screws.
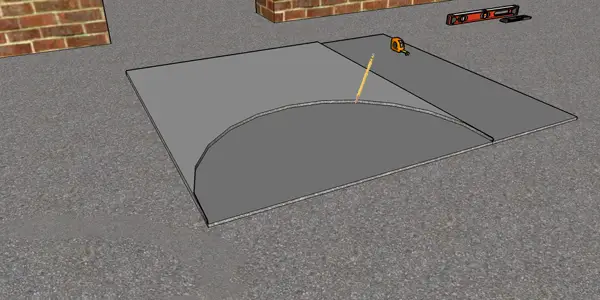
Photo 4 — Making a Mirror Piece of the Frame's Sheathing
Pay attention: there is an excess in the lower part of the mounted profiles that needs to be cut according to the arch shape. Make the appropriate marking and, after setting aside the gypsum board sheet, cut the profile with metal shears or a grinding machine. You should perform this operation 4 times - for each of the 4 vertical profiles mounted.
Installing Arch Pieces
After trimming the profile, we can proceed to fix the previously made arch pieces. The fastening step for gypsum board to the UD-27 profile is between 250 and 300 mm.
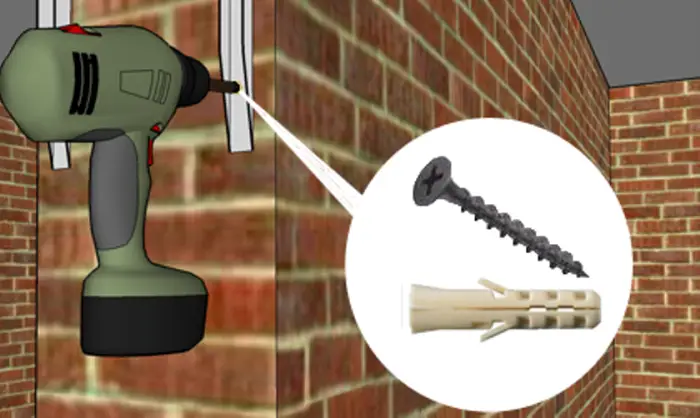
Photo 5 — Securing the Trimmed Profile
Calculate the length of the profiles for mounting gypsum board on the arch radius.
From the formula for the circumference of a circle (2πR), we know all the values: π=3.14, R=400.
We are working only with half a circle. Thus, we have:
2πR/2=πR=3.14*400=1,256 (mm)
I.e., the mounting profile to cover the arch's bend must be at least 1,256 mm in length.
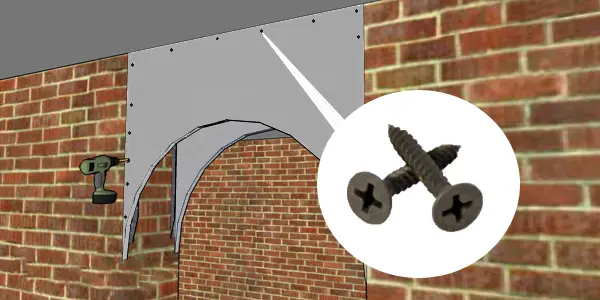
Photo 6 — Installing the Sheathing
Manufacture a bent profile for this mounting.
Bending the Profile
How to bend a profile? With metal shears, make symmetrical cuts on both sides of the profile with a step of 40 mm, as it is almost impossible to bend the profile without cuts.
After making the cuts, bend the profile according to the existing radius.
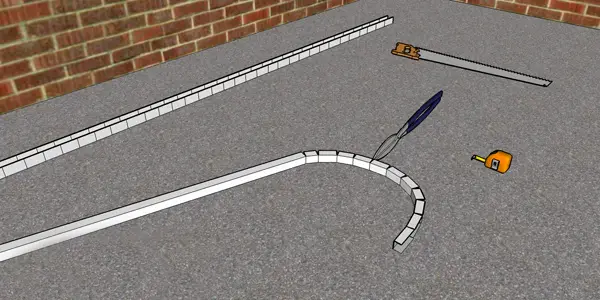
Photo 7 — Cutting and Bending the Arch Profile
Mounting the Arch Profile
How to assemble a structure with a bent profile? Start mounting the profile from the bottom end of the arch, gradually screwing the piece to the gypsum board. Mounting the profile on the gypsum board should be done with a screwdriver and screws for gypsum board of type MN 25.
The bending points of the profile should be screwed in by 2-3 mm inward into the structure.
IMPORTANT! The profile must not protrude beyond the edge of the arch.
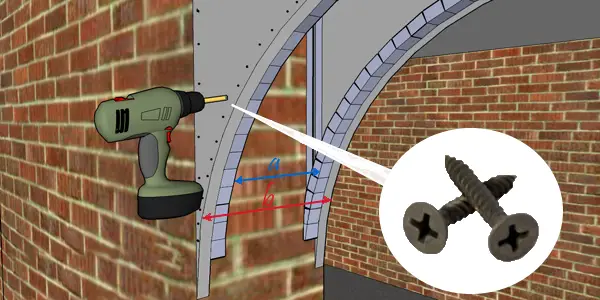
Photo 8 — Mounting the Arch Profile
When reaching the opposite end of the gypsum board bend, secure the profile with a screw and cut any excess if necessary.
The second method of mounting the arch profile is from the center: by connecting the central point of the gypsum board bend and the center of the arch profile, first screw the profile on one side of the structure, then the other.
IMPORTANT! If the distance from the center point of the top edge of the gypsum board to the center of the arch bend is 600 mm or more, it is mandatory to install crossbeams made from CD-60 profile to hold the structure.
Mounting the curved gypsum board sheet completes the installation of the arch from gypsum board in the door opening.
Manufacturing a Curved Gypsum Board Piece
How to make a curved gypsum board piece? Interior arches made from gypsum board often include bent elements. Craftsmen use the following methods for manufacturing this element:
- You can buy a thinner gypsum board - no more than 9.5 mm thick (manufacturing a curved piece with this material is significantly easier due to its flexibility and plasticity);
- The second option relates more to the size of the arch, as the larger the radius of the arch, the easier it is to bend the gypsum board sheet;
- You can also bend the gypsum board using a wet method by soaking the sheet in water and passing it through a needle roller, then securing it to a bending template.
IMPORTANT! Decorative elements for making an arch from gypsum board in a corridor, hallway or any other room should be cut with a width that is 4 mm less than the wall width. In our case, we need a piece measuring 1,230x296 mm (since the structure width is 300 mm).
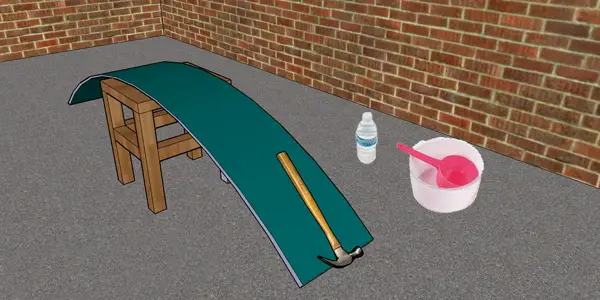
Photo 9 — Bending the Gypsum Board Arch
We will also bend the gypsum board using the "wet" method, but without perforating the sheet, as we use thin gypsum board: the board should be thoroughly moistened on both sides with a roller or sponge and after 15-20 minutes carefully attached to the arch profiles.
The fastening step should not exceed 15-20 cm.
Finishing the Joints and Spackling the Seams
After that, you can proceed to finish the joints and spackle the seams of the gypsum board sheets.
How to spackle the joints of gypsum board panels? The mounting seams are filled with spackle, then a serpentine tape is placed over the seam and spackled again. Then comes spackling of the depressions from the screws and final finishing of the sheets.
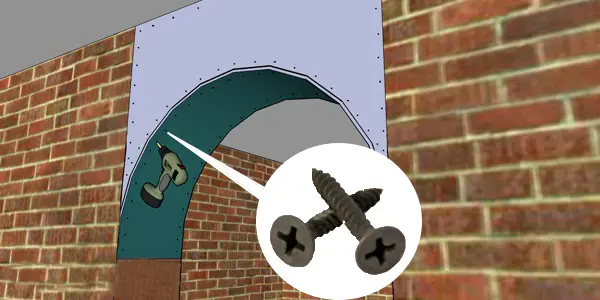
Photo 10 — Mounting the Gypsum Board Arch
How to decorate an arch? Decorating a gypsum board arch often involves installing built-in lighting. Point light fixtures can be hidden in the wall, not just on the curve of the gypsum board. An arch with backlighting is not only a beautiful but also functional element in interior design.
How to Make a Gypsum Board Arch: VIDEO
Gypsum Board Arches: Design
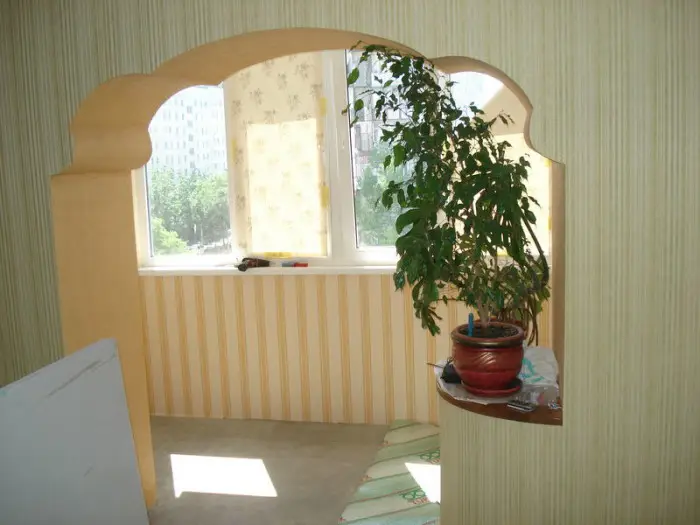
Photo 11 — One of the Ways to Decorate a Gypsum Board Arch at the Balcony Entrance
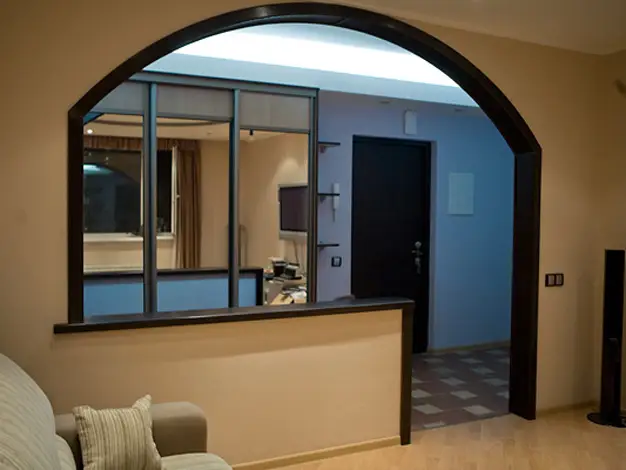
Photo 12 — Arch from Corridor to Hall
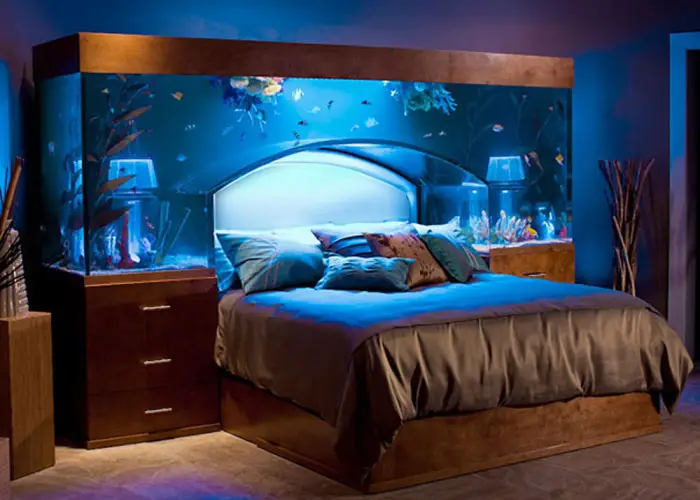
Photo 13 — Unusual Arches Over the Bed (Made Only on Order). The Same Structure Can Be Built from Gypsum Board, But Not for an Aquarium
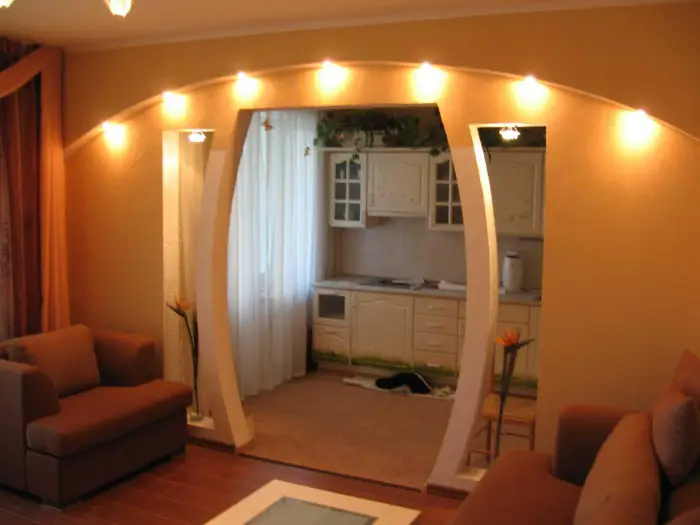
Photo 14 — Original Arches with Columns
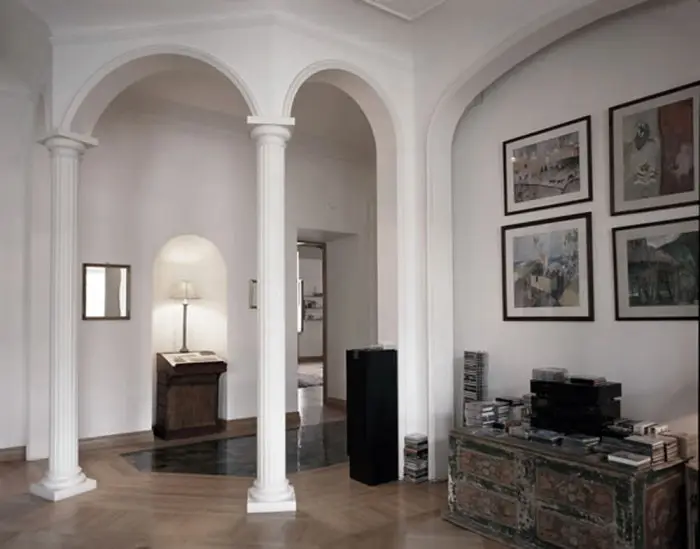
Photo 15 — Finished Gypsum Board Arches - Beautiful and Eye-Catching Elements of Classical Interior in a Modern Apartment
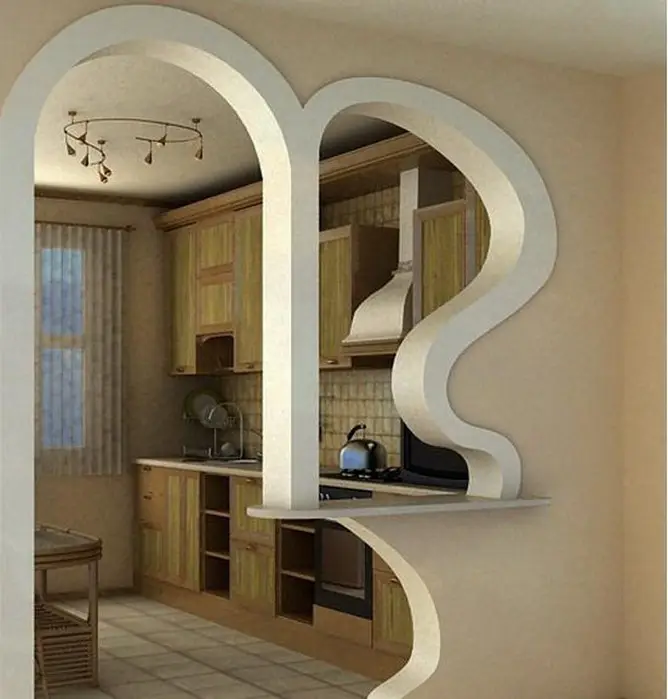
Photo 16 — Asymmetrical Arches
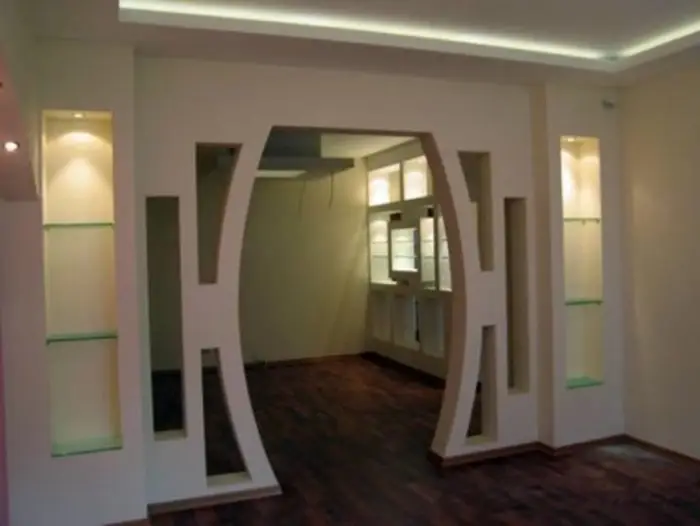
Photo 17 — Modern Solutions - Wide Arches
Semi-Arc from Gypsum Board
A semi-arc is a popular variant of gypsum board constructions used to decorate door openings. Its difference from an arch is the simplified frame: wall profiles are mounted only on one wall, so in the end, a semi-arc represents a quarter circle inscribed into the door opening.
Making a Semi-Arc Yourself
A semi-arc is installed following the same principle as a gypsum board arch, but only in a "half" version of the work. Therefore, building a semi-arc should not pose any problems for you. The mounting and preparatory work with this type of construction is even less than with the standard version.
In addition to the semi-arc, there are also other types of arches, shown below in photos.
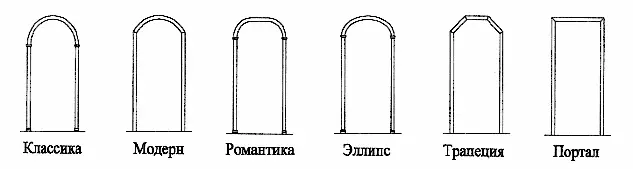
Photo 18 — Some Types of Gypsum Board Arches
The following were used in the work:
- anchors 6x40 or 6x60 mm for mounting profiles to walls (step up to 400 mm);
- screws LN 9, LN 11 (self-drilling screws with sharp tips), or LB 9, LB 11 (self-drilling screws with drill bits);
- screws MN 25, MN 30 for mounting gypsum board sheets to the metal frame.
Gypsum Board Arches by Yourself: VIDEO
$ Cost of Gypsum Board Arch
How much does it cost to install a gypsum board arch
in Moscow - from 190 rubles/m²;
in Kiev - from 56 UAH/m² (price for gypsum board shaped structures).