Installation of a Groove Ceiling. Or How to Assemble a Ceiling by Yourself
We remind you that a suspended groove ceiling is suitable for any type of room, whether it's a bathroom, toilet, kitchen or hallway.
Such a ceiling will look appropriate everywhere. The main thing is to choose the right color and shape.
By the way, the installation of a groove ceiling can be done in three ways:
- Closed (there are gaps between panels in the form of recesses with material similar to the main panels' color);
- Open (decorative inserts can be installed in the gaps between panels);
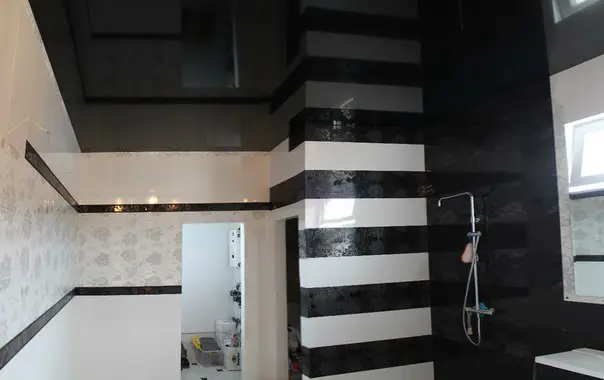
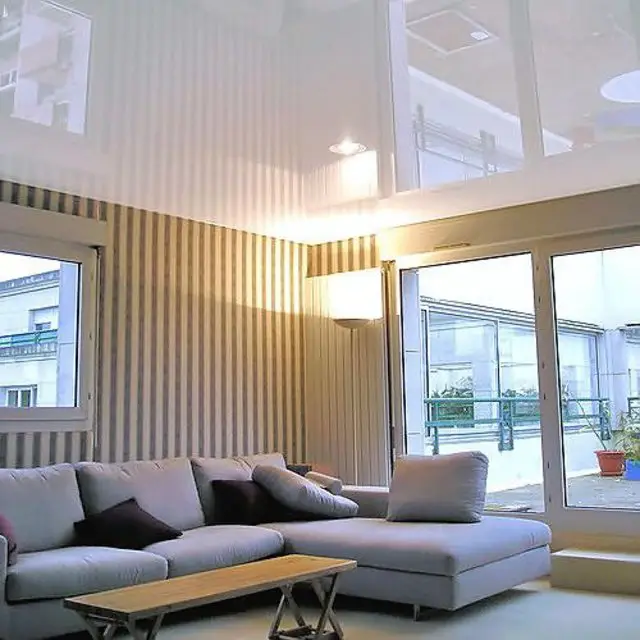
- Jointless (there are no gaps between the rails).
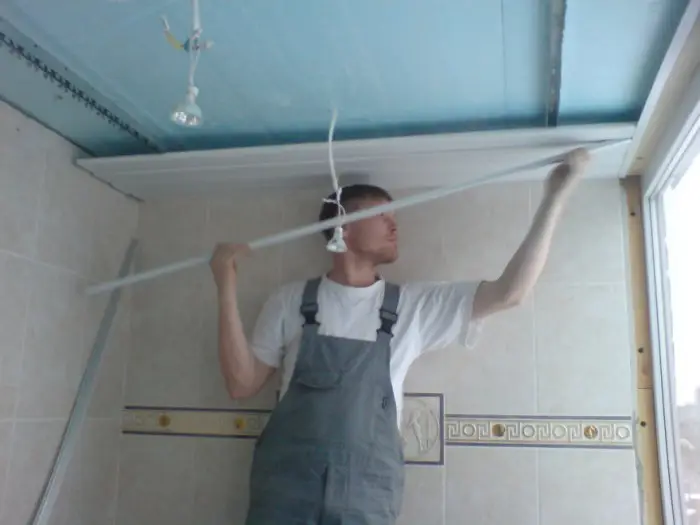
Photo 1 — Installation of a Groove Ceiling
Installing a groove ceiling by yourself is quite realistic, since the ceiling structure is quite simple. What's good is that removing a groove ceiling is also easy to do. If needed, you can easily take it apart at any point when, for example, access to hidden utilities behind the rails is required.
Choosing Materials
If you've reached the stage of installation, it means you have already made your final decision and know the advantages of such a suspended system (ease of assembly, eco-friendly materials, moisture resistance, stability against temperature fluctuations, durability). Therefore, let's move on to the design and installation instructions for a groove ceiling.
Basically, the traverses (steel or aluminum) are a profile with teeth, which the ceiling rails hook onto. However, it's better to buy the rails together with the traverses from one manufacturer, as each type of rail has its own specific traverse. Therefore, to avoid confusion and ugly gaps, it's better to purchase everything from one company. Consultants will help you select the appropriate elements.
By the way, about materials. Before purchasing, you should calculate how much and what materials you need. Once we've decided on the color and appearance, we can proceed.
First, measure the perimeter of the room – this will help us determine the length of the P-shaped profile. We will fix this profile on the walls. This profile is needed so that the ceiling neatly adheres to the walls.
Next, calculate the total length of the load-bearing comb-like elements (stringers). For this, we mark the ceiling perpendicular to the planned direction of the decorative panels, at intervals of up to 1 meter.
After calculating the total area of the room, we determine what the area of the suspended ceiling should be.
Now we can go to the store and buy either a set (including rails, profiles, and stringers), or assemble the set ourselves using our calculations.
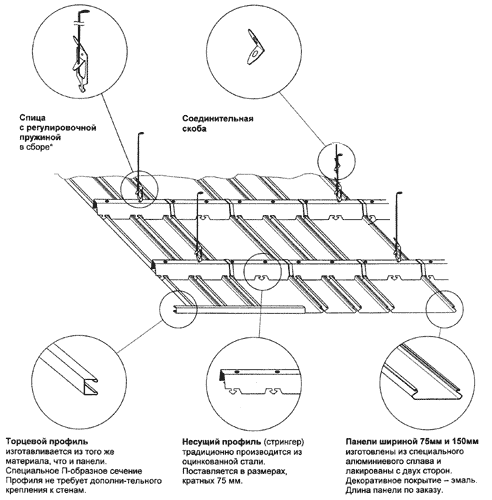
Figure 1 — Details of a Groove Ceiling
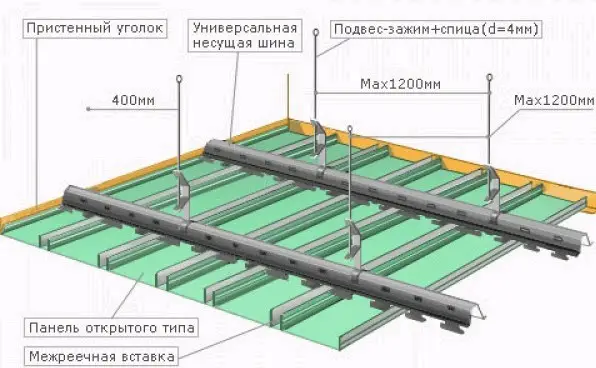
Figure 2 — Groove Ceiling Scheme. Materials and Sizes
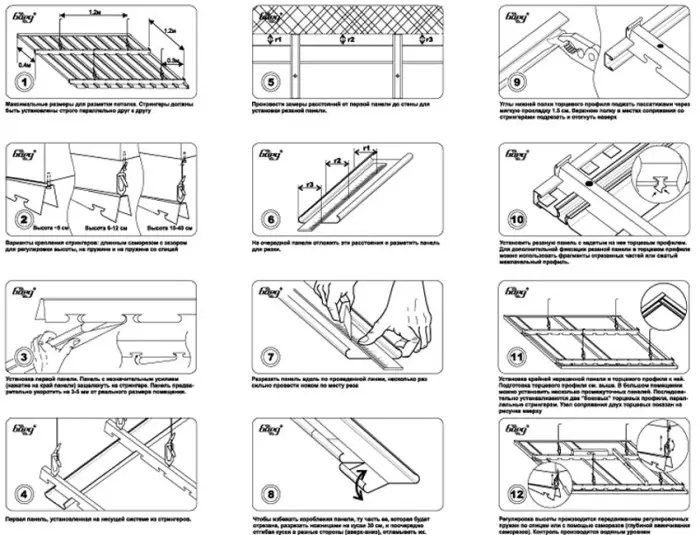
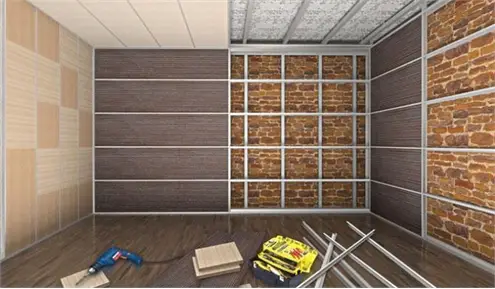
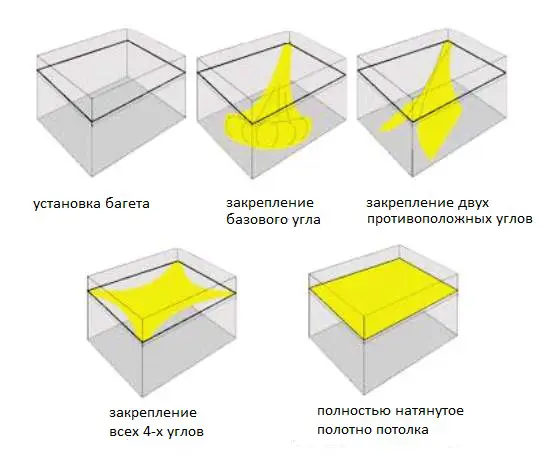
Figure 3 — Sequence of Installing a Groove Ceiling
In general, installing a groove ceiling by yourself is not so complicated. If, of course, you're not a complete novice and have minimal repair skills. If so, it's better to consult with professionals. For those who are confident in their abilities, we will show the installation scheme and explain how to assemble the ceiling according to best practices. The technology is, in essence, simple.
First of all, as you know, you should approach ceiling installation last, when the floors and walls are already ready, windows and doors are installed. In general, the main part of the renovation is complete. Electrical cables on the ceiling should be well secured so they don't interfere with the work.
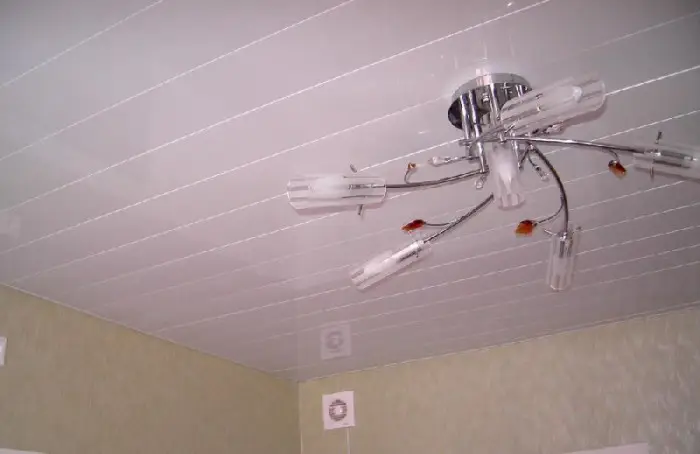
Photo 2 — Jointless Groove Ceiling
Materials Required for Installation
Now let's move on to the list of tools and materials that will help you make the room's ceiling stylish and unique. We'll need:
- screws with anchors, self-tapping screws;
- groove ceiling (ceiling panels);
- guiding profile;
- suspension brackets;
- traverses (also called load-bearing beams);
- metal cutters, wire cutters;
- laser level;
- drill;
- measuring tape, marker;
- level;
- screwdriver, hammer drill.
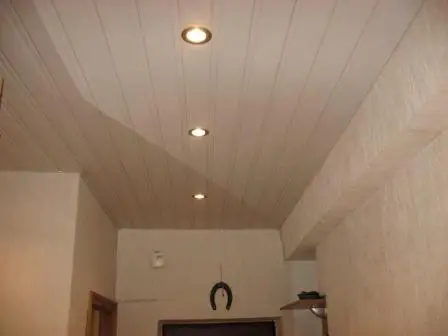
Photo 3 — Closed Groove Ceiling
Installing a Groove Ceiling. Work Sequence
Ready? Let's get started.
First, install the guide profiles along the perimeter of the room. Decide how many centimeters you want to lower the suspended ceiling (10-20 cm). Take measurements. If the room is large – it's more convenient to use a laser level. After measuring the height, draw a straight line along which you will mount the guide profiles. The standard length of a profile is 3 meters. If necessary, you can always cut it.
Aligning the guide profile to the wall, secure it with a screw and anchor. Do this along the entire profile, maintaining a spacing of 50-60 cm. Use a level to check if the profile is straight.
When you reach a corner, connect the profiles. Screw them in, and then check again with the level. This must be done along the entire perimeter.
Once that's done, proceed to mounting the suspension brackets. For this, take measurements, maintaining a 1-meter interval.
Next, fix the suspension brackets with screws and anchors by drilling appropriate holes with a drill. Use a level to check the bracket positions.
Now move on to the next step – we need to attach the universal traverses (load-bearing beams) to the suspension brackets. Note that the distance between them should not exceed 1 meter.
Install the traverses perpendicular to the rails, at the same level as the perimeter profile. Secure them to the suspension brackets with a screwdriver. Be careful and thorough when mounting the traverses, as any mistake will affect the appearance of your suspended structure.
If the length of the traverse is shorter than needed, don't despair. This can be fixed. You just need to extend it: for this, secure the suspension bracket at the beginning of the next traverse and screw in the second traverse at the joint with the first one.
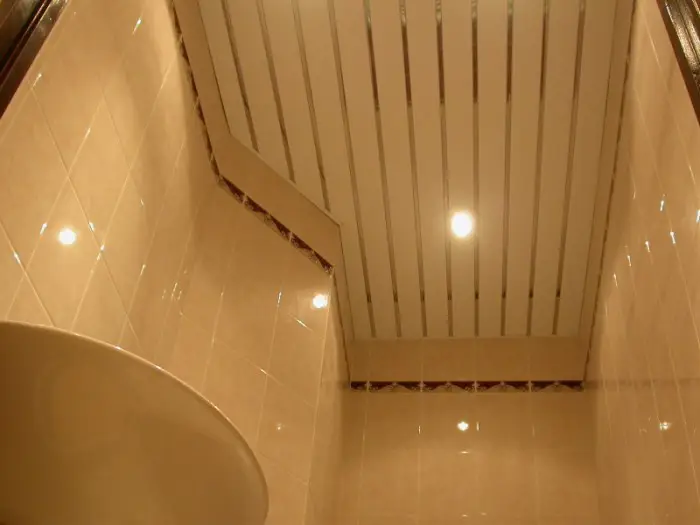
Photo 4 — Open Groove Ceiling
So, we're done with the frame installation. Now it's time to move on to the final part of the Marlezon ballet, namely, installing the ceiling itself.
In some ways, this will remind you of assembling a puzzle: you need to carefully insert the rails into the guides and lock them onto the traverses along the entire length.
Naturally, we shouldn't forget about installing the light fixtures. To equip the ceiling with spotlights, we need to cut out holes for them.
For this, draw a circle of the appropriate size on the selected panel at the chosen location, and from its center to the outer edge, make radial cuts with metal cutters. The resulting petals should be folded inward into the ceiling space. Try to make these petals as narrow as possible, so that the installation of the light fixture will be of higher quality.
Installing a Groove Ceiling. Video
Installing a Groove Ceiling. Price
If you've decided to entrust the installation of a groove ceiling to professionals, the price for this procedure in Moscow will start from 400 rubles per sq. m.
The cost of the same type of work in Kiev will be from 70 UAH per sq. m.