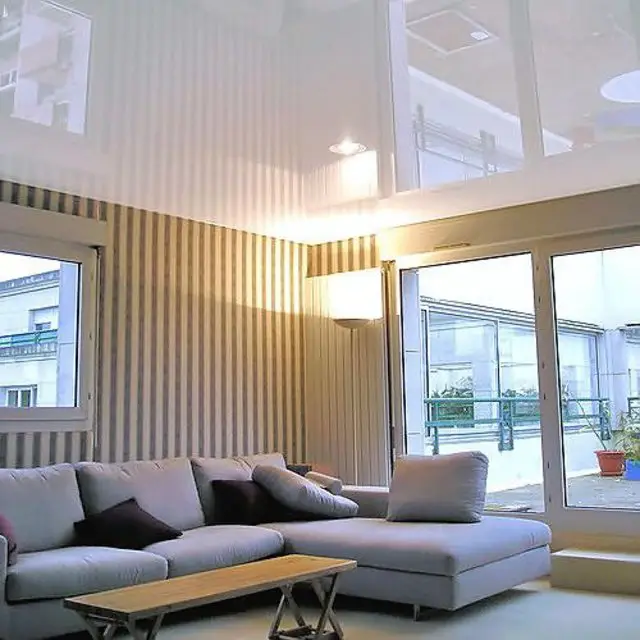
LED Light Strip Installation on Ceiling
However, there is a whole range of other limitations that are more related to the properties of LED lamps rather than the physical possibility of their installation.
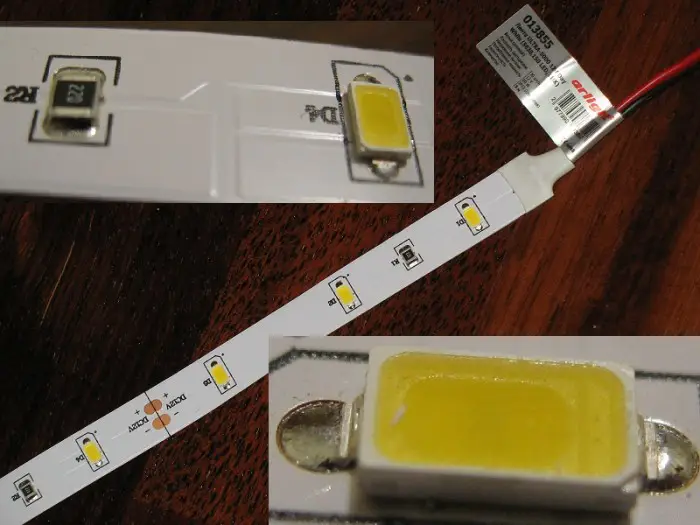
Photo 1 — LED Light Strip
Before proceeding with the installation and connection, several approximate calculations must be made and some decisions must be made, namely:
- whether there will be any other, for example, standard lighting in the room;
- LED light strip installation (with your own hands or not — in this case it does not matter) requires the installation of additional mounting elements and so on;
- whether all necessary materials are available for installation if it is done with your own hands.
Choosing Lighting and Installation Scheme
The rules for installing such lighting, for example, on a profile installed additionally, are quite simple, but before giving up a regular bulb or chandelier, you should answer for yourself the question: “What if the LEDs burn out or the power supply unit fails?” Here we will assume that the lifespan of LED lighting is sufficient for a long time regardless of the installation scheme.

Photo 2 — Tools and Consumables for LED Light Strip Installation
In terms of having the necessary tools and consumables, it depends not only on the quality of the LED lights themselves but also on which installation scheme will be used in a specific case: you can assemble everything “from the world by thread”, that is, when installation begins, collect all suitable items; or you can buy everything in a kit with LED light kits, which in some cases might be more reasonable.
Besides that, the amount of strip needed for lighting one room should be calculated. Practice shows that 15 meters of LED strip corresponds, with a fairly high degree of approximation, to the light output power of one regular incandescent bulb of 200 W.
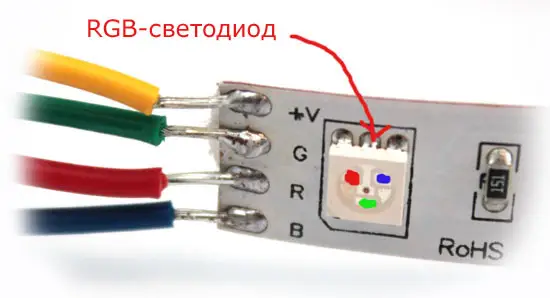
Photo 3 — Individual RGB LED on the Strip
Installing LED Light Strip
Lighting Calculation and Selection of Lighting EquipmentLED ceiling strip installation or frequent area lighting on the kitchen begins with calculating the power consumption of the strip.
For example, according to the packaging in the store or on the manufacturer's website, you can find out how many watts 1 meter of strip consumes, for example, 7 Watts. If you bought 15 meters, the total power consumption will be 7 X 15 = 105 Watts (which is less than a 200-Watt bulb!). When using SMD LEDs, both white and RGB, deviations from the nominal power consumption are practically absent; however, additional power consumption for amplifiers may need to be accounted for.
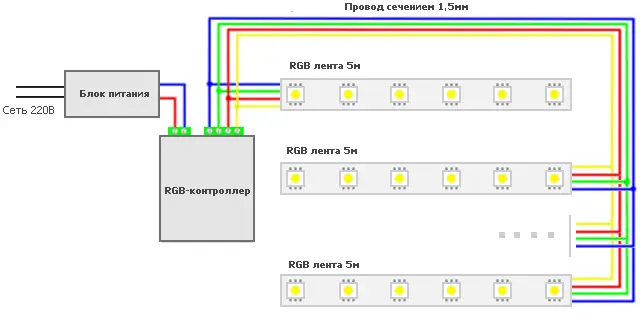
Figure 1 — RGB Strip Connection Scheme with Control Unit and RGB Amplifier
The issue is that despite all the advantages of powerful LEDs, there is visible dimming of the strip's brightness with distance from the power source; this problem is solved exclusively by installing (and naturally purchasing) amplifiers.
A standard working kit may also include an RGB controller (if it is an RGB strip) and a transformer. Controllers operate with voltages from 12 to 24 V, and the input voltage of the step-down transformer is 220-230 V. The main indicator of the controller is its nominal power, usually around 180 Watts, while the transformer's consumed power is about 150 Watts. The ideal scheme for calculating required power looks approximately like this:
Strip Power < Transformer Power < Controller Power (if needed)
The greater the gap between adjacent values (within reasonable limits), the more reliable the operation of a specific section.
LED Lighting InstallationLED strip installation begins with cutting the strip; in this case, the strip is almost arbitrarily cut into 2, 3, or even 4 parts depending on where it will be installed. Cuts are made at special sections. On all cut points of the strip, contacts of channels must be cleaned for subsequent soldering to connecting wires.
Methods of connecting prepared parts of the strip can vary, but in most cases it's not very convenient to use connectors from the kit that comes with the strip, they should be replaced with more convenient ones, but their resistance (material) must be similar to the previous one.
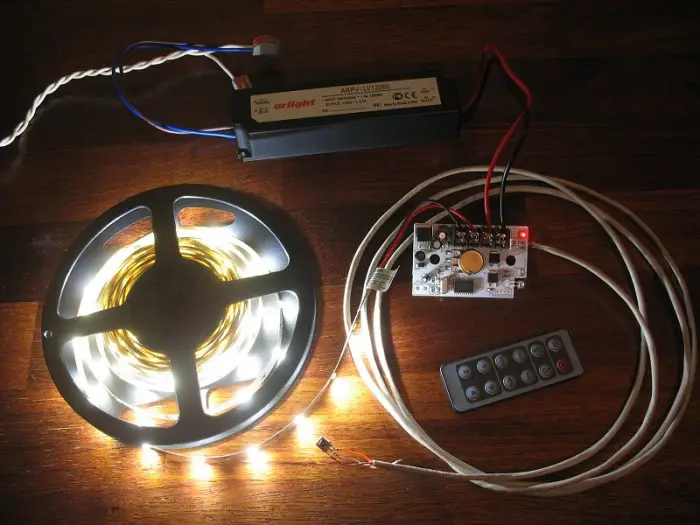
Photo 4 — LED Strip Connected, Only Need to Glue in Place
Next comes the installation of LEDs that are already assembled into a single electrical circuit, which may require outside help since it must be lifted entirely to the required height if it's above ground level, which is difficult to do alone.
At this stage, extreme care should be taken with the strip that is not designed for strong mechanical impacts and tensile loads.
Mounting the strip will be less problematic if the mounting surface on panels or walls is clean throughout its length.
It's also important to periodically check the strip's operation and address any detected issues before permanently installing it in its designated location.
The final stage of strip installation is mounting and concealing wires and transformers — in particular, the indicator lights of the transformer can create unwanted reflections. For this purpose, there is a special cover that closes the indicator panel but does not hinder heat dissipation from the device.
When installing, any details should be considered, for example, it's not advisable to mount the strip directly against the ceiling — reflected light will distribute more evenly throughout the room space. By the way, if the strip is evenly placed around the perimeter of the room, then in artificial lighting there will be almost no shadows from people and objects — the light will fall evenly from all sides.
It's worth mentioning the color gamut of strip LEDs: white LEDs, even if used in combination with a dimmer, do not give quite “white” light, which may be uncomfortable. In this regard, it's worth remembering what sunlight is (all colors of the rainbow in one beam) and as an alternative, consider purchasing RGB lights where saturation can be regulated.
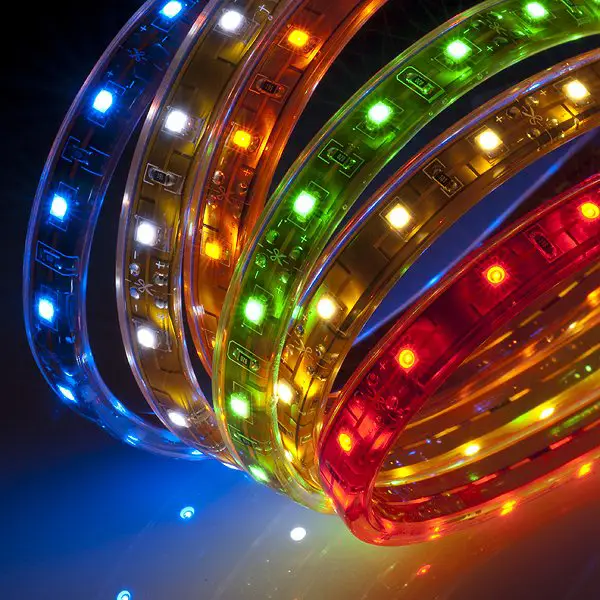
Photo 5 — Color Gamut of LED Strip
LED light strip installation (video review of a simple assembly can be watched right here) includes connecting the power supply unit, choosing the power supply unit, and more. These can be the main search queries for materials discussing specific details of selecting and installing LED lighting in any rooms or spaces.
SIMPLE ASSEMBLY VIDEO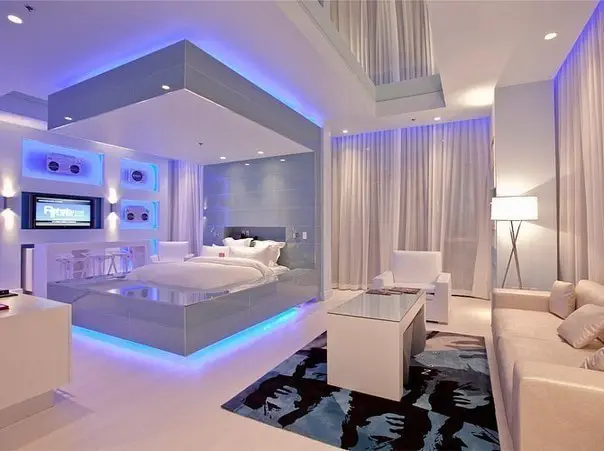
Photo 6 — LED Lighting in Interior
LED Light Strip Installation: Cost of Installation and the Strip Itself
Naturally, prices for various brands — LUNA, DELUX, FOTON, FERON, MAXUS, ARLIGHT — vary depending on whether the strip is waterproof and what size the LEDs are; as for how much professional installation of one meter costs, i.e., excluding LED lights, in Kyiv and Moscow, it can be found quickly:
- 1 m installation in Kyiv — from 15 hryvnia
- 1 m installation in Moscow — from 200 rubles
Most likely, such internal lighting systems fall into the category of quick installation systems where the volume of work is relatively small, even if mounting on the ceiling or in hard-to-reach places.