Ceiling Painting: How to Paint a Ceiling Correctly
One of the most accessible options for finishing is ceiling painting, because after whitewashing (with lime or plaster) or professional painting, the ceiling looks great and lasts quite a long time.
CEILING PAINT CAN BE VERY DIVERSE IN COMPOSITION AND PURPOSE, AS WELL AS IN COLOR: ACRYLIC, LATEX, MATTE, WHITE, COLORED. LEARN HOW TO PAINT A CEILING WITH THIS MATERIAL.

Photo 1 — About How and With What You Can Paint a Ceiling — IN THIS MATERIAL
It is important to note that the ceiling must be properly prepared for painting to avoid unevenness, dark spots, cracks, and peeling.
For ceiling painting, interior paints such as acrylic, oil-based, water-emulsion, silicate, latex, and water-thinable silicone paints are used. Ceiling emulsion is also applied.
Silicate paint requires pre-silicate priming, has high vapor permeability and is excellent for rooms with high humidity.
Silicone paint is also vapor-permeable, forms a waterproof film. It is versatile and can be applied to any surface, does not get dirty, is highly elastic, eco-friendly, and capable of filling small cracks.
Latex acrylic paint is the most popular, applied in two layers and completely covers all unevennesses, resistant to contamination.
Oil-based paint is intended for rooms with high humidity and tendency to dirt, i.e., kitchens and bathrooms. Its composition includes oil-based resins that repel dirt and moisture.
Oily ceiling paint is an outdated material, and many people face not so much the choice of such paint as the problem of removing it from the ceiling surface. A ceiling previously painted with oily paint can be left in its original state, after first treating it with sandpaper, or completely removed before applying another type of paint.
Ceiling Painting Technology and Preparation
CEILING PAINTING TECHNOLOGY AND PREPARATION DEPENDS TO A GREAT EXTENT ON THE TYPE OF CEILING.
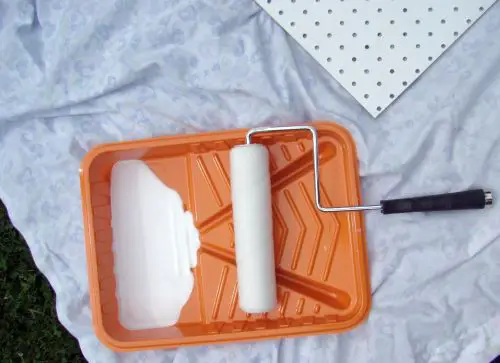
Before painting, it is necessary to determine the material consumption and list of required tools for the job: paint, primer, brushes, rollers of various lengths and diameters. As for paint consumption, special online calculators can help with the calculation.
When calculating paint consumption, the type of paint, length and width of the room are taken into account. Paint consumption can also be calculated using the data provided by the manufacturer on the label (consumption per 1m²).
Primer can be bought separately, since many manufacturers offer to simply dilute the purchased paint with water in a specific proportion to prime.
Leveling the ceiling can be done by yourself or with the help of professionals.
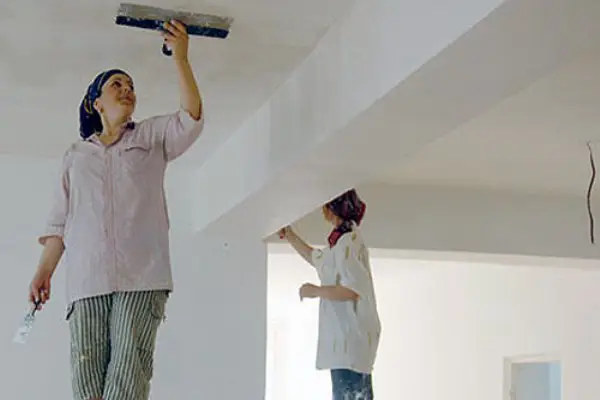
Photo 2 — Ceiling Leveling
Surface Preparation for Painting:First, the putty knife should be sharpened well with a special sharpening stone (file). Do not use too wide a putty knife, as it is harder to clean the surface.
Remove all unnecessary items from the ceiling as much as possible, while removing old whitewash (spackle) until clean concrete (or any other base ceiling surface is visible). This is a preparatory stage.
Then, using spackle (German and Finnish spackles are considered the best), and a special spackling spatula, level the ceiling surface. Sometimes it is necessary to apply layers of different thicknesses, especially for uneven old ceilings with significant curvature or height differences up to 4 cm.
Leveling materials are applied in several layers. Work quickly, as spackle dries quite fast.
Final ceiling leveling. For this, special finishing spackle is needed. The number of layers also directly depends on the area of unevennesses. A wide spatula is used in the work.
Remove spackle residue from the ceiling surface.
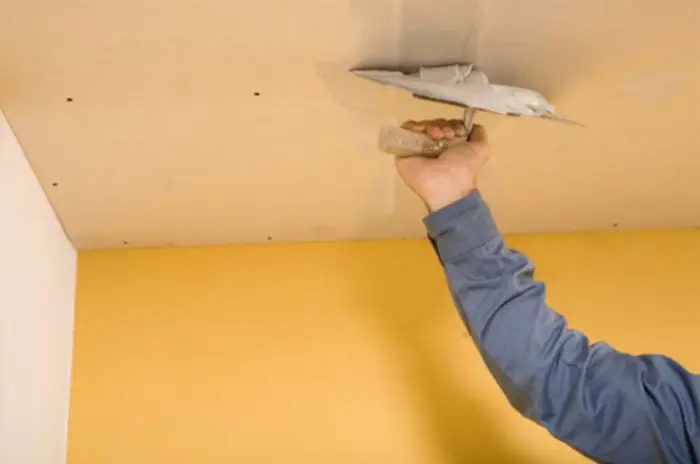
Photo 3 — When Working with Gypsum Board, It Is Extremely Important to Fill the Joints on the Edges of the Sheets Before Painting the Ceiling
After this, the ceiling can be painted, whitewashed with plaster or lime.
Alongside standard options, special indicator paints that change color also exist to facilitate the painting process. Initially pink in color, these paints make it easier to control the painting due to their intensity and then become perfectly white in 5-10 minutes (depending on temperature and humidity). For example, MAGESTIC/Маджестик paint has this property.
Painting Different Types of Ceilings by Yourself
Painting a Wooden CeilingWood is quite a demanding material, so it should be taken care of very carefully. Wooden surfaces are vulnerable and over time they react negatively to many factors: tobacco smoke or careless handling, for example, can leave spots on a wooden ceiling, not to mention odors that wooden ceilings can absorb like sponges. Visually such damage looks unattractive.
Wood is a material more commonly used in country houses (e.g., on a dacha) than in city apartments. There are special paints for wooden surfaces, both natural (wooden) and more unusual shades. It is absolutely forbidden to apply new paint over old paint on a wooden ceiling.
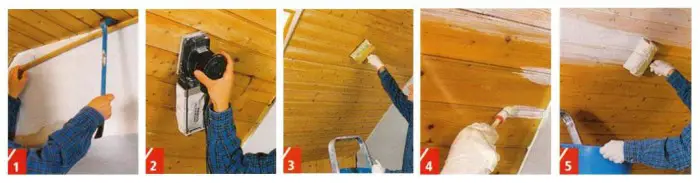
Photo 4 — Ceiling Painting Technology on Wood
Steps for Painting a Wooden Ceiling:
First, using a nail puller, remove the trim strips. This way, you can fully paint the wooden boards. Walls and floor should be covered with protective material.
Then slightly sand the ceiling with a sanding machine and 180-200 grit sandpaper. This step is especially important for ceilings previously coated with varnish.
Following the instructions on the package, dilute special wood cleaning solution. It is applied to the ceiling surface using a thick brush. During these works, the ceiling should be frequently wiped with a soft lint-free cloth.
When the boards are completely dry, you can begin painting. Paint for wood is used. First, a small round brush is used to paint 10-15 cm along all grooves and profiles. The paint is applied thoroughly in small portions to the ceiling.
Next, gradually, one or two boards at a time, the entire ceiling is painted with a wide brush. The paint for wooden ceilings should be constantly stirred and only applied in thin layers to the wooden surface.
Install and paint new trim strips.
Painting a Concrete CeilingBefore painting a concrete ceiling, it should be spackled.
There are rules to follow, which ensure that the ceiling looks beautiful and is done properly. Spackling is one of them. According to some home craftsmen, a concrete ceiling will not look bad even without spackling, but in such a case no one can guarantee that the paint will adhere perfectly evenly and last long.
IMPORTANT! Special paints for concrete surfaces have also been created. For example, SPECTRA or Аквапол paints from «Краско».
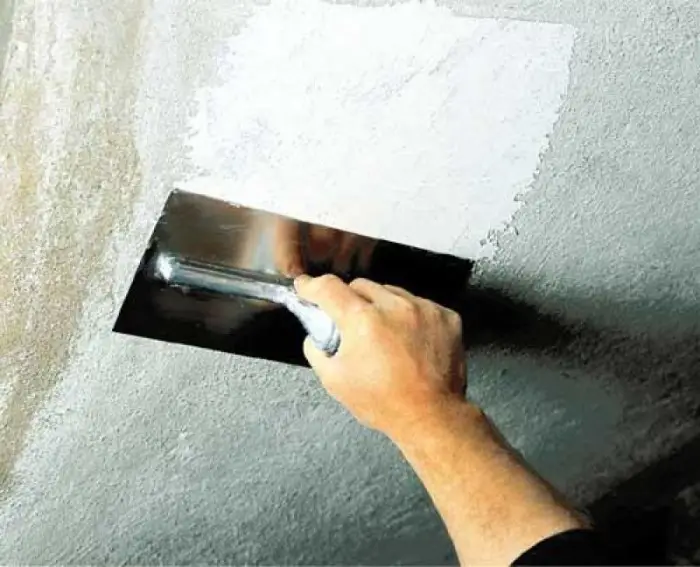
Photo 5 — Before Painting, a Concrete Ceiling Must Be Spackled
Painting a Ceiling from Gypsum Board (GKЛ)Gypsum board is used widely today, as it allows for fast and quality renovation. In principle, you can paint any ceiling yourself, whether single-level or double-level. Many believe that it is better to apply paint over whitewash, but this is unnecessary.
For painting gypsum board, special compositions that prevent excessive moisture absorption by the material are used.
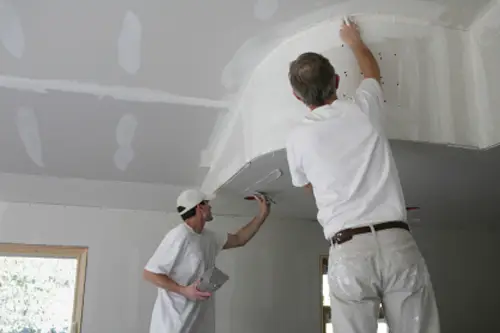
Photo 6 — Preparing Gypsum Board Ceiling for Painting — Spackling Joints, Sanding the Base
Steps for Preparing a Gypsum Board Ceiling for Painting:
Priming.
Filling the joints with spackle mixture. This is very important, as the seams at the edges of gypsum board sheets can sometimes be quite deep and noticeable to the naked eye.
Spreading the suspended ceiling.
Sanding removes excess from the ceiling surface.
Technique for Applying Paint to Gypsum Board:
Paint is applied quickly to ensure the ceiling has a smooth surface, free of streaks.
Do not change the roller during painting, as different rollers may have different structures.
Do not return to a painted section of the ceiling that is beginning to dry.
If the ceiling needs to be painted in three layers, the first layer is applied with vertical movements, the second with horizontal movements, and the third again vertically.
Painting a Ceiling from PlywoodPlywood is slightly less frequently used in domestic renovation work than gypsum board. It is important that the plywood be dry before painting.
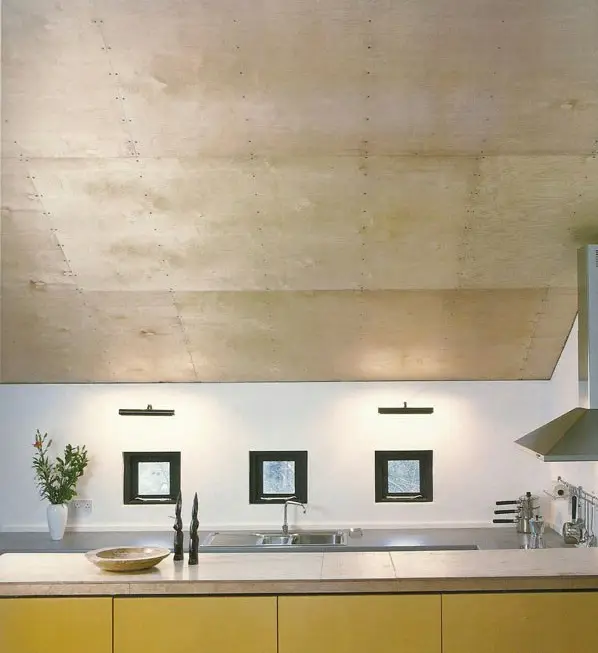
Photo 7 — In Some Cases, Paint Is Not Needed at All — A Plywood Ceiling Can Be Simply Covered with a Protective Layer
Advantages of plywood:
- You can paint it with paint or varnish;
- has a thick layer and provides good sound insulation;
- lightweight;
- durable;
- helps hide defects in the base ceiling;
- this is indeed a cheap option for ceiling repair.
Choosing Paint
You can paint a ceiling with water-based emulsion (paint on a water basis), but first, it should be coated with a special base to avoid softening the plywood and thus warping the ceiling. Water-emulsion paint is washable paint without odor, so it is very suitable for any room. Surface cleaning and preparation before painting in this case is standard.
Modern ceiling paints come in a wide variety! They are diverse not only in colors but also in textures. There are also some exclusive types of paint, the price for which exceeds $35/3 liters at a consumption rate of 2m²/1 liter.
The color in which the ceiling will be painted depends on the type of room, the style of the room, and the owner's interior preferences. White paint or pastel-colored paint (e.g., bright white ceiling paint INNETAK at $60/10 liters) is suitable for both classical and strict modern interiors. In such cases, they will suit any type of wallpaper or floor.
To create a special atmosphere in the interior, you can also use special types of paint: relief, textured, and texture paints. The main components of such paints are water-based acrylic dispersions, ground marble, ecologically clean and durable target additives.
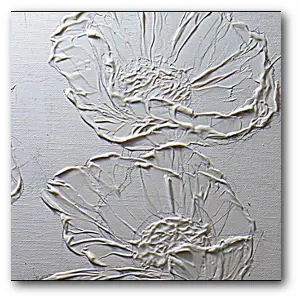
Photo 8 — Example of Finished Surface After Applying Structured Paint Alpina Silhouette Structur
Proper structured paint has the following properties:
- They are durable and withstand significant temperature fluctuations.
- Unlike regular paints, they have increased strength, so any damage is not as dramatic;
- Due to their heterogeneous structure, they can hide even the most severe defects on the ceiling;
- With such paints, you can fantasize and create your own individual ceiling: waves, patterns, flowers, or entire compositions.
Textured ceiling paint is applied as follows:
The surface is first cleaned of dirt and dust, old paint residues are removed, and whitewash should not remain.
Then, using acrylic spackle, all minor unevennesses from previous work are eliminated. All this should dry for a full day.
The surface is thoroughly treated with primer, it dries. Preparation work is very important before applying textured paints, as such paints must adhere tightly to the surface to avoid peeling under their own weight in the future.
Before applying paint to the ceiling, it is better to test it on a piece of cardboard and practice applying paint to the surface.
The paint should be well mixed in the container, as texturizing additives settle to the bottom during settling. There may be slight differences in color and texture of already applied paint.
The required amount of paint is poured into a tray, and if necessary, diluted with a small amount of water.
Special textured rollers are used for structured paints. They can be various. Large textures look better in large rooms or outdoor coatings. Small-grained rollers or those with a smooth structure are perfect for small rooms like bathrooms or small kitchens.
If necessary, the roller can be rinsed with water during work.
Complete drying of the paint takes no less than 24 hours.
Decorative ceiling paint is a tool for experimenting with the color and texture of the ceiling.
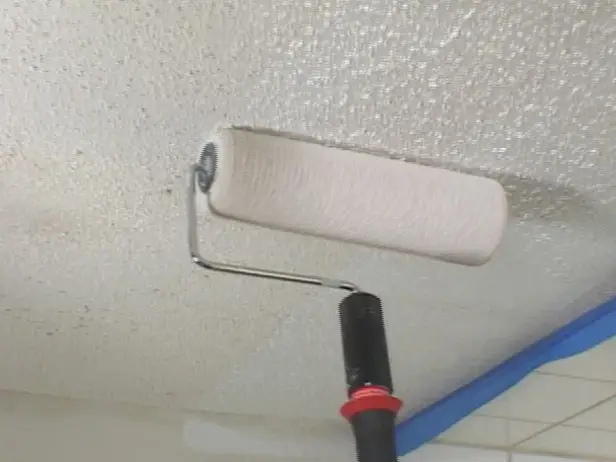
Photo 9 — Applying Relief Paint
Some types of decorative paint:
- decorative ceiling with glitter;
This effect can be achieved by applying any ceiling paint and coating it with a special glitter lacquer. They can be silver, gold, or colored.
- marble dust ceiling paint Bayramix;
This paint contains a large amount of granules of various colors and shapes, allowing you to create unique masterpieces. You can imitate marble or granite, create mosaics. This material is elastic, it does not fade, and never develops cracks. The paint is water-resistant. It is applied the same way as other types of paint.
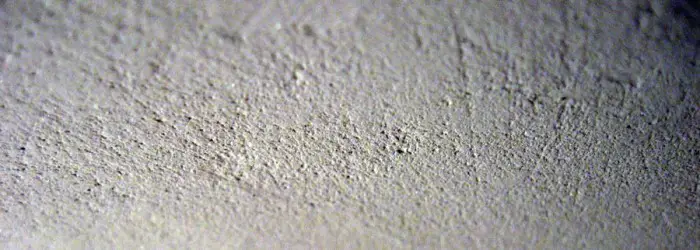
Photo 10 — Marble Dust Ceiling Paint from Bayramix Company
- pearl ceiling paint;
Visually, such a ceiling will look as if it is covered with silk, which looks beautiful and soft. Pearl ceiling paint is a real find for lovers of elegance in interior design.
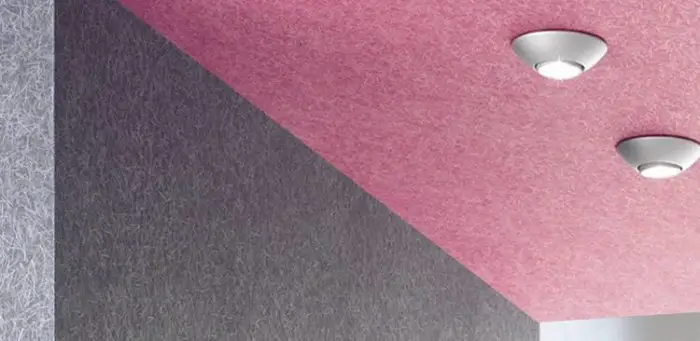
Photo 11 — CAPAROL Perlatec Gold-Silber Pearl Pigment