Ceiling Installation — Video
Photo 1 — Glossy Tension Ceiling in the Living Room
Preparation for installation involves a series of tasks within the room. The main ones include:
How to Prepare a Room for Installing Tension Ceilings
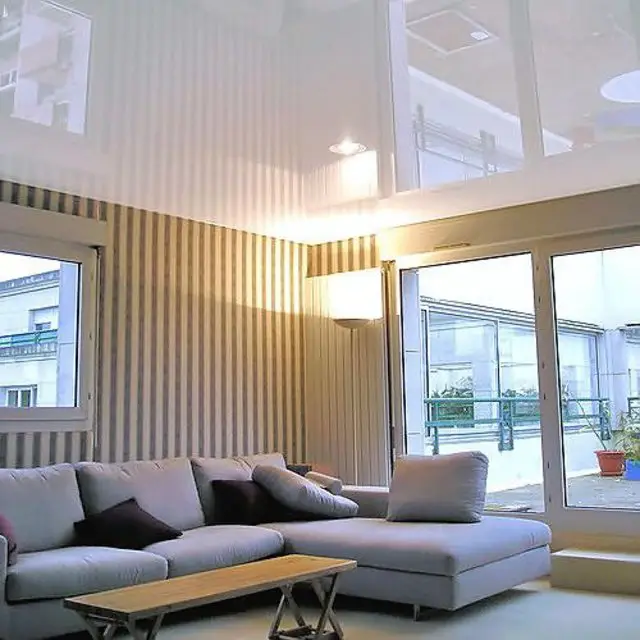
Photo 1 — Glossy Tension Ceiling in the Living Room
Preparation for installation involves a series of tasks within the room. The main ones include:
The installation of PVC film ceilings often requires a seam (seamless film construction is only possible when the room width does not exceed 1.3-2 meters).
By the time of ceiling installation, all construction work should be completed, and construction waste removed.
Wires/cable lines should be connected to the locations where ceiling lights will be mounted.
The room should be as free of furniture as possible.
IMPORTANT! Any objects that heat up should be removed from the room.
ATTENTION! For installation of a PVC film tension ceiling with a heat gun, the surface material is heated to 60-65°C!
There should be no drafts in the room, and the space must be well-heated if working during cold weather.
Walls at mounting points should be solid and free of noticeable damage.
IMPORTANT! If mounting hardware for tension ceilings is installed on gypsum board, the Gypsum Board should be additionally reinforced with screws, an additional layer of gypsum board between the wall and finish sheet, or fully coated with adhesive (instead of spot application) when using a frameless mounting method.
There should be no cracks or gaps in the ceiling that allow air to pass through. Otherwise, there is a risk of the tension ceiling being sucked in.
When planning the installation of recessed ceiling lights, consider that their power should not exceed 60W (incandescent bulbs) and 35W (halogen lamps). If installing a chandelier with incandescent bulbs up to 100W, the distance from the bulbs to the ceiling surface should be at least 25 cm.
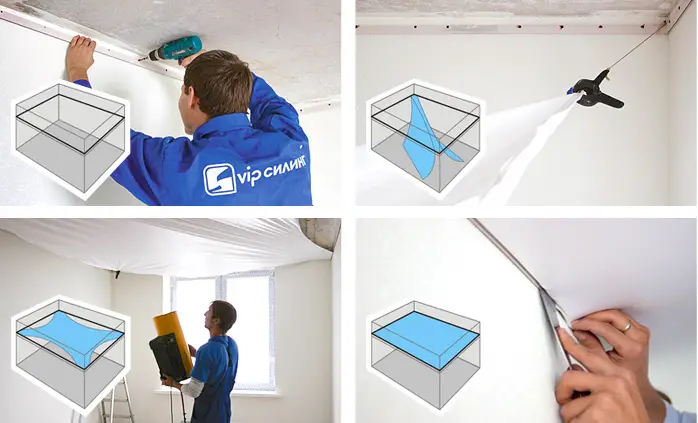
Photo 2 — Brief Installation Diagram of a Tension Ceiling
Safe Installation of Tension Ceilings: Brief Instructions
Undoubtedly, the advantage of tension ceilings is the possibility of seamless installation, water resistance, and practicality.
QUESTION: How to clean tension ceilings?
The PVC film ceiling can be cleaned with regular cleaning agents. It is forbidden to use cleaning products containing alcohol (any type of alcohol), acetone, or solvents as these can cause significant damage to the fabric. Glossy ceilings can be cleaned with window cleaning solution. After removing dirt, dry the ceiling surface with a soft cloth.
A tension ceiling (fabric or film from PVC) is mounted on a frame installed around the perimeter of the room — a track. After mounting fasteners, the fabric is stretched until achieving a perfectly flat and smooth surface.
This method can hide irregularities in the base ceiling and conceal communication elements (ventilation ducts, cold water pipes, drainage outlets) behind the tension system.
There are two types of ceilings: the first made from polyvinyl chloride, and the second from polyester fabric impregnated with polyurethane.
Seamless installation is currently only possible if the room width is less than the width of the selected material, i.e., up to 2 meters for film ceilings (e.g., in a bathroom or hallway) and up to 5 meters for fabric ones. In other cases, multiple ceiling levels must be installed, each with a seamless stretch, or the fabric sheets must be joined before installation (requiring special equipment).
Seamless fabric ceilings can be installed without heating, i.e., using the "cold" method. Tension film ceilings can be mounted just 5-6 cm from the ceiling slab, while seamless ones reduce ceiling height by only 2 cm!
Methods of Installing Tension Ceilings
There are three types of installation: hook, wedge, and clip methods.
- hook method;
Installation of a tension ceiling using this method involves welding hooks on the edges of the fabric (a kind of PVC hook). The hook is then attached to the profile and the ceiling fabric is stretched. The fabric must be at least 7% smaller than the ceiling area.
- wedge method;
The fabric is held in wedges pre-driven into the profile. Unlike the previous method, the ceiling fabric does not need to be cut precisely according to measurements. After stretching, excess fabric is trimmed.
- clip method.
The fabric is secured in the profile using a special tape providing tension.
IMPORTANT! Installing a tension ceiling yourself can save you up to $500 (the cost of work in a room with an area of 25 m²).
Installation Process of Tension Ceilings
1. The crew must take measurements of the entire ceiling, study its configuration, and review the path of engineering communications during their first visit.
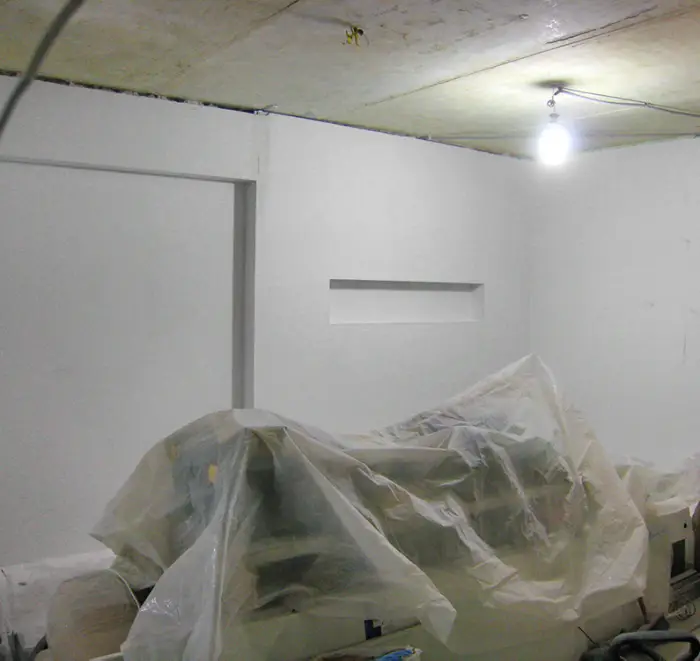
Photo 3 — Preparing the Room for Installation Work
2. Before installing a tension ceiling, walls should be prepared for finishing.
IMPORTANT! Tension ceilings are not recommended in rooms where walls were recently wallpapered, as the high temperature of the fabric may cause it to separate from the walls.
3. The room should be thoroughly cleaned to minimize dust on the tension ceiling surface.
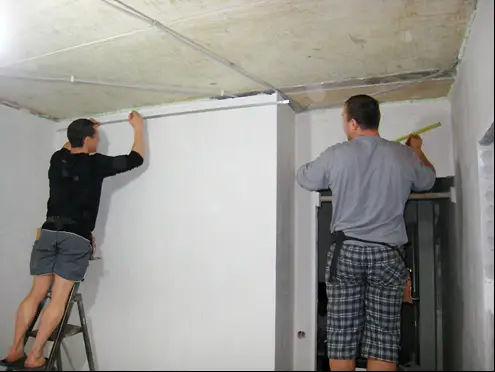
Photo 4 — Marking and Mounting the Profile
4. Mount the profile for tension ceiling along the perimeter of the walls: on one wall, determine the lowest point of the ceiling and draw a horizontal line around the perimeter of the room. Plastic anchors will later be driven into these marks.
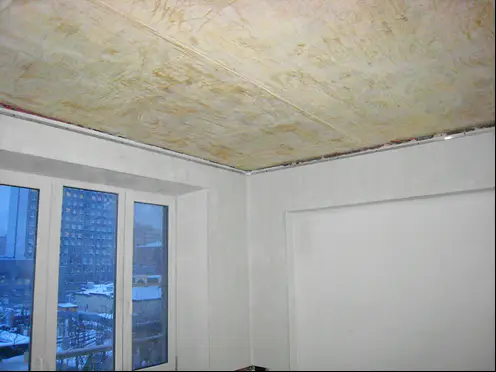
Photo 5 — Mounting the Profile Around the Perimeter of the Room
5. P-shaped profiles must be secured to screws at marked locations, ensuring a 2 cm distance from the ceiling to the fasteners. Note that the profile crossbar should face the slab.
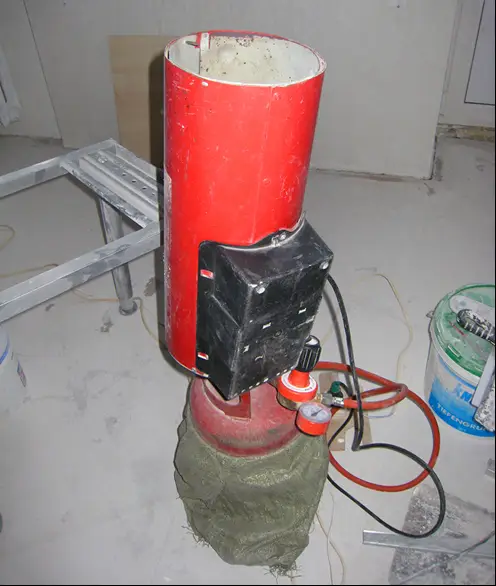
Photo 6 — Heat Gun for Film Heating
6. When working with film tension ceilings, the room should be preheated to approximately 40-50°C using a heat gun.
INSTALLATION SPECIFICATIONS: This temperature must be maintained throughout the installation process. Increasing the temperature allows stretching the film without any risk of damage.
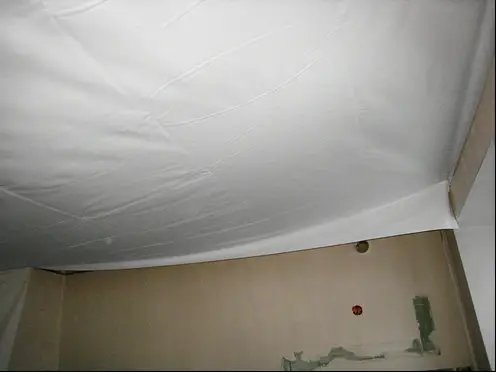
Photo 7 — Securing the Film Before Stretching
7. The fabric is properly secured with wedges in the profile at any corner of the room. By stretching the fabric toward opposite walls, continue driving wedges. The smaller the spacing between wedges, the more securely the fabric will be fastened.
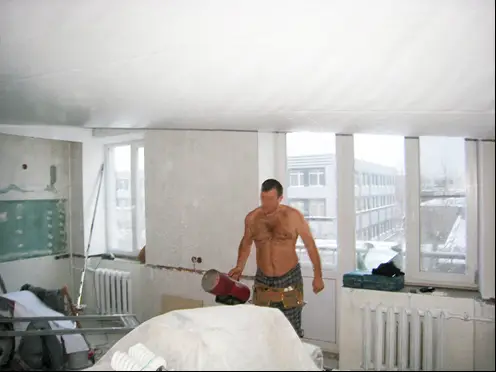
Photo 8 — Heating the Film Using a Thermal Gas Gun
8. Once the fabric covers the entire ceiling, use a heat gun to warm up folds and wrinkles on the film.
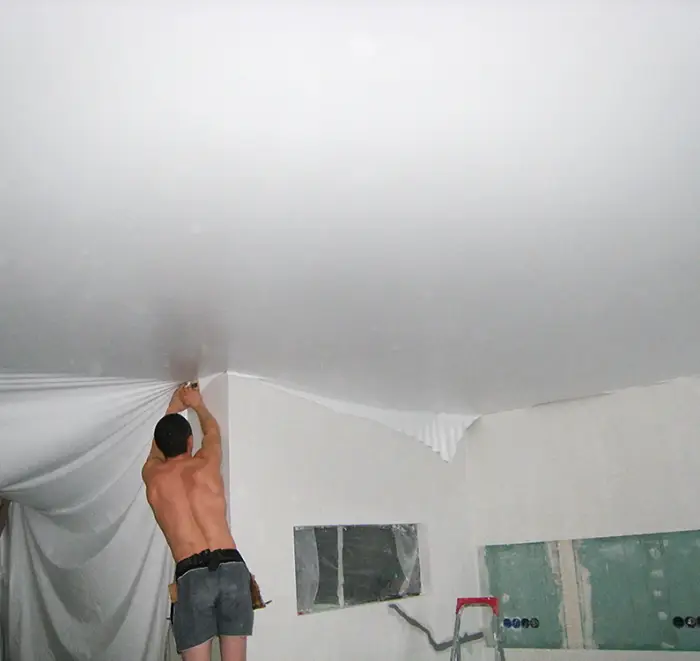
Photo 9 — Flattening the Film After Heating
9. After leveling the fabric, trim any excess film. Gradually cooling down, the elastic film will shrink and stretch—making the fabric flat and smooth.
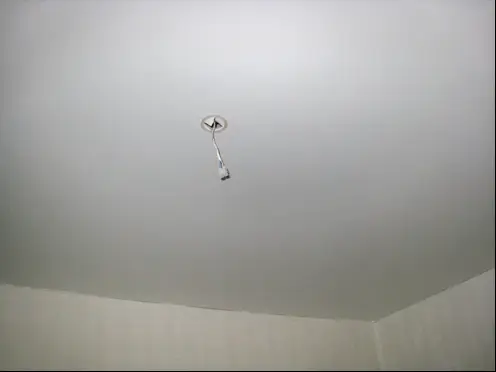
Photo 10 — Mounting Ceiling Lights
10. Install lighting in the stretched fabric. To cut the film without tearing it, special rings are glued at mounting points for lights, inside which the cut is made.
You should have a mounting plan for light fixtures. Additionally, the mounting location can be determined by slightly pressing on the film to literally feel the mounting hooks designed for fixing light fixtures.
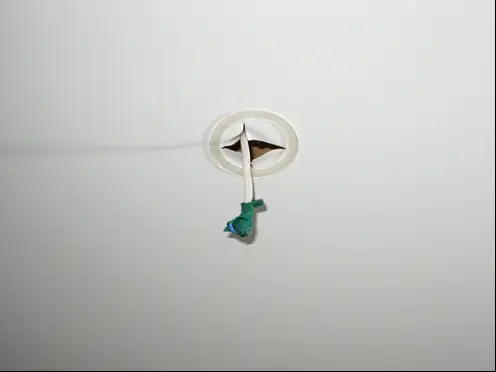
Photo 11 — Cut the Film Only Through Special Mounting Rings
IMPORTANT! When working with backlighting, remember that the power of the lights should not exceed 50W. Otherwise, special protection must be installed to prevent film deformation due to heat.
If you plan to do the work yourself, attending training is advisable: masterclasses on tension ceilings are often offered, including workshops (the cost of such courses ranges from $120 to $230). The training duration is 2-3 days. During the training, the theory of tension ceiling installation, working tools and materials, and mounting procedures for different film and track attachment methods are thoroughly studied. Then each participant must independently install the ceiling at the actual site based on their newly acquired knowledge.
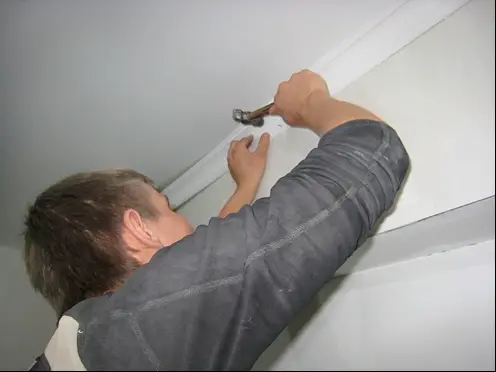
Photo 12 — Mounting the Ceiling Trim
11. The ceiling trim is mounted directly under the tension ceiling on the wall.
IMPORTANT! Do not glue the trim directly to the stretched film: the fabric will not withstand additional pressure and will start deforming.
ATTENTION! Heating the film can be done with either gas or electric equipment. If your workers use such devices, exercise utmost caution: improper usage may lead to an explosion.
Installing Tension Ceilings — VIDEO
This educational video explains the installation of Clipso ceilings step by step.
Installing Two-Level Tension Ceilings — VIDEO
Installing Tension Ceilings — Price
The cost of tension ceilings ranges from $10 to $48 per square meter depending on the fabric texture and its specifications (the cheapest option is a matte tension ceiling with a width of 1.3 meters; the most expensive is a fabric with photo printing).
As for installation work, it typically costs about 25% of the material cost.
- In Moscow — from 485 to 1315 rubles per square meter depending on the area of work;
- In Kiev — from 120 to 310 UAH per square meter depending on the area of work.