How to Level the Ceiling by Yourself
What is the technology of leveling?
First of all, we need to prepare the ceiling for repair work. Otherwise, all your effort in leveling and plastering may turn into nothing after a couple of months.
What do we need to prepare the ceiling for execution?
- Building film
- Warm water in large quantities
- Sponge or cloth
- Sharpening stone
- Metal spatula 5-7 cm
- Roller or brush (to taste)
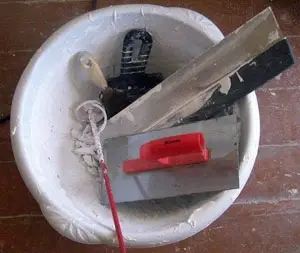
Photo 3 — Tools for leveling
Tools taken, now let's move to the actual preparation process.
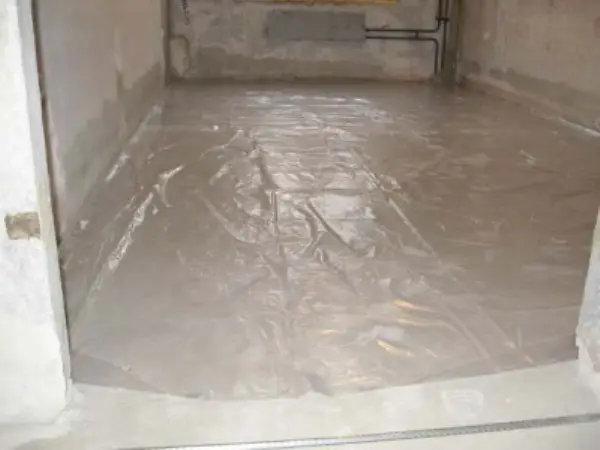
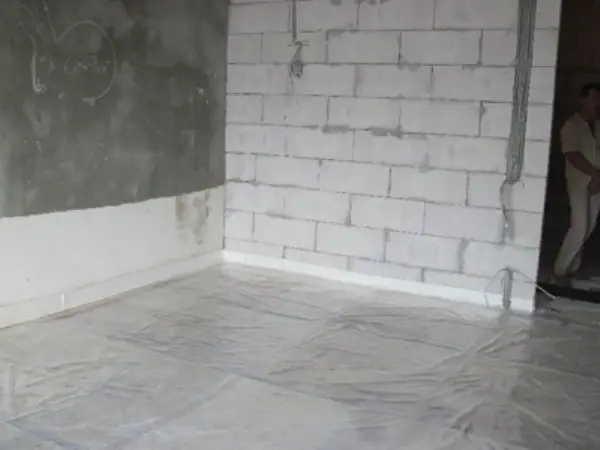
- It's better to remove furniture from the room, but in a pinch, you can just cover it with building film. Also, cover the floor with the same film to make cleaning afterward easier.
- A small trick – sharpen the spatula well with a sharpening stone, and it will be easier to peel off old finishing. However, avoid using a wide spatula to save energy.
- Now we move on to the dusty and dirty job – start scraping off the old coating from the concrete ceiling surface. This is extremely tedious and tiring, but there's no way around it. The surface must be clean. If the room is large, it might take a whole day. To make it less boring, invite friends with plenty of jokes. It will help lighten the mood. Pay special attention to joints and corners where walls meet. You'll need to sharpen the spatula as it dulls, so don't keep too much wood nearby.
- Once the previous stage is done, wash off any remaining lime wash with warm water. Don't forget to change the water to avoid just smearing lime on the surface.
- When the ceiling is dry, treat it with Rotband-Primer from Knauf (we recommend using Rotband for wall plastering, as this brand has already proven itself). The primer ensures better adhesion of the plaster and prevents further cracking. It's better to treat joints and corners with a brush.
- As soon as the ceiling is dry, it's ready for leveling.
If you've had some rest from the previous procedure and the ceiling has dried, we move to the most important part of the work – leveling the ceiling. It's good if you don't have to level much. But if the ceiling is quite uneven, with dips and bumps, and its condition leaves something to be desired, you'll have to work hard. But if you do everything right, in the end, you will get a beautiful and even ceiling.
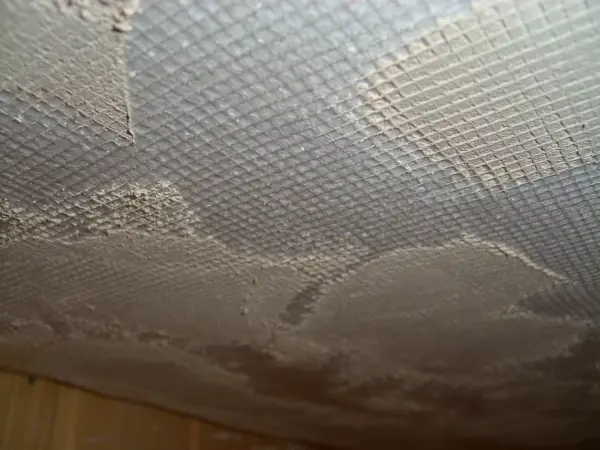
Photo 4 — Reinforcing mesh
Let's review what tools you'll need for this stage:
- Water level
- Drill with mixer
- Container for the resulting mixture
- Ruler, 1.5 meters long
- Special trowel for applying the mixture
- Wide spatula about 60 cm wide
- Hammer and power drill
And, of course, the construction materials:
- Primer (e.g., Rotband-Primer from Knauf)
- Plaster (Knauf Rotband Plaster, available in two forms: Rotband Paste and Rotband Finish). If you ask which plaster is better for ceiling leveling, specialists recommend this one.
- Special anchors and screws
- Guides (mays)
Leveling the ceiling using guides ensures high-quality execution. So, we've already cleaned and primed the ceiling. Now we proceed to leveling.
By the way, you know that the optimal room temperature for plastering is +18/22°C, and the optimal humidity is 60%. When the ceiling surface is dry, start installing guides. Approach this process carefully and thoroughly, as it requires attention.
You need to set the guides strictly vertically, so use a level.
Apply a layer of Rotband to the back of the guide, lean it against the wall, and secure it. Press the level along the entire length of the guide.
If the walls are too uneven, applying the mixture to the guide profiles may not be enough. In such cases, apply the mixture as a vertical strip 3/4 cm wide on the wall. After checking the wall alignment with a plumb line and string system, you'll determine the required thickness of the plaster layer.
If the wall length allows it, use a 2-meter rule to set guides every 1.8 meters from each other. If the wall is less than 4 meters long, two guides placed symmetrically will suffice.
Start plastering the space between guide profiles, then move to the wall edges. The ruler will rest on the hardened surface of the plaster between the guides.
Mix the plaster, then apply it with a wide spatula from bottom to top. Apply one layer of plaster from the guide to the next guide, about 1 meter high. Use an aluminum rule to smooth the surface. Do this for each section. Remember that Rotband plaster is quite plastic and can flow, so return to the finished sections and smooth them down to the bottom.
You can start smoothing the plaster about an hour after finishing the pulling. If needed, repeat the process. Once the ceiling is completely dry, you can apply dark wallpaper. But if you're planning to use light and thin wallpapers, it's better to apply two layers of finishing plaster so that the wall doesn't show through.
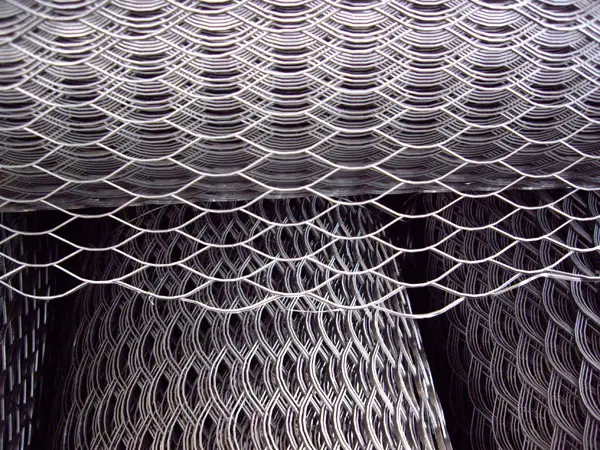
If you need to apply a thick layer of plaster, use reinforcing mesh.
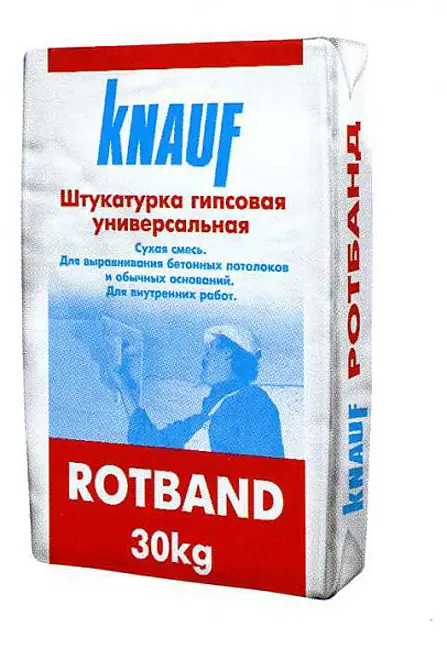
Figure 1 — Knauf Plastering
Leveling the Ceiling. Price
If you decide to hire a professional, it's good to know how much this service costs.
In Kyiv, the cost of ceiling leveling is from 35 UAH per m². Mesh installation starts at 20 UAH, guide plastering from 80 UAH, and finishing plastering from 55 UAH per m².
In Moscow, ceiling leveling with guide plastering costs 420 rubles per m², and finishing plastering is from 350 rubles per m².
Leveling the Ceiling. Video