Internal Home Finishing with Gypsum Board
Almost any room can be easily transformed by leveling walls, installing utilities, creating an original ceiling box for lighting, zoning space with partitions, and decorating with decorative structures – all using gypsum board.
What is important, all of the above can be done by yourself.
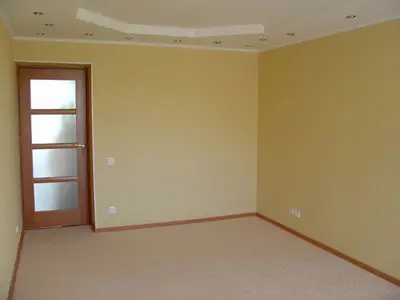
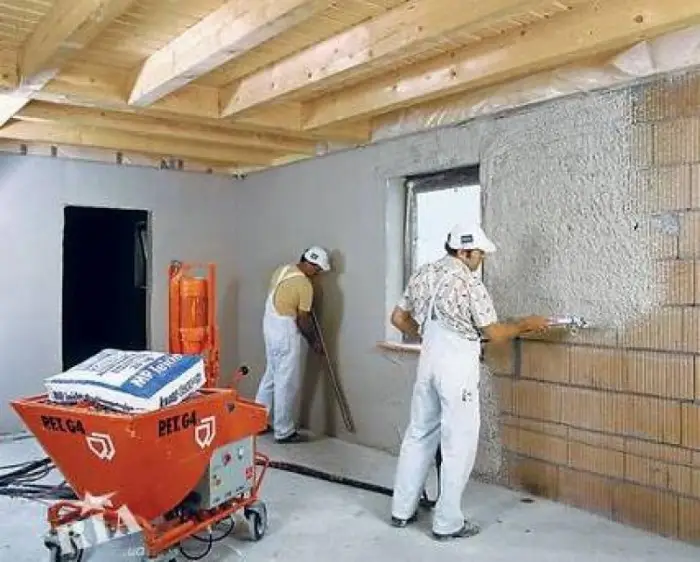
Photo 1 — Room finishing with gypsum board
There are general principles for finishing rooms with gypsum board, but the technology of work may vary.
For each room you can choose the best materials and finishing methods for gypsum board.
Internal Home Finishing with Gypsum Board
It might seem that finishing a house with gypsum board differs from apartment finishing? Indeed, the order and principles of work are almost identical, but if it's a wooden house, there are several important recommendations to ensure successful internal finishing with gypsum board.
Firstly, a wooden house will inevitably settle over time, and this settling can be significant. Therefore, the wooden structure must be thoroughly dried.
Finishing ceilings and walls of a timber house is done using a metal frame secured with sliding hangers and not tightly attached to the wooden base (a gap of 1-2 cm can be left). This will protect the installed Gypsum Board (GKL) sheets from deformation and subsequent finishing from cracks.
Fixations must be strong but not rigid. Special attention should be paid to the joints of walls and ceiling – the settling of wooden base will most strongly manifest in these areas.
Secondly, although this does not directly relate to gypsum board, the electrical wiring cannot be ignored.
Finishing a house with gypsum board involves running electrical wiring in the cavity between the wall and gypsum board within metal conduits or non-flammable PVC conduit. However, if the walls of a house or cottage are made of wood, this method should not be used.
IMPORTANT! According to standards, hidden wiring on combustible bases can only be done in hermetically sealed metal pipes.
Certainly, various methods are practiced for walls made of any materials, but not following the rules is like playing roulette with a short circuit.
Wall Finishing with Gypsum Board, Video
Finishing Gypsum Board Walls in an Apartment
Finishing gypsum board walls by yourself starts with assessing surface irregularities and choosing the method of attaching the gypsum board.
The framed method on profiles is universal, but it's faster to use the adhesive method for gypsum board.
The installation process of gypsum board with adhesive varies depending on wall curvature. Instructions for the adhesive mixture should describe how to apply the adhesive to GKL sheets.
For relatively flat surfaces (e.g., walls made of foam blocks), adhesive is applied evenly around the sheet perimeter and in several strips across the center. For walls with significant irregularities (e.g., brick walls), adhesive is applied in thick patches across the entire surface of the sheet, and the sheet is pressed against the wall using a level and straightedge to align it.
There are other techniques for leveling walls with adhesive gypsum board. A combination of framed and frameless methods is possible: for example, walls can be covered with gypsum board using a metal profile frame, and window and door openings can be covered with GKL.
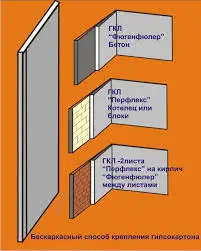
Figure 1 — Wall Finishing with Gypsum Board Adhesive
Finishing a Loft with Gypsum Board
A roof space is finished with gypsum board using a framed method. The finishing process starts with installing waterproofing and insulation. The frame for gypsum board can be made of wood or metal.
A roof space is transformed into a loft using partitions, which can be installed before or after the wall finishing with gypsum board. If the cut-off areas of the roof space will not be used, a wooden frame is built from floor to rafters, filled with insulation and a protective film layer, after which the loft is finished with GKL.
If these cut-off areas will be mini-storage spaces, the roof space is first finished: profiles are attached to rafters using anchor hangers for wooden structures, and GKL sheets are screwed onto these profiles. Then a small frame made of profiles is installed between the floor and the finished roof space, covered with gypsum board. The loft ceiling is finished last.
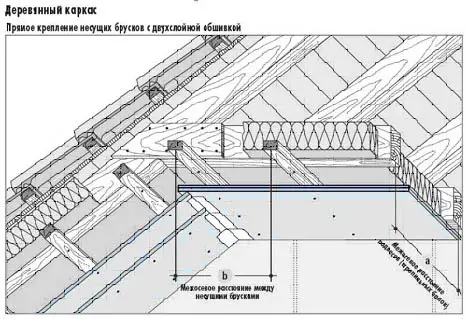
Figure 2 — Finishing a Loft with Gypsum Board
Finishing a Balcony or Loggia with Gypsum Board
Finishing a balcony or loggia with gypsum board is one of the possible options to give it a finished look and make a full room from what is essentially an apartment annex.
If the loggia is not heated, it's better to lay waterproofing beforehand, and when installing the frame, include insulation (even with radiators, insulating the loggia is a good idea). Although it's not a bathroom or toilet, for better protection from moisture, it's advisable to purchase moisture-resistant gypsum board.
Gypsum board finishing is done according to a standard scheme using any of the methods. However, due to the need for insulation, framed methods are mostly used.
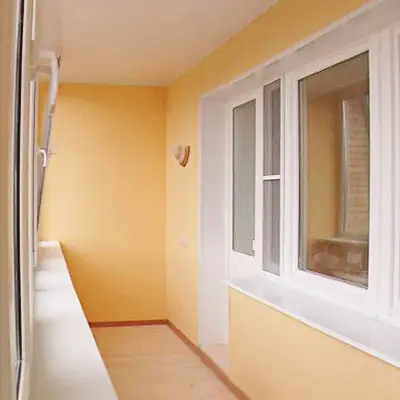
Photo 2 — Loggia Finishing with Gypsum Board
Finishing a Loggia with Gypsum Board, Video
Proper frame installation, taking into account the characteristics of the base and conditions of the 'surrounding environment' – is the key to ensuring that the final finishing won't be marred by diverging GKL panels and accompanying cracks.
This is also helped by proper joint and corner treatment, after which the finishing will lay on a flat, solid surface. Preparing gypsum board for painting or other finishes can be either joint spackling or full surface spackling (depending on whether a flat surface was achieved after joint sealing).
$ Gypsum Board Finishing – Price
The cost of finishing rooms with gypsum board can be indicated by contractors either including the cost of materials or excluding it.
Gypsum board finishing: price in Moscow – from 260 rubles per square meter, in Kyiv – from 55 hryvnia per square meter excluding the cost of materials.