Tile on Gypsum Board — One of Possible Options
Tile is the most suitable material for cladding in humid rooms such as kitchen, bathroom and toilet. Cladding gypsum board with tile will reliably protect the GKLV and last at least 10-15 years.
IMPORTANT! Leveling walls is not the only possible application of gypsum board. Gypsum board can be used not only during major renovation but also in less extensive works.
For example, GKLV in the bathroom can cover pipes, and on the kitchen — gas or electrical communications.
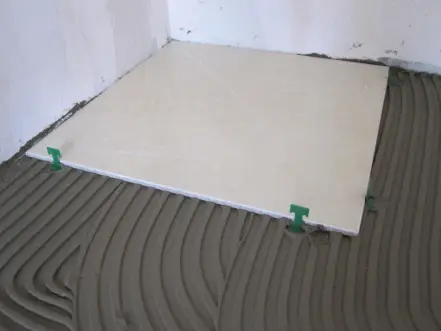
Photo 1 — Work starts from the corner if no cutting of edge tiles or pattern alignment is required
Decorating Gypsum Board with Tiles by Yourself
Tools and materials for cladding works:
- wooden or metal guides;
- screws;
- GKLV — moisture-resistant gypsum board;
- waterproof impregnation;
- foam roller;
- level;
- tiles;
- cement-based adhesive for ceramic tiles;
- notched trowel;
- regular trowel;
- grout.
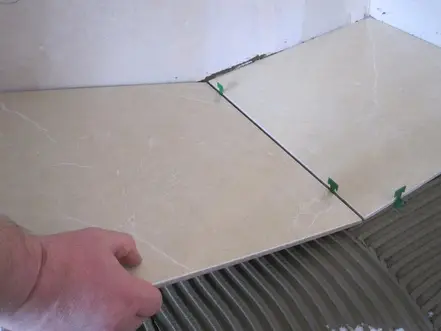
Photo 2 — The second tile is laid after the first one, installing plastic cross-ties or wedges as in this case
Technology of Cladding: How to Properly Lay Tiles on Gypsum Board
On the wall section where tile laying is planned, make a stud frame for gypsum board. The base of this frame can be metal guides or wooden strips.
IMPORTANT! If you decide to use wooden guides, each piece must be pre-coated with moisture-resistant impregnation (at least in two layers).
The spacing between studs must not exceed 20 cm. The frequency of gypsum board attachment depends on the load that GKLV will receive from tile weight.
The next step is preparing moisture-resistant primer. The primer is applied to the walls with a foam roller.
IMPORTANT! For easier removal of excess primer from the roller, it's better to pour the priming mixture into a plastic container with relief edges.
Gypsum board is primed in two layers. The second layer is applied only after the first one has fully dried.
Joints of gypsum board sheets are spackled, covered with mesh tape and then again spackled. Without reinforcing mesh tape, the traces left by screw heads on gypsum board sheets are covered with spackle. For these works use two spatulas of different sizes.
Let the spackle dry.
After the spackle has dried, sand the spackled areas.
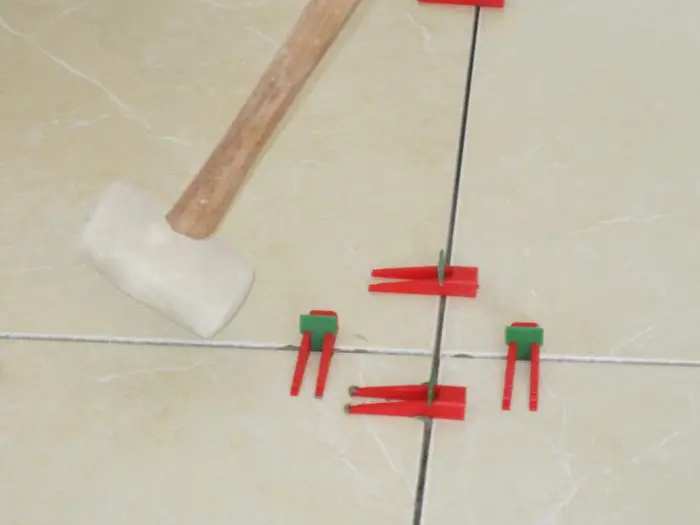
Photo 3 — Correct Tile Installation
How to Lay Tiles on Gypsum Board
Laying tiles on gypsum board is technologically not very different from cladding brick surfaces.
Lay out the tiles. First — on sketch, then — on floor. This is done to see what your work will look like and make adjustments if, for example, you don't like the pattern.
It's important to know the tile layout before gluing them on walls — even just so you can calculate how many full tiles and cut some if necessary.
IMPORTANT! Masters recommend cutting tiles only after laying a full row. This way, you can determine the size of cuts more accurately. When buying tiles, make a 10% surplus on tile usage at least. It's not usually hard to buy the missing tiles, but colors from different batches of the same type of tile can vary slightly.
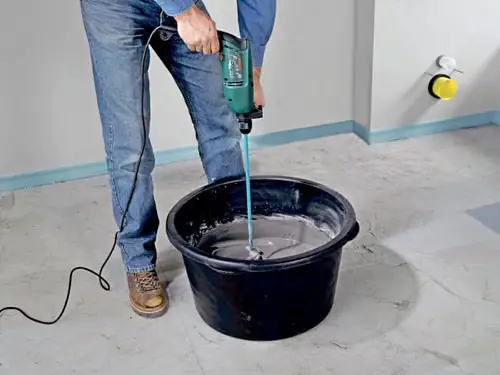
Tile installation on gypsum board is done using tile adhesive. The dry adhesive mix is prepared according to the proportions indicated by the manufacturer on the packaging. For mixing, use a mixer attachment for a drill.
The adhesive is scooped up with a spatula and applied to the gypsum board in an even layer sufficient for securing one or two tiles. A scraper is used to create grooves in the adhesive. This type of applied adhesive bonds better with tiles.
Tiles start from the bottom row, inserting special plastic cross-ties (to ensure even rows). Use a level to check horizontal alignment of each subsequent row. For orientation, you can set up a laser level or stretch red string horizontally.
IMPORTANT! Most tile adhesives set within 10 minutes, meaning you have very little time to correct any mistakes.
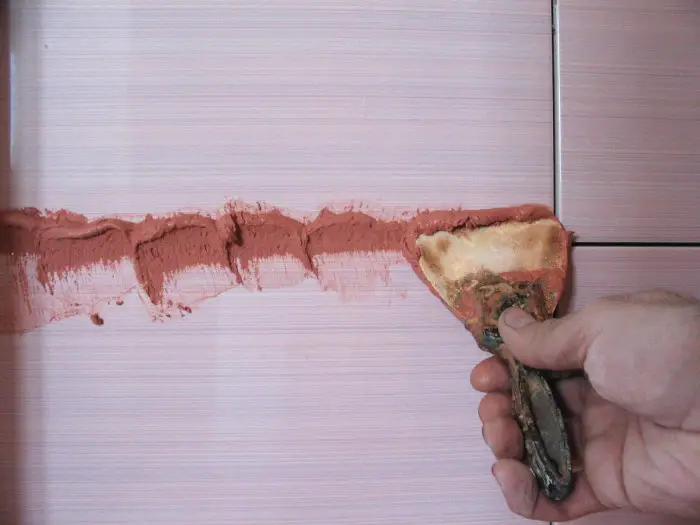
Photo 4 — Grout Sealing. Applying the Grout Mixture
It is not possible to install tiles on gypsum board in one go.
After laying 4–5 rows of tiles, take a break. The pause is needed so that the adhesive sets and the gypsum board base adapts to the load. After laying 4 or 5 rows, rest. Otherwise, carefully laid tile rows may shift.
About a day after laying tiles on gypsum board, you can start grouting the joints. Grout is conveniently applied with a small rubber spatula. Excess grout mixture should be wiped off using a foam sponge slightly dampened with water.
IMPORTANT! The thickness of the installed gypsum board on walls affects the durability of the material. If you plan to cover a wall with gypsum board and then clad it with tiles, there is no point in using sheets thinner than 12.5 mm.
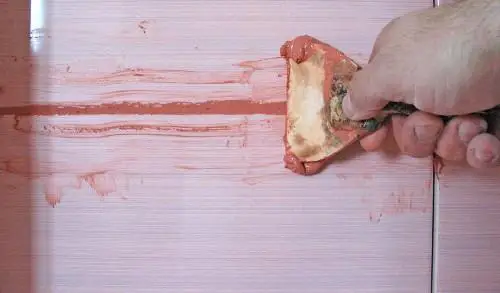
Photo 5 — Filling Joints with Grout
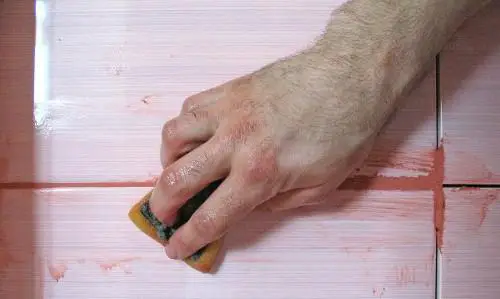
Photo 6 — Wiping Off Excess Grout with Sponge
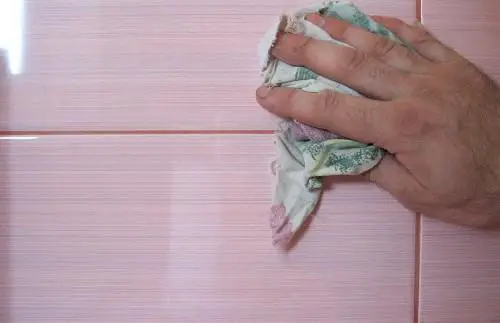
Photo 7 — Final Result
Adhesive for Tiles on Gypsum Board
One of the best tile adhesives is Ceresit CM 11.
Technical specifications of the adhesive:
- Mixture: cement with mineral filler;
- Water consumption: 0.24 liters per kg of mix;
- Working time: up to 2 hours;
- Correction time: 10 minutes;
- Slippage of tiles: no more than 0.5 mm;
- Grout application time: after one day;
- Consumption rate: 1.8 kg/m² per mm thickness layer;
- Price: $5.85/25 kg.
Tiles on Gypsum Board: VIDEO
So, Is It Possible to Lay Tiles on Gypsum Board?
Yes, provided the gypsum board is securely fastened to the walls/floor of the room and cladding with tiles does not overload the gypsum board structure.
How to Remove Tiles from Gypsum Board?
Finally, let's consider the reverse process: suppose you need to replace a few damaged tiles. How do you remove tiles from gypsum board?
In most cases, it's impossible to remove old tiles without damaging the gypsum board. You can try removing grout and prying up the tile with a spatula, but this method is only effective for small tiles (up to 10x10 cm).
Alternatively, carefully cut out the damaged section with GKLV and install a new patch on the frame.
$ Cost of Installing Tiles on Gypsum Board
- in Moscow — $310/m²;
- in Kyiv — from 70 UAH/m².