Creating a Wardrobe from IKEA PAX Yourself: How It's Possible
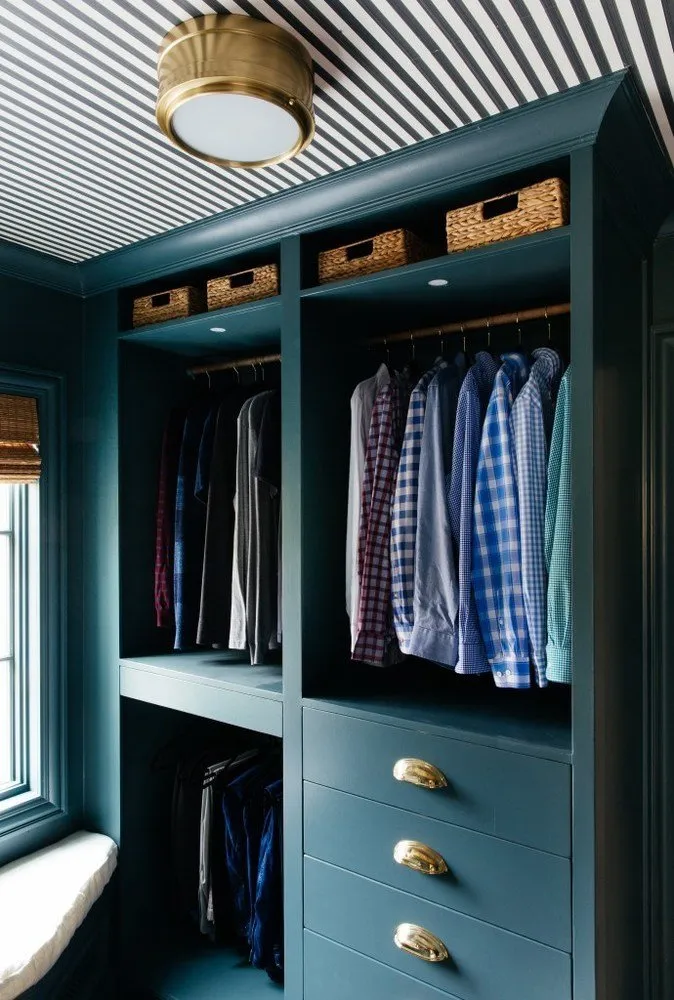
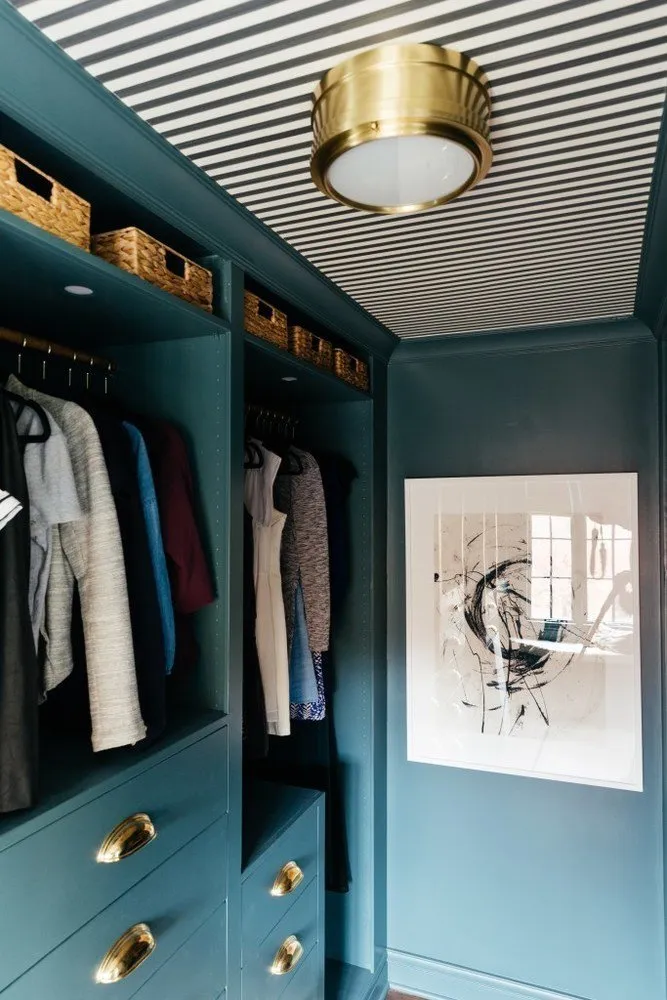
The designer Erin Kestenbaum loves vintage furniture, cozy textures and homes with character. She runs a blog where she talks about all this and shares her own photos of objects. Erin's latest achievement is a fully equipped wardrobe room in an exquisite wave color. In her blog, the designer posted a photo report and explained step by step how she managed to transform the IKEA 'PAX' into a full-fledged wardrobe. We present key excerpts from Erin's story.
Step One: Find an Inspiring Example
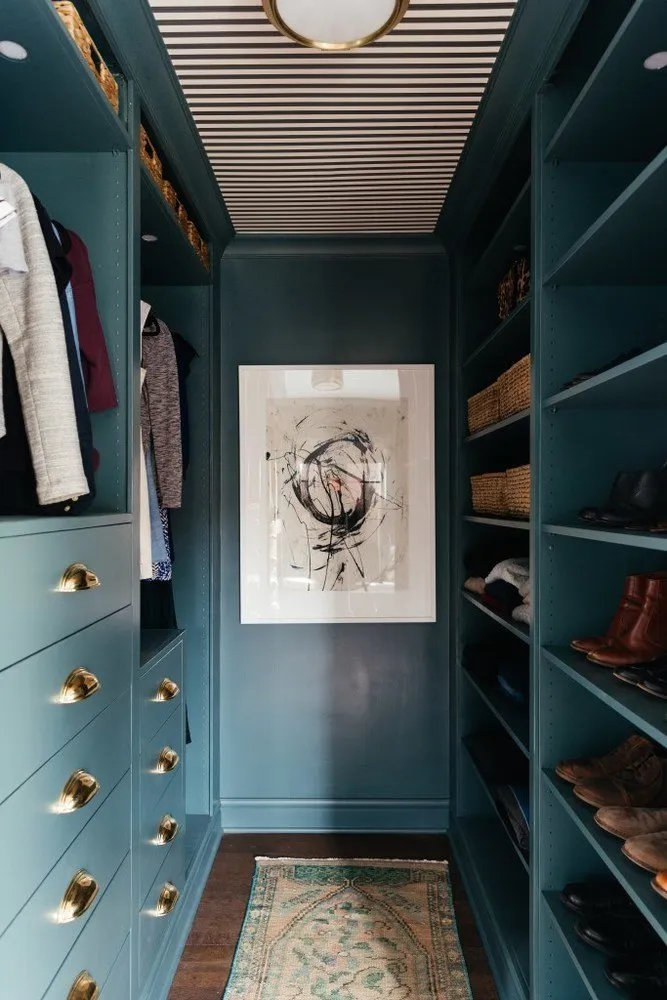
When I was planning the perfect wardrobe, one of Jennifer Wolf's projects caught my eye: I was attracted to the amazing deep blue wave color. I took this image as a general reference, deciding to make exactly the same in my home but with a much more modest budget.
Initially, I wanted to make everything from wood from scratch, but my husband brought me back to reality: we had never built wardrobes, not to mention sliding drawers, shelves and other things, and it would have taken forever.
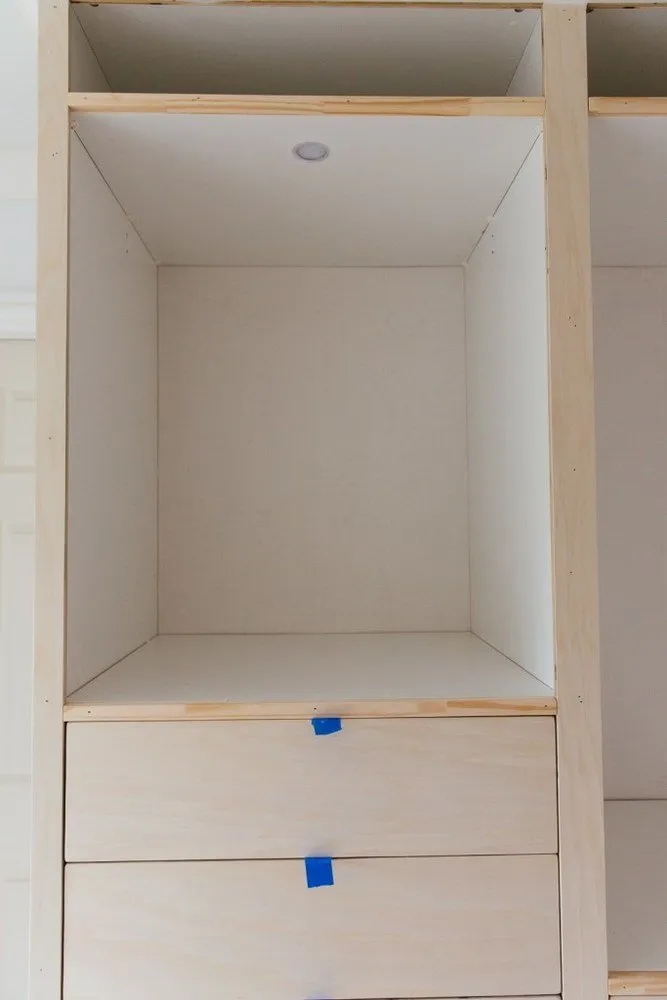
So I started looking for a storage system that I could assemble myself and paint in the desired color. Of course, the IKEA 'PAX' turned out to be the most convenient and budget-friendly option. I have redesigned IKEA items before, but here there were new conditions: I wanted to install lighting inside and completely redesign the drawers. If we had left them as they were, in our apartment designed in 1940s style, it wouldn't have fit in. Some people cover drawers with doors, but we didn't want to clutter the already small space with unnecessary doors.
Step Two: Make a List of What You Really Need
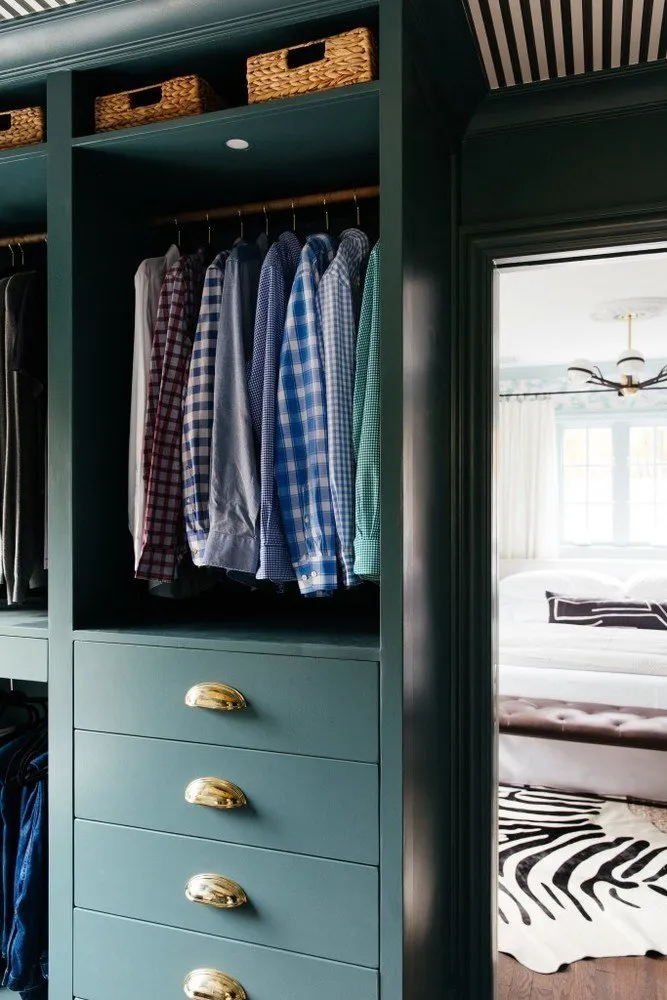
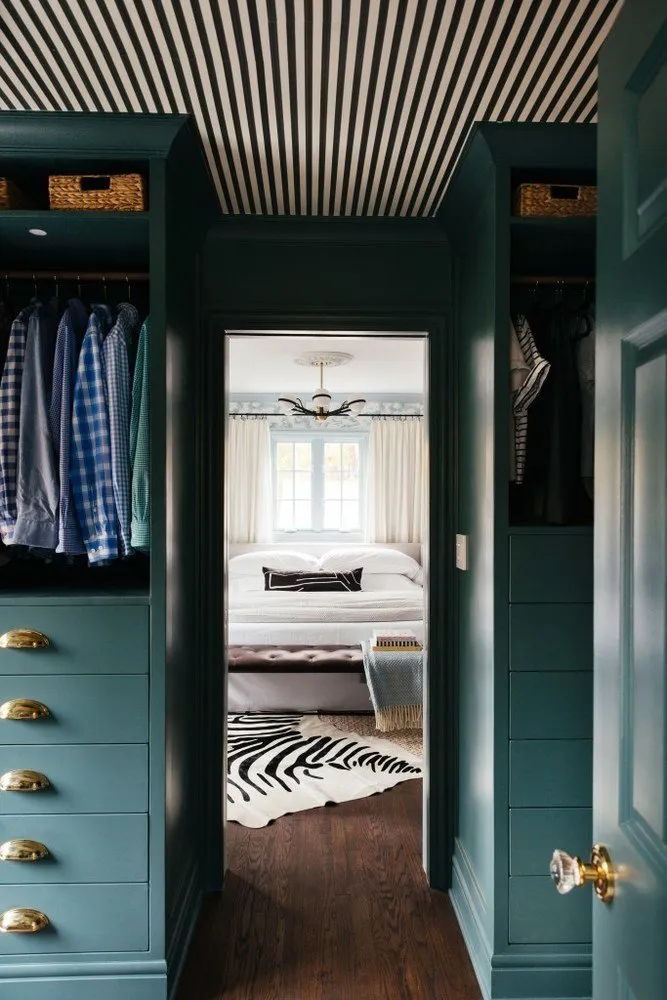
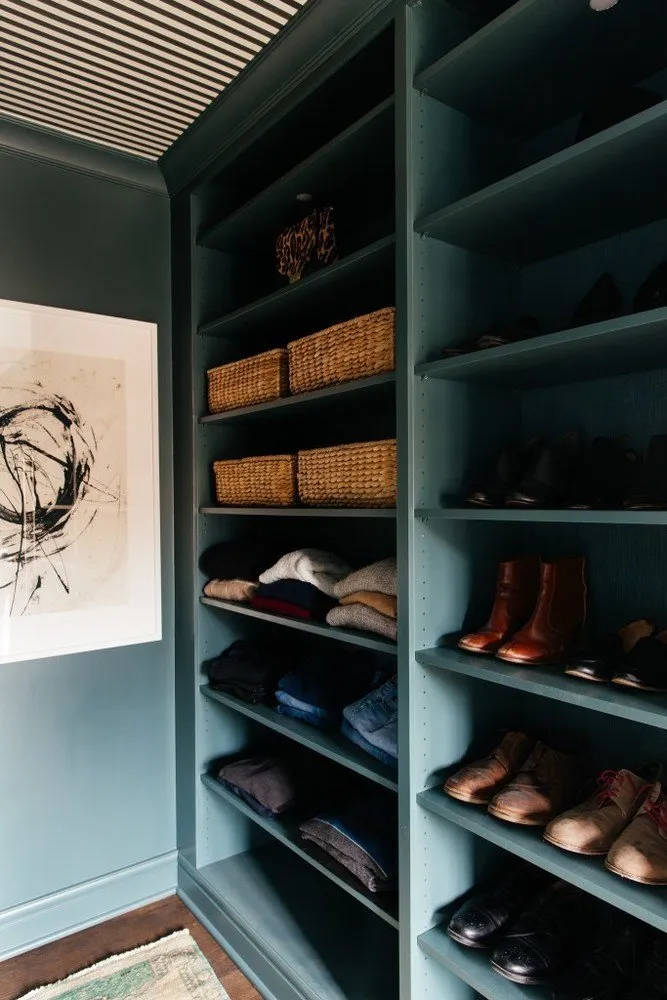
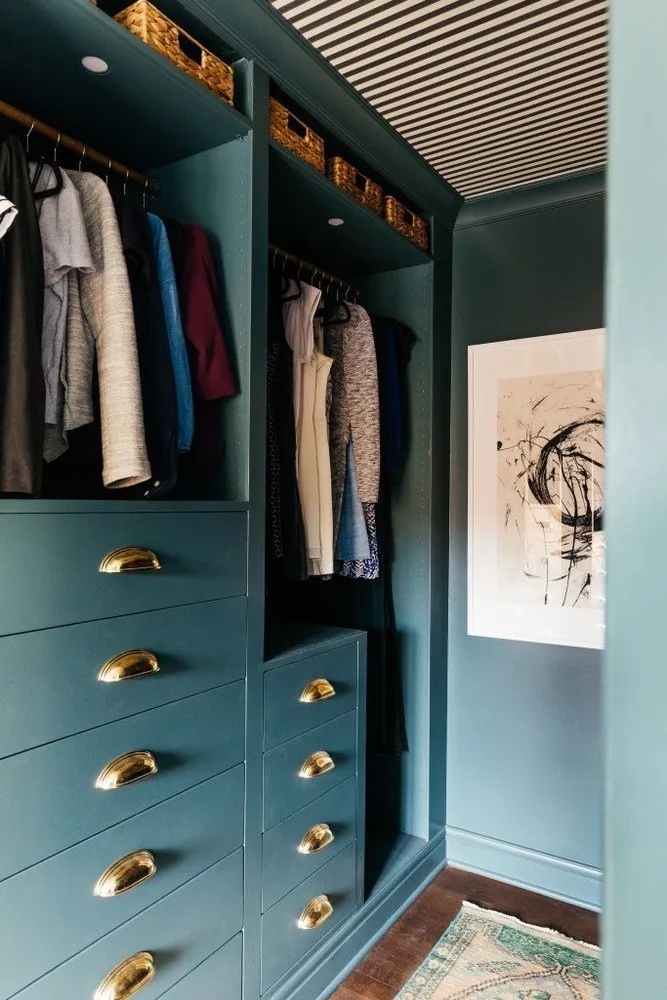
I wanted the wardrobe to look magnificent. For that, I needed baseboards, moldings, fillets, beautiful handles on sliding drawers and lighting. All of this was added by us; the original 'PAX' set did not include any of these. Then we also closed unused holes on the side walls, replaced metal hanging rods with wooden ones, primed everything and painted.
Erin and Cory's wardrobe before and after redesign!
Step Three: Plan the Sections and Content
For this, the IKEA 'PAX' planning tool on their website comes in handy. We calculated how much space we needed for long clothing (dresses, suits), medium (shirts, blouses), which would hang on separate hangers (pants, skirts), lie in stacks (t-shirts, jumpers, underwear) and how many shelves we needed for shoes. We systematized all types of storage by clothing categories in an electronic spreadsheet and referred to it while working on each section of the wardrobe. For example, I fold my jeans, but my husband likes to hang them. He also adheres to a business style and has many shirts. All of this needs to be taken into account.
For reference: the wardrobe size is 426x182 cm, so we placed deeper sections (74 cm) on one side and narrower ones (33 cm) on the other. This way, we saved space for comfortable passage between rows.
It is important to ensure that the space for the wardrobe is level. Otherwise, the wardrobe sections won't fit snugly together, and it will be a nightmare.
Step Four: Install the Lighting
We ordered these shank lights from Amazon and connected them to a switch. This created a chain of wires, each wire from the chain led to one section, and the rest continued further. We knew that we would place rattan baskets on the top shelf, so we weren't worried about the wiring not being pre-planned. But if you're only planning renovations, you can incorporate such an option as shelf lighting into your lighting project.
The distance from the floor to the wardrobe, from the wardrobe to the ceiling should be equal everywhere, make sure of that. Lighting is installed at the very beginning.
Step Five: Install Baseboards, Moldings, and Wooden Trim
We used baseboards from the Fashion Forward collection by Metrie: they perfectly match the moldings and fillets we planned to use during finishing. The baseboards run around the entire perimeter of the room. For the trim, we used poplar, sanded it on a machine, making sure that the molding was flush with the upper horizontal beam. The same poplar was used to form fillets for the side surfaces. We glued them, not using nails. Then we filled all gaps with wonderful Bondo spackle. At the very end, we installed the upper molding, which completely closed all seams.
Step Six: Create Dream Drawers
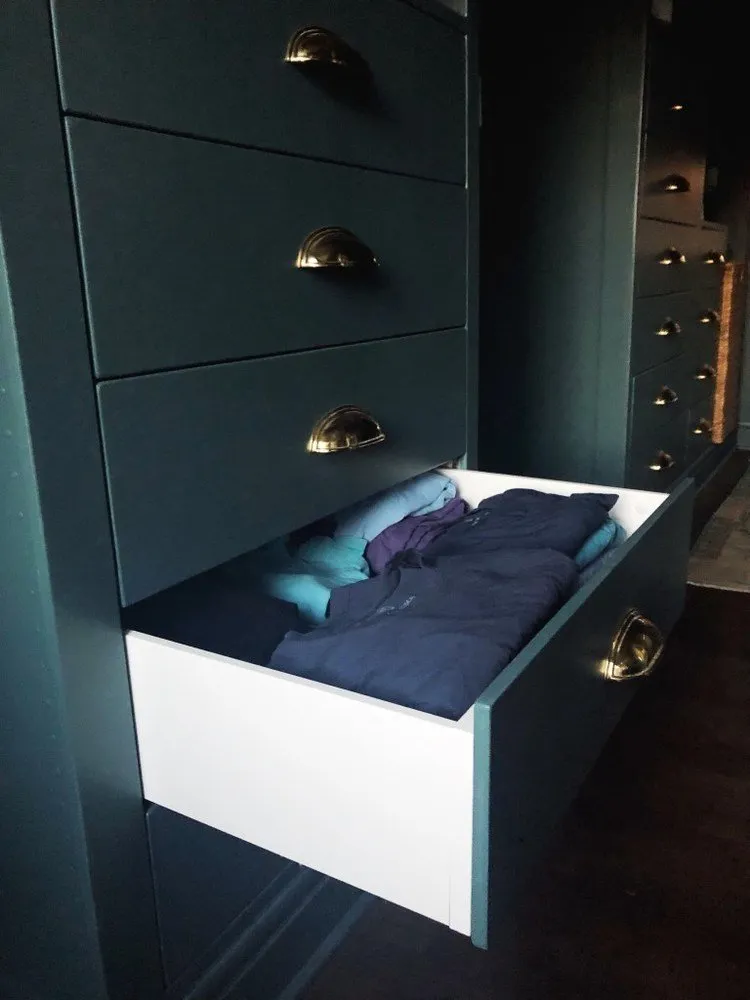
We had a favorite dresser in the bathroom that we used as a reference. So I knew what dream drawers looked like. The 'PAX' drawers were completely different. Therefore, we took a poplar board, sanded it and attached it to the drawers. Now they could be painted peacefully. We left the gaps between the drawers as they were.
Step Seven: Hide Holes and Wallpaper the Wardrobe Inside
An important detail: you don't notice it, but you would definitely notice something is wrong if you didn't close the seams and unused holes that reveal it was originally an IKEA wardrobe.
For sale at IKEA are packs of plugs designed to hide many holes in the 'PAX' system. Installing them is not easy, but the effort is worth it. We used 12 packs and left holes only where shelves were, so that there was a possibility to move them if needed.
After that, we pasted thick wallpaper for painting to create a perfectly smooth surface but with texture.
Step Eight: Prime and Paint
The main challenge was to paint the laminated surface of IKEA wardrobes. It turned out that it is completely doable. The secret is in the Zinnser BIN Shellac Primer paint. You have to use a respirator, but that's the only downside: the material covers IKEA surfaces perfectly. In the most hard-to-reach places, we applied the primer with a high-density foam roller and brush. The primer dries quickly, and after drying, for accuracy, we applied a second coat.
We painted the wardrobe with a sprayer and got super professional results. What to keep in mind:
- there should be many light sources;
- have fine-grit sandpaper on hand to immediately remove excess drips and splatters;
- prepare to clean the sprayer occasionally, as it will get clogged;
- check how the paint sprays before starting to better control the process;
- better to do several thin coats rather than one thick coat.
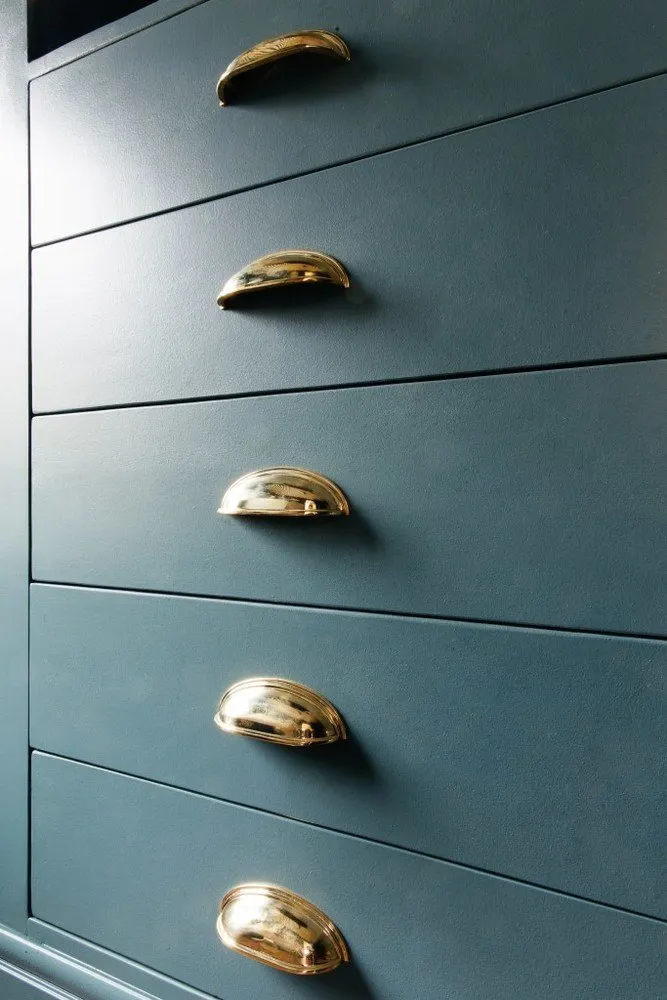
We used Farrow and Ball Inchyra Blue from the Modern Eggshell collection. This is my favorite color: depending on lighting and time of day, it can change from peacock blue to dark green. Another paint option I can recommend is Benjamin Moore Advance: it holds up well on our bathroom dresser and is much cheaper.
Step Nine: Finalize the Drawers
The paint should dry within a couple of days. After that, you can install the drawers. Only then the front panels. To ensure they are flush with the trim we added, we inserted shims between the 'PAX' drawers and wooden fronts at each screw location so that the fronts align flush.
Step Ten: Hooray, Handles!
And my favorite part is hardware. I narrowed my choice to the Emtek brand and ordered wonderful heavy aged brass handles from them. We used a laser measure so that all handles were the same distance from the drawer edges.
Need a renovation specialist?
Find verified professionals for any repair or construction job. Post your request and get offers from local experts.
You may also like
More articles:
 Collection of Summer Items: Where to Store and How to Organize?
 Perfect Apartment in the Center of Stockholm: Ideas You Will Find Useful
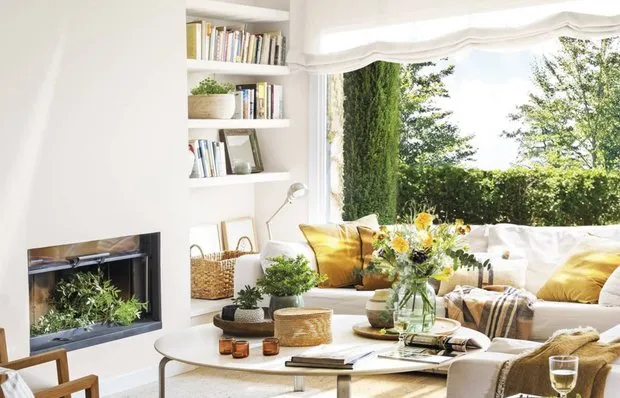 Summer House in Barcelona with Panoramic Windows
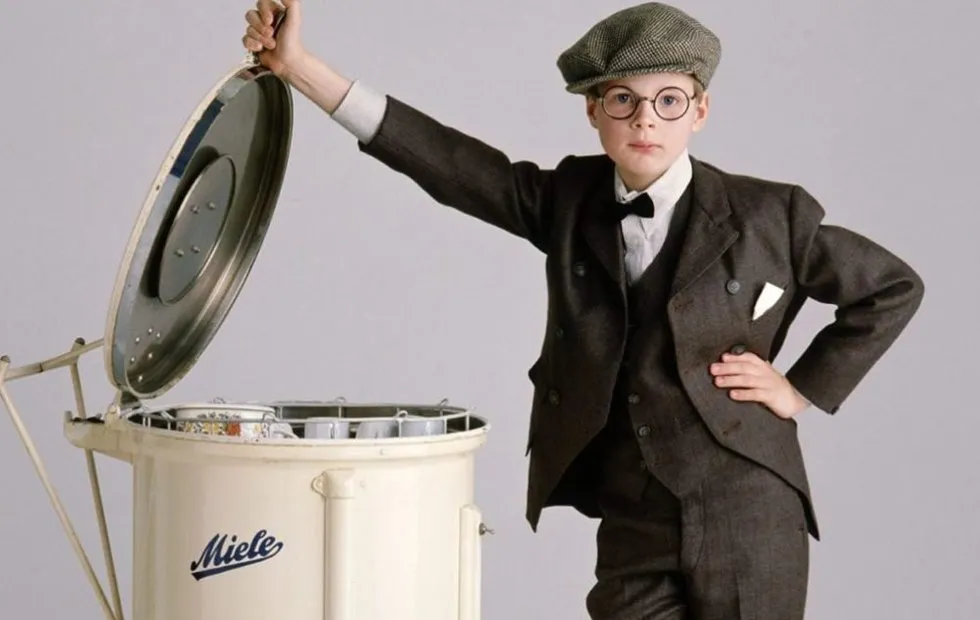 Kitchen Revolution: 6 Iconic Inventions for the Kitchen
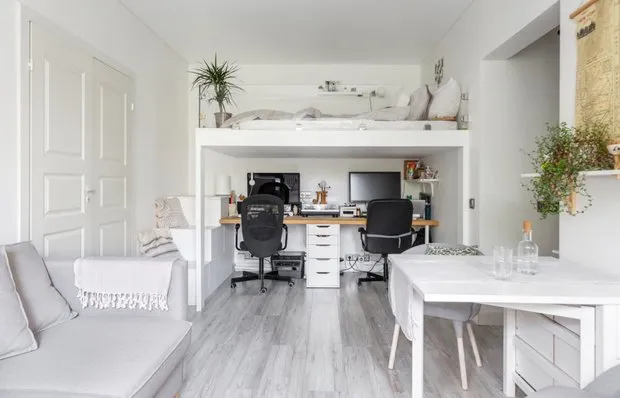 Emergency Interior Solutions: 10 Genius Design Hacks
 What to Do with Autumn Leaves on the Dacha: 5 Ideas
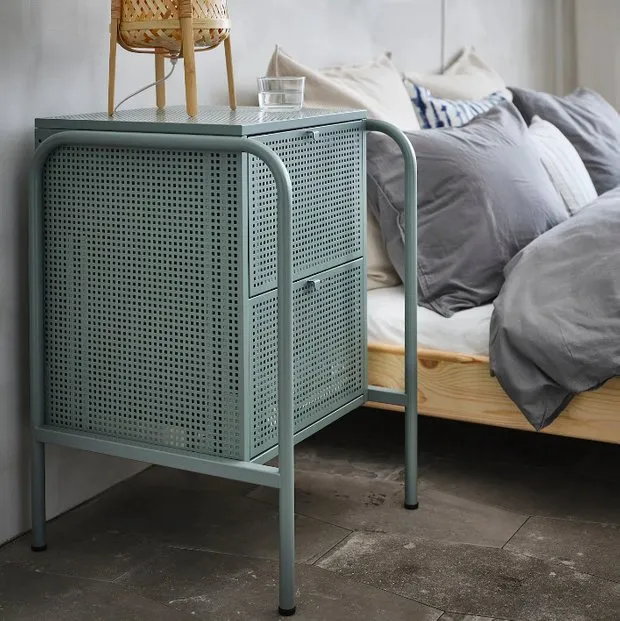 What to Buy at IKEA for 5 Thousand Rubles?
 Get Ready for the New Year: 5 Solutions for Fast Apartment Renovation