Ideal Hallway from Instagram Scandi Blogger
"With love for my nest" - is what Katya (@murzik_home_) writes in her Instagram profile. When we saw this wonderful account, we thought Katya must be a professional design blogger: her photos are so vivid and practical advice is spot on.
But it turned out not exactly like that: Katya and her husband Kostya are enthusiasts. They decided to do the renovation themselves, but took such a responsible approach that they calculated everything down to the millimeter. We tell you what, according to the couple, turned out well and what still needs to be redone. And we start the review with the hallway!
Katerina Funtova - Artist, Blogger. Loves Scandinavian style and the philosophy of hygge, decorates her own apartment with love and taste, runs a blog about decoration and cozy lifestyle
How they planned storage
Things and shoes that were brought in from the street are better placed near the entrance, so as not to spread dirt throughout the hallway. For other items we made a convenient and spacious wardrobe-closet. The niche for it was built from gas concrete blocks during the renovation stage, based on the size of items that were intended to be stored there:
✔ Right section - for an ironing board, dryer, broom, vacuum cleaner, hookah and similar items.
✔ Adjacent section - for shoes. It was calculated based on the dimensions of IKEA Suckabak shoes storage units. The wardrobe ended up deeper than we planned, so there's still room to hide more stuff behind the Suckabaks 😂
✔ Left section - for outerwear, under it - a section for tools 🛠
✔ Free zone on top, mainly for large containers 👌
I'll say right away that all the dimensions, including shelf height and width, were calculated by us based on the contents. Of course, a measurer can help you with this, but for more reasonable space organization, it's better to plan the contents and dimensions beforehand.
The last detail of our apartment - a wardrobe-closet! Finally, we got to it👌⠀ ⠀ We built the niche for the wardrobe-closet during the renovation stage, from gas concrete blocks. Wooden strips were attached to the ceiling, to which the suspended ceiling was later mounted. Our workers did this, as it turned out later, by eye🤦♀️ (photo 5)⠀ ⠀ We had to cover the corner of the niche with a piece of the wardrobe-closet, which was good that we managed to do it at all. At first, we were afraid of the ceiling being pulled down😅⠀ ⠀ Inside it's all neat and tidy. The dimensions we were working from were the right niche for an ironing board, dryer, broom, vacuum cleaner, hookah and similar items, and the adjacent section for shoes (in the center). It was calculated based on the dimensions of IKEA Suckabak shoes storage units. The wardrobe ended up deeper than we planned, so there's still room to hide more stuff behind the Suckabaks🤪😂⠀ ⠀ Left section for outerwear, under it - a section for tools 🛠⠀ ⠀ On top - free zone, mainly for large containers 👌⠀ ⠀ I'll say right away that all the dimensions, including shelf height/width and others, were calculated by us, first choosing the contents, while the measurer just confirmed the details☝️ Of course, a measurer can help you choose contents, but for more reasonable space organization, it's better to plan the contents ahead of time. ⠀ In general, everything turned out as planned, with no flaws, which we are extremely happy about! Both the measurer and the master who assembled the wardrobe were very competent and pleasant people, which unfortunately is not always the case🙈⠀ ⠀ After checking it out myself, I confidently leave the link to the store where we ordered @skaff_kupe 🥂🍾
Post published by Home•Renovation•Coziness•Decoration•Scandi (@murzik_home_) on April 29, 2019 at 12:44 PDT
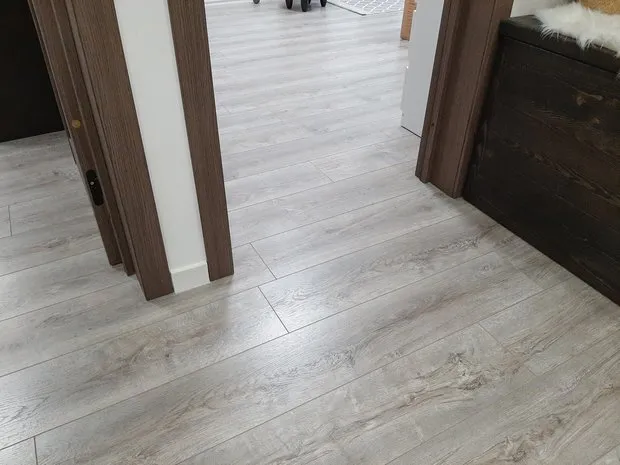
How they laid the floor without joints
Usually, at the entrance door, a floor made of ceramic granite is used that transitions into laminate or tiles are laid across the entire floor.
We laid a single continuous layer of laminate throughout the apartment without joints or gaps and didn't regret it - the laminate held up perfectly to several leaks from our dishwasher.
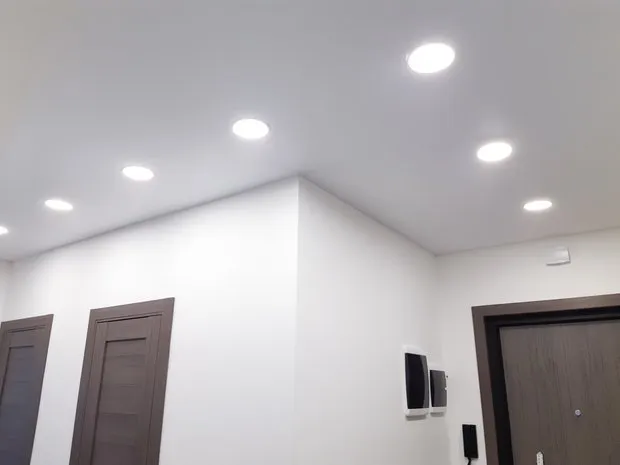
How the lights are turned on and off
We have two light switches in the hallway: one is a two-switch pass-through switch at the entrance, and another one is in the corridor. According to plan, lights can be controlled both at the entrance to the apartment and at the entrance to the room. But in reality, things don't work exactly as planned: in some switch positions, one of the lamps doesn't turn on. We didn't change anything since it was discovered after post-renovation cleaning.
In addition, I recommend carefully checking reviews of light fixtures. During the renovation, we chose Elvan lights: a large salon with a wide selection just not far from our husband's workplace, which is convenient to see live and choose.
After six months, the first light fixture in the bathroom burned out, and not just burned out but started melting! Good thing mom was in the bathroom at that moment and managed to turn off the lights. A month later, an identical light fixture in the corridor burned out. When we took it off, we found that the power supply unit had almost completely melted.
After some time, two more burned out the same way, and since it's a suspended ceiling with holes cut out specifically for these light fixtures, we're in for a ceiling reinstallation.
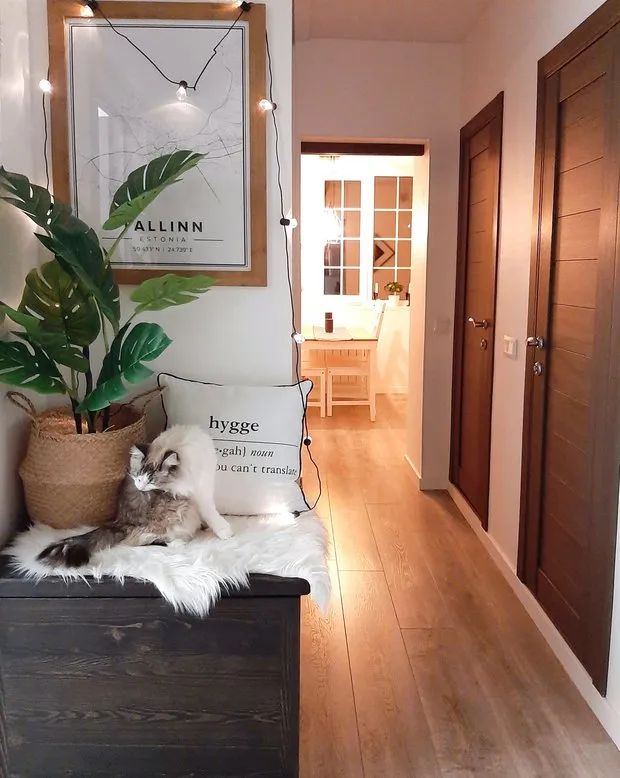
How they made a cat house
The cat's litter box is located right in the hallway, as in a split-level apartment, this is the most ventilated area. We ordered the house to our exact dimensions (a sketch is attached, scroll down!). And on its roof, a cozy spot for resting appeared😊
Syrnik's cat litter box is ready! ⠀ And you know, I wouldn't mind having it! Everything was missing in the hallway and corridor! I wanted to change or add something, but I couldn't figure out what exactly😅 This is not even mentioning that Syrnik's litter box was originally planned to be hidden in a cabinet☝️ ⠀ When I ordered the cat litter box, I didn't even suspect how it would transform the whole space! As soon as we received it, I wanted to put a skin and a cushion on top of it, and add a flower🐱 And Syrnik now has not only a private litter box but also another place for relaxation😍 (Why our cat's litter box is in the hallway, you can read under a similar photo post) ⠀ I ordered the house from @woodcolors furniture workshop, the master made everything to the highest standard, according to our dimensions and even added a door with a door closer🔥 The house is made of pine and impregnated with oil, which is better for this structure since oil is more natural and less pungent than paint, for example. And that's very important because the cat might not like the smell and refuse to use the house for its intended purpose💩 ⠀ But everything went smoothly with us, Syrnik's house was liked immediately and no problems arose🙌 ⠀ By the way, now there's significantly less litter in the tray, and in addition to the tray, the house can hold a bag with litter and a scoop👌 ⠀ For everyone who wants to order the same house, I'm attaching a sketch with our dimensions + as a bonus, a sketch of our bathroom shelf🔥 ⠀ You can all make it on order in any color at @woodcolors! ⠀ What do you think about this idea?🐱
Post published by Home•Renovation•Coziness•Decoration•Scandi (@murzik_home_) on May 21, 2019 at 23:56 PDT
How they selected decor
My husband likes maps, and I like posters. That's how we got the Tallinn 🙌 I love this city! And in general, posters for a cozy hallway - it's a must-have 🙌 You can find various versions of them, for example, on Pinterest and print them. Or buy ready-made ones: I have a tag #murzik_home_purchases on my page, where there are many links to original decor. Garland, cushions, mat and plants make your hallway cozy 👌
I dropped by for a quick greeting and to show off, my husband sent a photo from home, took the mail and hung the map of our favorite Tallinn in the corridor! I'm so happy with this completed look that I decided to share it with you!😍 (I ordered the map from @mapposter.ru ) ⠀ And so, in Bavaria as always it's great! Yesterday evening and half the night we enjoyed wine with my @undominel ! ❤ Tomorrow we're heading to Austria, walking and shopping!🤤 And in the evening again grill! But now with just three of us🥰 A great girls' night out!🥂👌
Post published by Home•Renovation•Coziness•Decoration•Scandi (@murzik_home_) on May 30, 2019 at 23:56 PDT
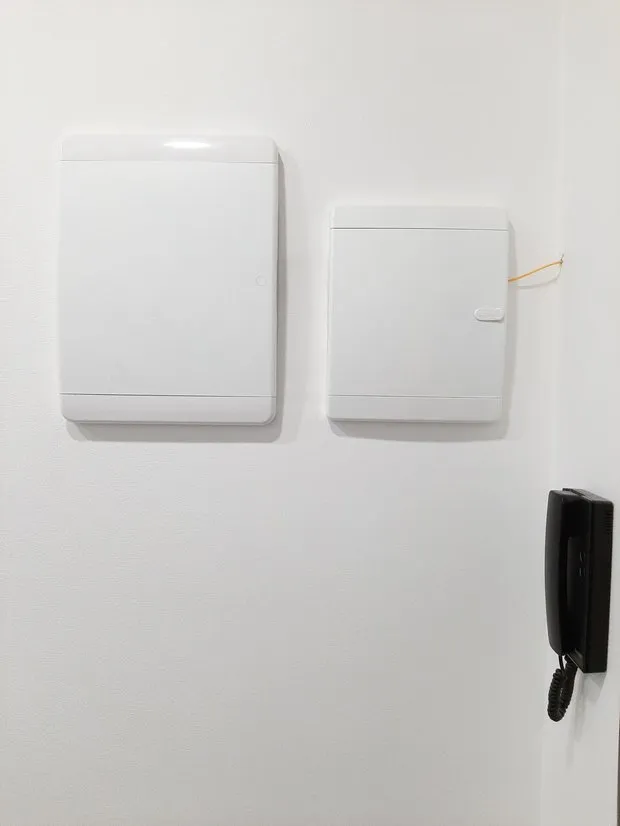
How they hid the electrical panel
Unfortunately, during the renovation, we didn't think about hiding the electrical panel. Now I regret🙈 In the end, I had to fix it myself and use makeshift tools to repaint the plastic doors of the panel.
I had at hand:
✔ nail clippers,
✔ four-sided nail clippers,
✔ nail polish remover,
✔ lint-free cotton swabs for manicure,
✔ sponges for aqua-gouache (can be replaced with a sponge),
✔ interior paint,
✔ painter's brush (could have done without it).
The process is extremely simple:
✔ remove the hated black doors;
✔ cut off the top layer - we need to achieve a rough surface so that the paint adheres properly, otherwise it won't stick;
✔ clean off dust, decontaminate using lint-free cotton swabs and polish remover;
✔ apply paint in a thin layer with a brush, then go over it with a sponge to avoid brush strokes (can be done directly with the sponge and paint);
✔ after full drying (the time is written on your paint), apply a second coat with the sponge;
✔ after full drying, reinstall the doors.
Of course, ideally it would be to buy paint for plastic in a can, but I had interior paint on hand and no patience😂
Need a renovation specialist?
Find verified professionals for any repair or construction job. Post your request and get offers from local experts.
You may also like
More articles:
 If You Don't Have a Country House: 5 Atmospheric Places for Nature Retreats
 6 Ways to Quickly Refresh Interior with Paint
 Personal Experience: How an Old Van Was Transformed into a Cozy Home
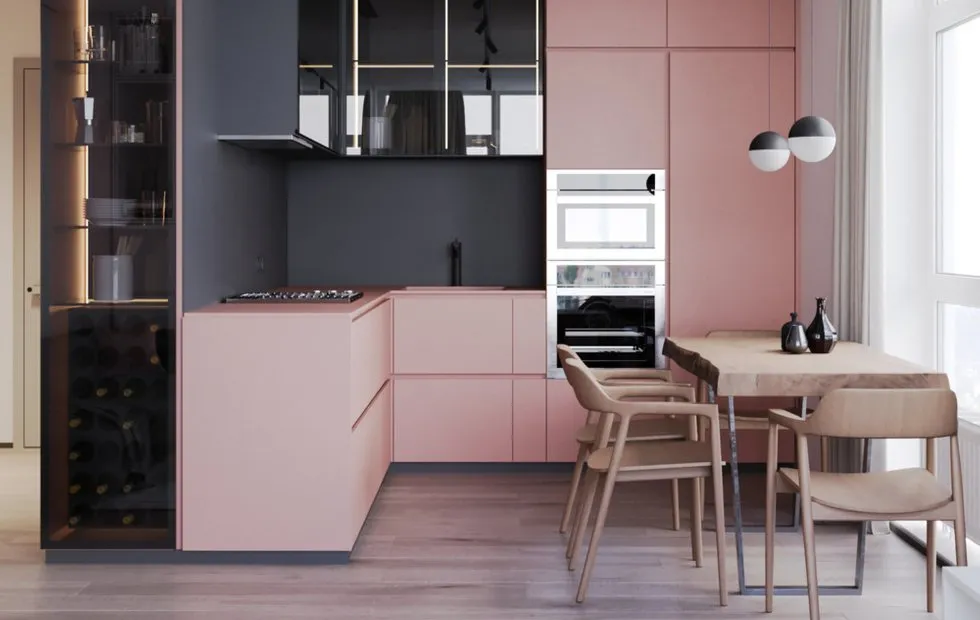 5 Bright Kitchens You Will Love
 The Main Household Item: How the Washing Machine Has Evolved Over 100 Years
 Mini Garden on the Balcony: 8 Ideas from IKEA
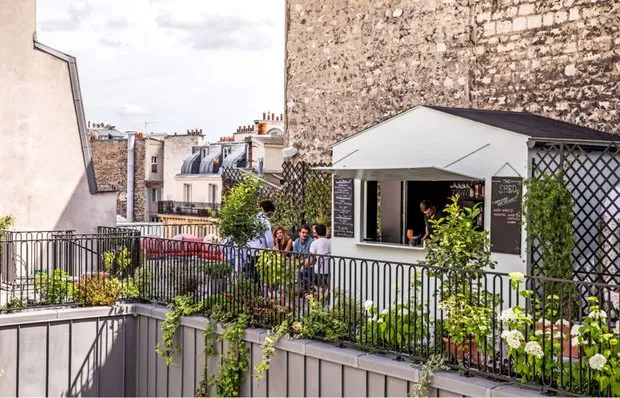 9 Ideas for a Veranda and Balcony Inspired by Parisian Cafes
 Personal Experience: 5 Mistakes in House Construction and Decoration