How to Make a Sofa Bed on a Window Sill and Where to Put the Radiator
We already told about designer Erin Kestenbaum in a step-by-step guide to creating a dressing room. This time the designer solves a new issue: how to hide ugly radiators that spoil the interior of her home in Victorian style. Erin created not only a beautiful but also extremely functional area: here you can warm up in the sun early in spring or lie down with your favorite book on a cloudy autumn day. If the window width allows, you can even equip a full sleeping place for a guest staying overnight.
We explain how to create such a chill-out zone yourself.
 For the first time, the designer converted a window sill into a sleeping place on the veranda - it turned out very cozy!
Step 1. Prepare the Work Area

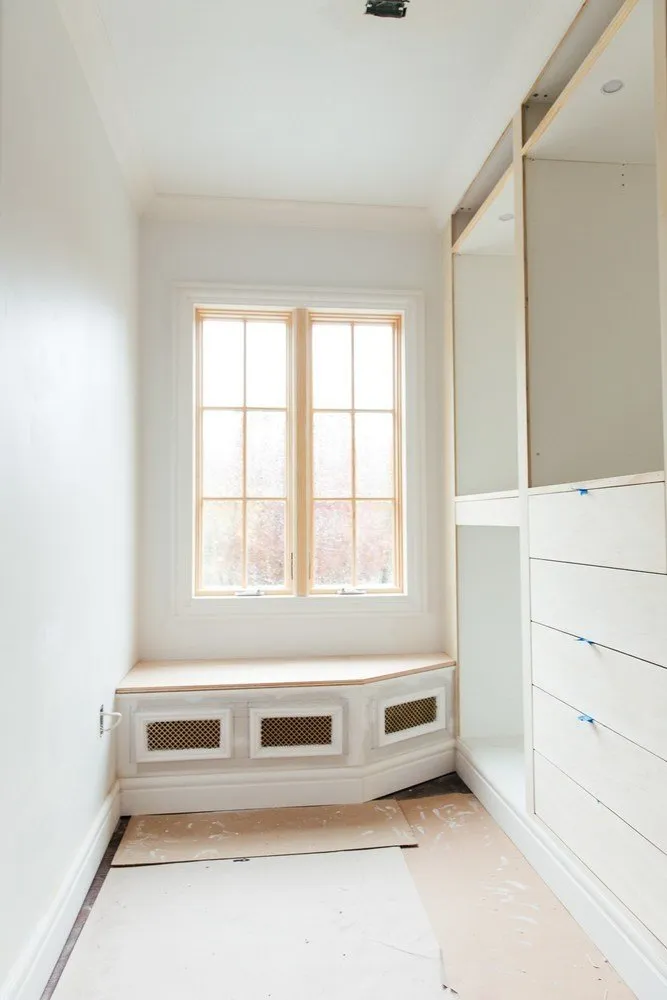
First, remove the window sill and prepare the workspace, freeing up space around the radiator.
Step 2. Build the Frame
First, decide on the dimensions of the bench. Cut blocks to the appropriate length, 10 cm wide and 5 cm thick. On the photos, the bench has an unusual shape; you can replicate it: then cut the blocks at an angle to form the lower base for the bench. Or make a rectangular bench.
Before attaching the vertical supports to the base, determine where the ventilation holes will be placed and ensure that the vertical supports won't interfere with them.
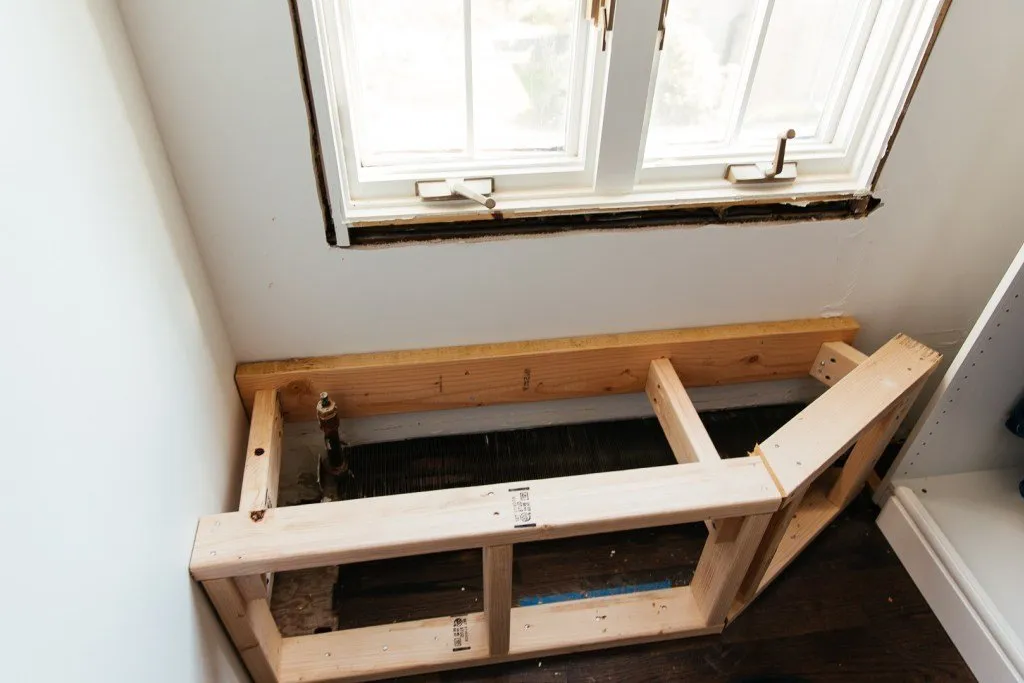
Regarding height, the most optimal for a window sill is 48 cm. Considering the height of the cushion that will lie on the bench (approximately 5–7 cm) and the thickness of wood at the top of the bench (approximately 2 cm), the vertical supports should be about 40 cm in height.
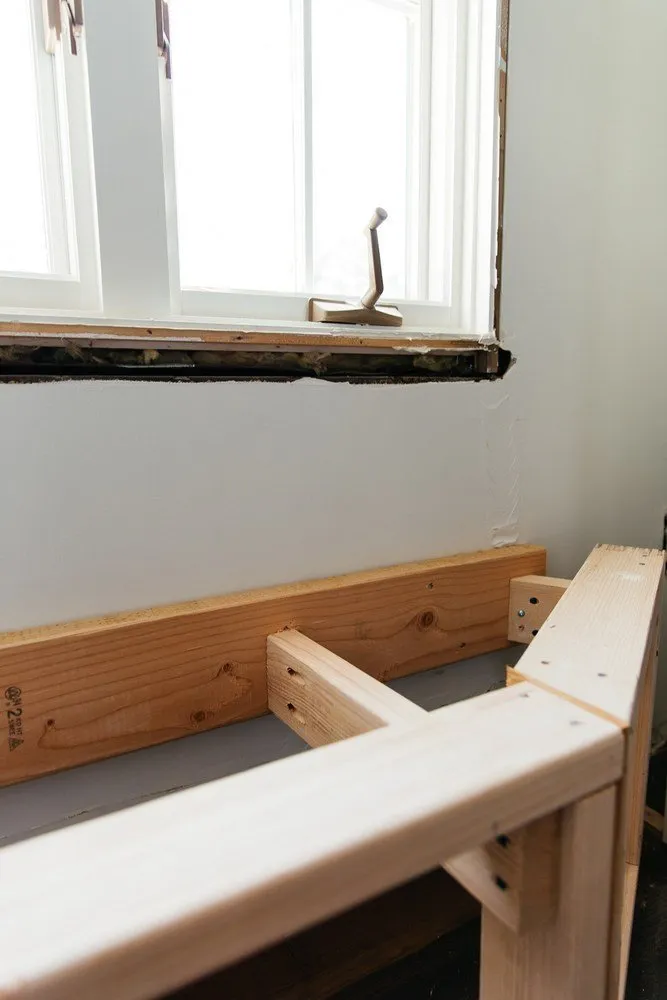
Attach the front frame to the floor using long nails.
On the back wall, install a solid wooden plank and attach the front frame to it using 5x10 cm blocks and the appropriate length for your size. This will ensure strength and stability of the entire structure.
Step 3. Cover the Frame with Gypsum Board
The most suitable material for covering in this case is gypsum board. It's cheap and easy to use, allowing you to create the illusion that the bench is part of the wall. You can even use leftover gypsum board from previous renovations.
Cut pieces of gypsum board to size according to the front frame and attach them using screws for gypsum board.
You can hide protruding screw heads and defects on the gypsum board sheet with a thin layer of spackle. If your bench has the same shape as in the photo, don't forget to spackle the corner of the bench.
The easiest way to create the feeling of built-in furniture is to continue the baseboard at the bottom of the bench, which is used in decorating the rest of the room.
Step 4. Cut Ventilation Holes
To allow hot air from the radiator to circulate smoothly and prevent overheating of the structure, you must cut holes for ventilation grilles. Take into account the width of the decorative baseboard you plan to use around the ventilation opening.
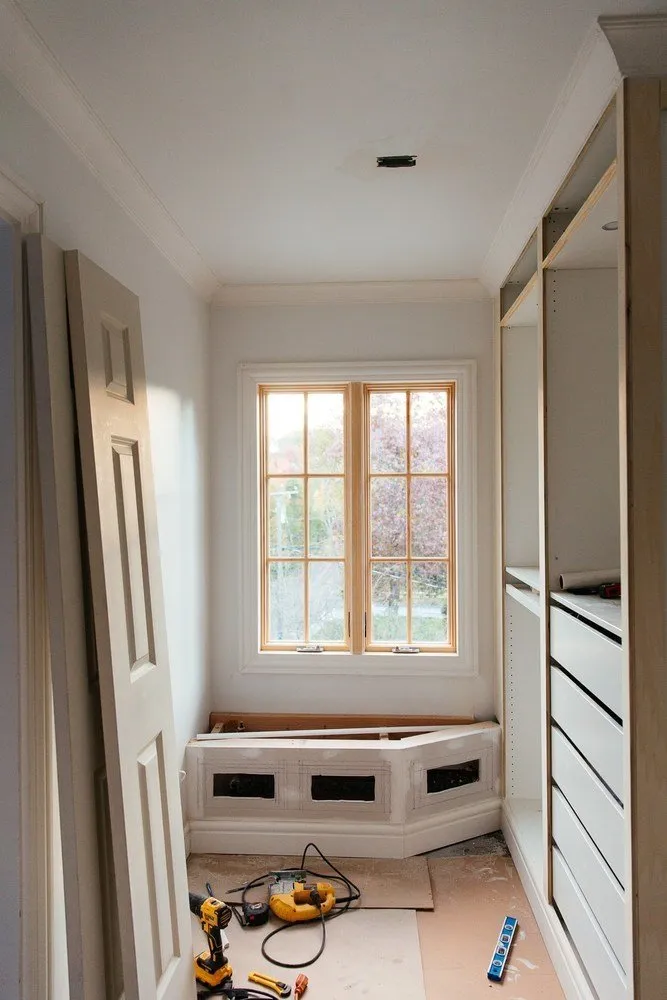 Don't forget to 'try on' the decorative baseboard before cutting the holes.
Carve out pieces of grille that will cover the ventilation openings, slightly larger than the holes themselves. Attach them from the back side of the gypsum board base using a construction stapler. Ensure that the pattern alignment is consistent across all grilles.
Attach decorative baseboards around the ventilation openings using glue and/or finishing nails.
Step 5. Make the Top Part of the Bench
For the top part, choose high-quality plywood at least 2 cm thick (to prevent the plywood from sagging under the weight of a person sitting on the bench). Cut it to size according to the supporting structure.
Ensure that the plywood is well-sanded and attach it to the supporting structure.
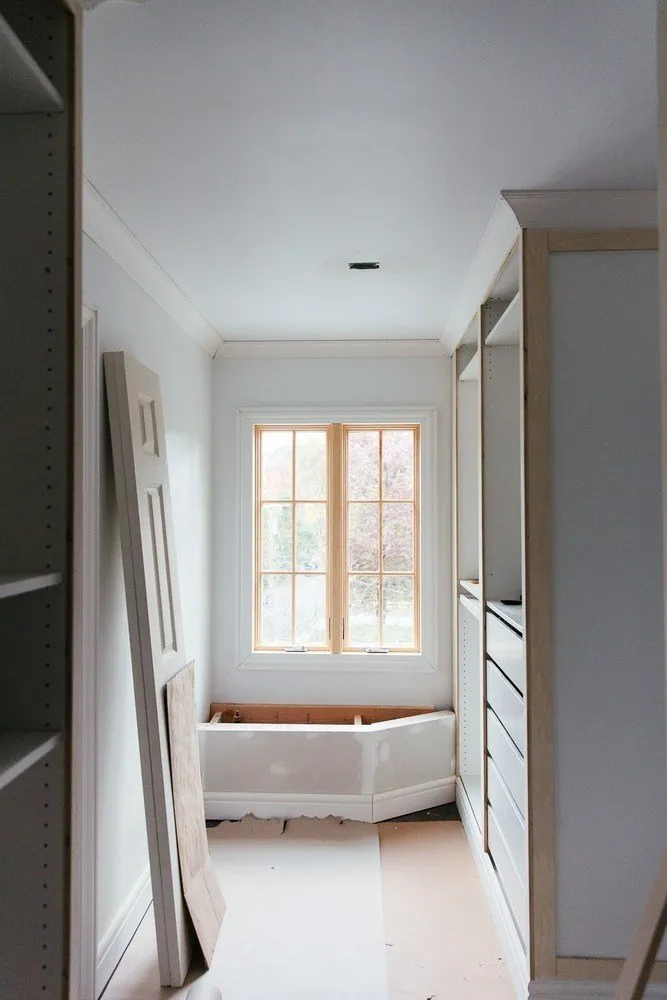
Step 6. Paint!
Finally, the most pleasant part begins. Apply two coats of primer before painting, as gypsum board absorbs paint like a sponge. Choose the color of paint that matches your walls. Don't forget to let each coat dry.
Step 7. Thermal Insulation
This step is optional, but if you don't want the seat of your bench to get too hot, you can lay flexible thermal insulation to draw heat through the ventilation holes.
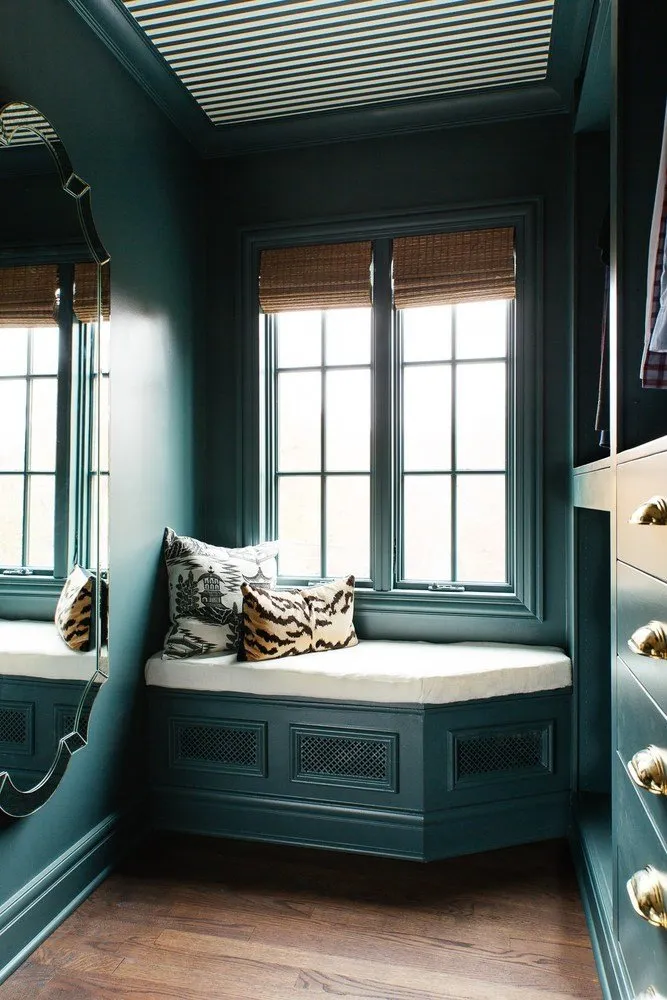
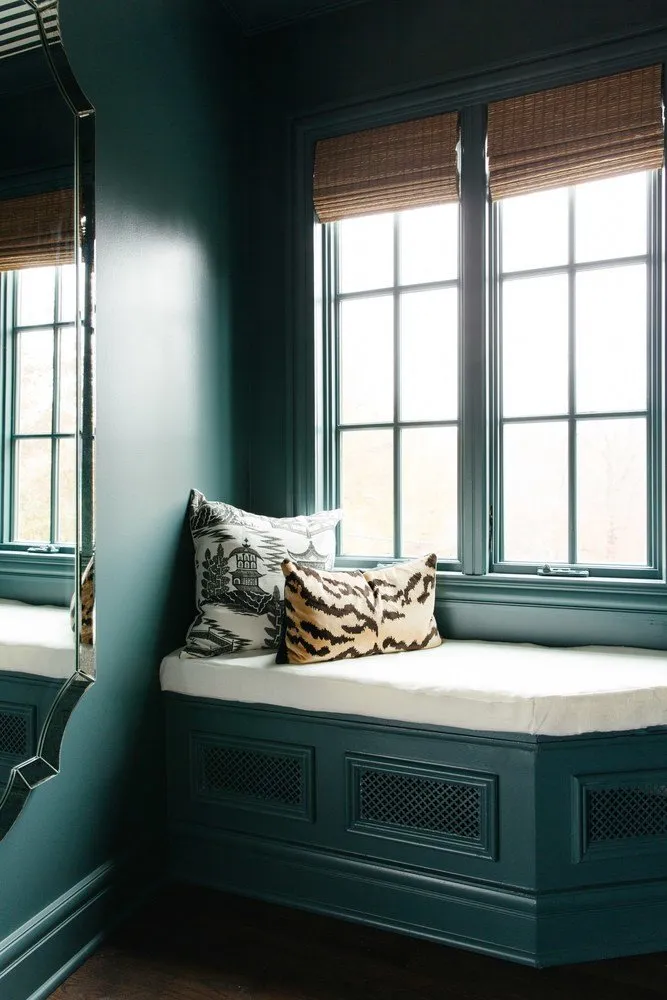
A beautiful bench that hides bulky radiators from view is ready.
Need a renovation specialist?
Find verified professionals for any repair or construction job. Post your request and get offers from local experts.
You may also like
More articles:
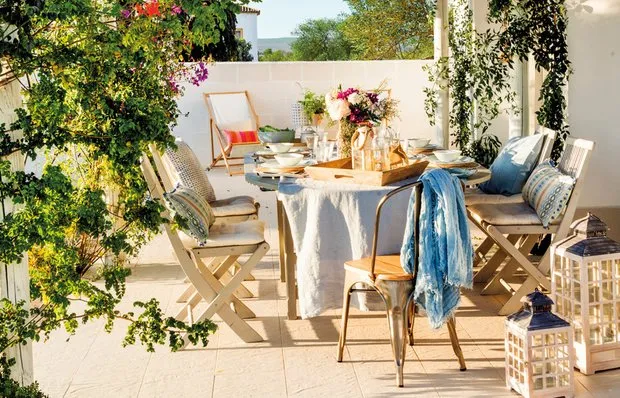 Bright Summer House in Southern Spain
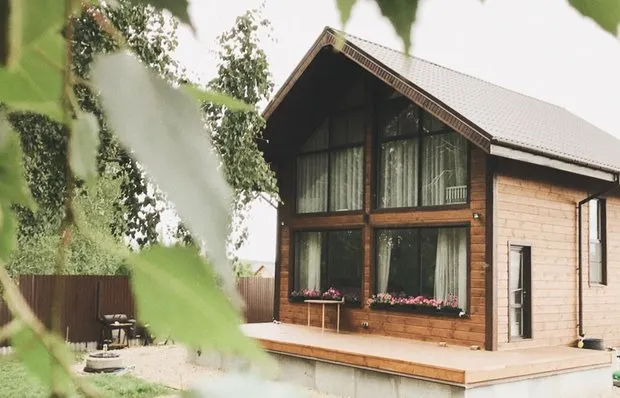 Personal Experience: How We Built a House and Spent 4 Million Rubles
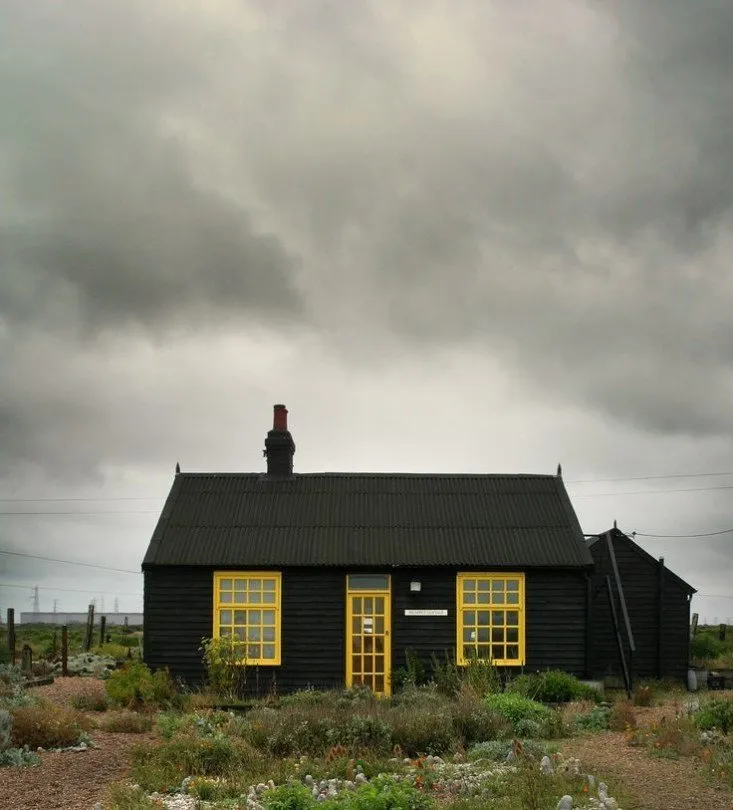 8 More Ideas for the Country House, Inspired by Scandinavian Huts
 Relocation: Why and How Was the Kitchen Moved to the Corridor?
 If You Don't Have a Country House: 5 Atmospheric Places for Nature Retreats
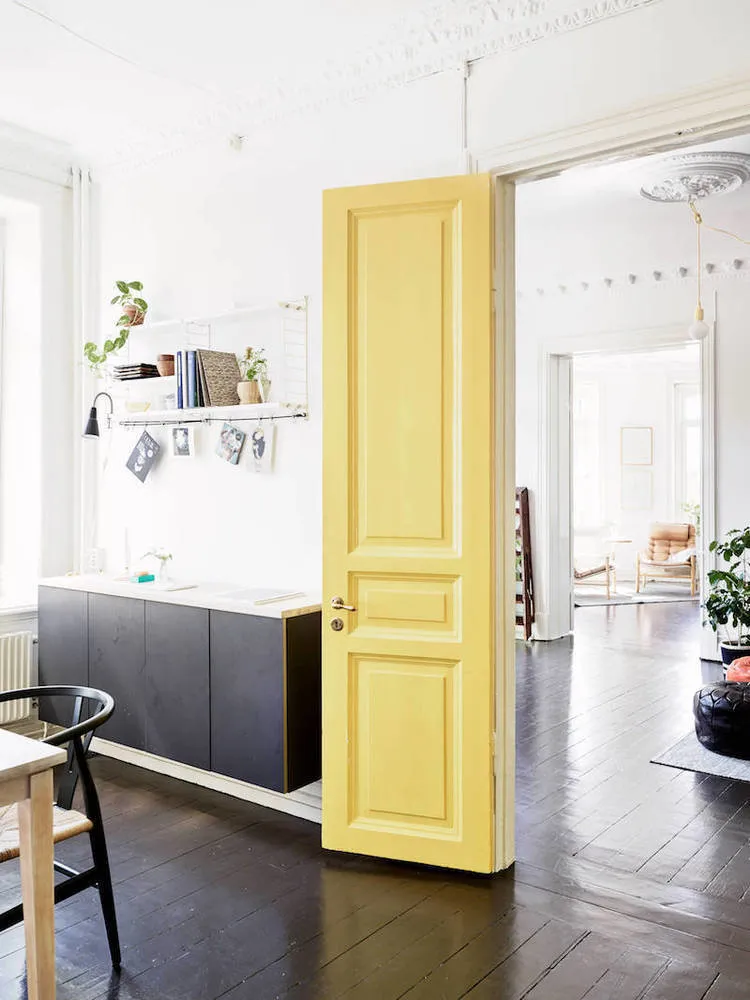 6 Ways to Quickly Refresh Interior with Paint
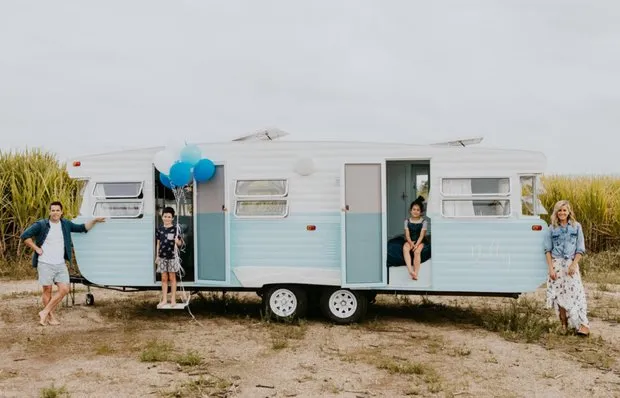 Personal Experience: How an Old Van Was Transformed into a Cozy Home
 5 Bright Kitchens You Will Love