There can be your advertisement
300x150
Basics of Interior Painting: From Cleaning to Final Coat
Painting interior walls may seem like an insurmountable mountain to climb, but don't worry — with the right knowledge and guidance, you can easily navigate through each step.
From initial wall cleaning to carefully applying the final coat, every stage is vital for achieving a flawless result. Let's explore these basics of interior painting, starting with the key first step that sets the foundation for successful work.

Wall Preparation
Proper wall preparation before painting is essential for a smooth and professional finish. Begin by inspecting walls for cracks, holes, or defects. Fill these areas with spackle and sand them smooth after drying.
Next, remove dust, dirt, or grease by washing the walls with a mild soap solution and letting them dry completely. If the surface is glossy, sand it lightly to improve paint adhesion.
Cleaning and Deep Cleaning: Benefits of a Cleaning Service
While painting preparation often includes basic cleaning, large projects can be burdensome, especially if your space requires cleaning or deep tidying before work begins. A professional cleaning service in Melbourne can bring significant benefits, offering the following advantages:
- Time and stress savings: Cleaning quickly and efficiently removes dirt and clutter, allowing you to focus on other aspects of the project. This saves valuable time and reduces stress.
- Better painting environment: A professionally cleaned space means less dust, dirt, and clutter. This creates a healthier and more suitable environment for painting, minimizing the risk of foreign particles entering the paint.
- Thorough wall preparation: Cleaning services go beyond vacuuming. They ensure complete wall cleanliness, removing grease or cobwebs that can hinder proper paint adhesion.
- Peace of mind: Knowing your space is professionally cleaned before painting gives you confidence and allows you to focus on the creative part of the project.
Is a Cleaning Service Right for You?
Consider hiring one if:
- Your project involves multiple rooms or the entire house.
- The space needs cleaning and tidying before work begins.
- You have limited time or strict deadlines.
- You want the space to be perfectly clean for better painting results.
Choosing Paint
When selecting paint for interior walls, consider factors like room lighting and ambiance to achieve the desired look and longevity. Choose light tones in poorly lit rooms to create a sense of spaciousness.
For high-traffic areas like hallways and entry doors, select durable paint that can withstand frequent washing. If you want to create a cozy atmosphere, warm tones like beige or soft gray are ideal.
For bold accent walls, use vibrant colors such as deep blue or rich red. Also consider the appropriate finish depending on room function: matte finishes hide imperfections, while glossy ones are easier to maintain.
Applying Primer
To achieve a smooth and long-lasting result when painting walls, start by applying primer before the paint. Primer creates an even surface, sealing porous areas and providing a base for proper paint adhesion.
Begin by thoroughly cleaning walls of dirt and grease. Fill holes or cracks with spackle and sand the surface for smoothness. Apply primer evenly using a roller or brush, especially focusing on areas that might absorb more primer, such as treated spots.
Allow the primer to dry completely before applying paint for optimal results. Remember, proper priming is key to a professional finish.
Painting Techniques
Start by mastering basic painting techniques that will enhance both appearance and durability of your project.
Begin with a quality angled brush for edging and corners, then cover large areas with a roller. Apply paint in smooth overlapping strokes to avoid visible lines and ensure even coverage. Keep the wet edge to prevent streaks, working quickly and efficiently.
Don't forget to correct drips or smeared paint immediately for a smooth finish. For the best results, paint in natural light or with additional lighting to spot missing areas or uneven patches.
Applying the Final Coat
After mastering basic painting techniques, the final coat is when you complete your project.
Before applying the final coat, ensure previous layers are fully dry. Start by cutting in with a brush, then use a roller for large areas. Apply paint evenly using smooth overlapping strokes to achieve uniform results. Pay attention to drips or uneven areas and correct them immediately. Keep the wet edge to avoid visible seams.
Once applied, allow paint to dry completely before touching. This final step will give your walls a professional and well-maintained look.
Frequently Asked Questions
How long should I wait before hanging pictures or decorations on freshly painted walls?
After painting, wait at least 24 hours before hanging pictures or decorations on new walls.
This gives the paint enough time to dry and properly adhere, so your decorations won't damage the fresh paint.
Are there any special considerations when painting textured walls or ceilings?
When painting textured walls or ceilings, it's important to consider the application technique.
Use a roller with thicker nap to reach all recesses.
Focus on even coverage and avoid over-saturating the texture for a professional result.
Can you paint over wallpaper, or is it better to remove it before painting?
You can paint over wallpaper if it's in good condition. However, removing it leads to a smoother result. Ensure edges are firmly adhered.
Use quality primer to prevent wallpaper pattern from showing through.
What tips should I follow for painting around baseboards, corners and other tricky spots?
When painting around baseboards, corners, and hard-to-reach areas, use painter's tape for clean lines. Carefully feather the edges with a brush and then roll the walls.
Take your time and be patient for a professional finish.
How can I prevent peeling or flaking paint in high-traffic areas of the home?
To avoid peeling and flaking paint in high-traffic areas of the home, follow these steps:
Conclusion
Now that you know the basics of interior painting, you're ready to transform your space with fresh paint.
Remember:
– Thoroughly clean and prepare the walls
– Choose suitable paint and primer
– Use proper painting techniques
– Finish with a final coat for a professional look
With these tips, you'll be able to create a beautifully painted room that reflects your personal style.
Happy painting!
More articles:
 Cheap Furniture for Updating Living Room Decor
 Reliable Ideas to Effectively Use Small Terraces
 Reliable Methods to Eliminate Tobacco Smell in the House
 Indispensable Tips to Avoid Throwing Away Old Towels and Use Them as Intended
 Add Charm to Your Open Kitchen with Professional Decorating Tips
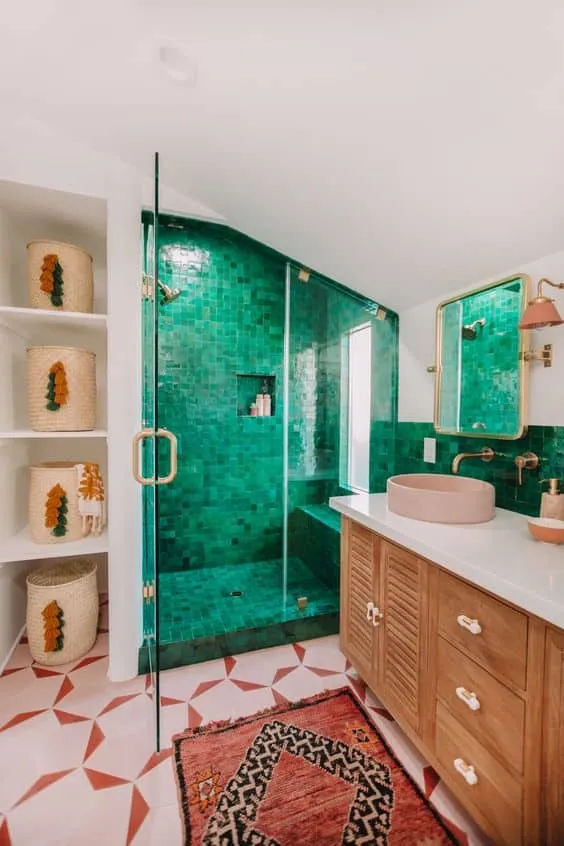 Liven Up Your Bathroom Space with Attractive Colors
 Add Individuality to Your Child's Bedroom with Modern Bedding Sets
 Fill Your Space with Leading Scents and Candles